Browse by Solutions
Browse by Solutions
How do I provide access privilege to my employee for custom fields?
Updated on November 19, 2016 04:16AM by Admin
You can protect your custom fields, which cannot be viewed until you give access to them. You can enable the custom fields and provide privileges.
Steps to Secure Custom Fields
- Log in and access Customers app from your universal navigation menu bar.
- Click on “More” icon and select “Settings” located at the app header bar.

- Click on “Customize App” drop down and then select "Master Layout -> Customers" from the left navigation panel.

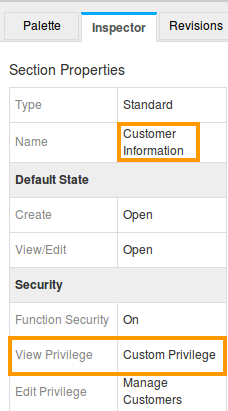
- You can view "Security" option under "Inspector" tab by selecting the particular custom fields section as shown in the image below:

- Click on "Toggle" button to enable the function security. By enabling it you can view the two other options "view privilege" and "Edit privilege".

- Create new privileges by clicking on “Add new" from "view privilege" drop down.

- A pop up menu appears "Create privilege".
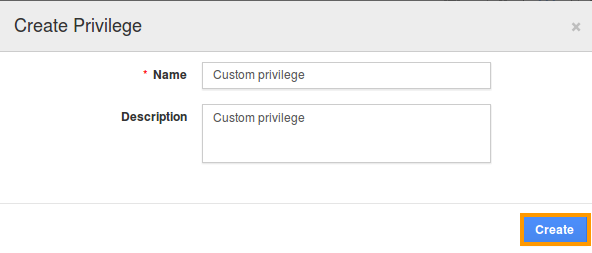
- Click on "Create" button .
- Now you can view the “Custom Privilege” for "Contact Information”.
Create and Assign Role to an Employee
- After creating the privilege go to Employees App to create a new role.

- Click on “Settings” icon and select “Roles” from left navigation panel.

- Click on “Create” button and specify a “Role Name” as “Custom Role”.
- Choose category as “CRM” and apps as “Customers”.

- Select “Custom Privilege”. Click on “Create” button to create a privilege.

- Select an employee you would like to give access to view “To Follow Up” and “By Directory” menus.
- Here we are adding “Custom Role” to an employee “Rossy Mayer”.

Flag Question
Please explain why you are flagging this content (spam, duplicate question, inappropriate language, etc):

