Browse by Solutions
Browse by Solutions
How do I create tags in Invoices App?
Updated on April 11, 2018 07:09PM by Admin
Tags help you organize your Invoices into groups such as loyalty customer, special membership, high value etc. You can create more than one tags. Follow the steps below to create a tag . Once your create tags, to apply them in your invoice, visit this link https://answers.apptivo.com/questions/12829/how-do-i-apply-tag-in-my-invoice
Steps to Create Tags in Invoices
- Log in and access Invoices App from your universal navigation menu bar.
- Click on “More” icon and select “Settings” at the app header bar.

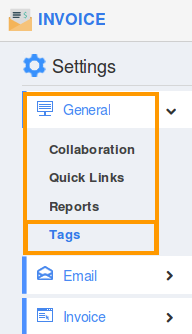
- Click on “General” Drop down and Select "Tags" from left navigation panel.

- In Tags dashboard, you can view:
- App Tags (Available only in this app)
- Global Tags(Available globally on all apps)

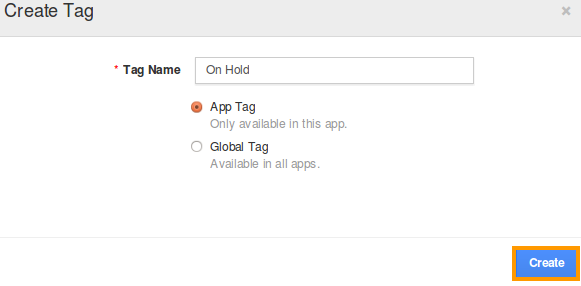
- Click on “Create” button and provide:
- Tag Name (Mandatory)
- Select "App Tag" or "Global Tag" by clicking on “Radio” icon

- Click on “Create” button to complete.
- Now, You can view created tag under "App Tags" category.

Related Links
Flag Question
Please explain why you are flagging this content (spam, duplicate question, inappropriate language, etc):

