Browse by Solutions
Browse by Solutions
How do I add company(customer) information of the contact?
Updated on July 26, 2017 07:45PM by Admin
- First, you can do it manually, where you create a single customer and contact at a time.
- The other option is to do a bulk import of both customers and contacts.
In either of the scenario, you'll use two different apps. Customers App & Contacts App.
The "customer" will be the business entity you are working with.
The "contact" is the individual person/employee of the customer with whom you would be in constant touch until the deal is closed.
Let's start off by going through the steps to manually create a customer.
Create contact with company information
When creating contact, you can associate existing customer record as the company information or you can create new customer record simultaneously.
- Create new contact, on contact creation page; start typing the customer name in "Customer" field, as it auto populates the existing customer record from Customers App.
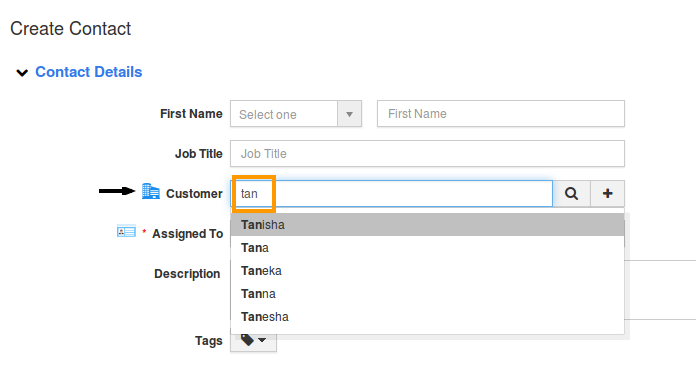
- You can also create new customer record at time of contact creation, using "+" icon.

Create a customer with two Contacts
- Log in and access Customers App from your universal navigation menu bar.
- Create new customer, fill in the details of customer business and click on "Create" button.
- You will view customer view page which is in "Overview" tab, Scroll down to locate and find "Contacts" section.
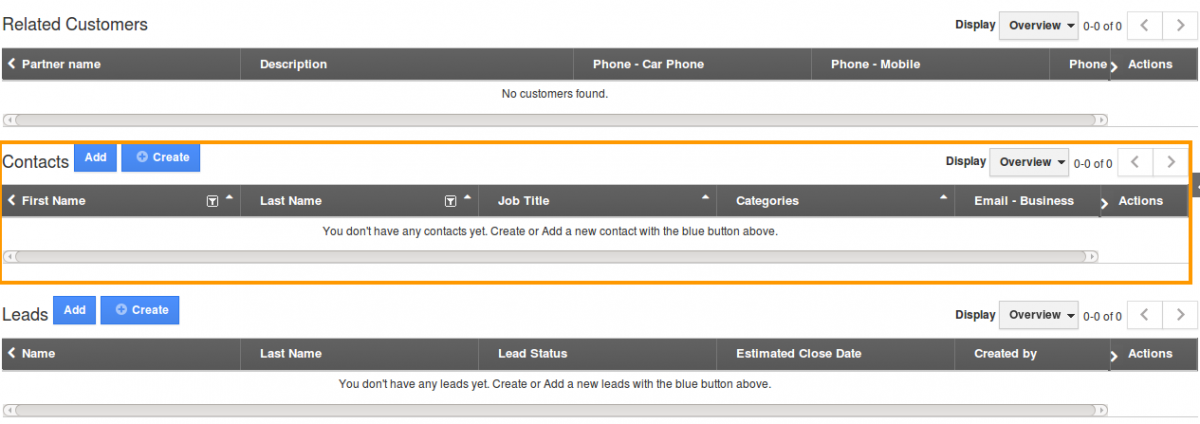
- If you wish to add existing contact from Contacts App, click "Add" button to search and link it to this customer. If not, click "Create" button to create a new contact.

- Continue to Add/Create as many contacts as you'd like. Whenever viewing one of these contacts, it will also have a link back to view this customer.

- To Create a new contact click on "Create" button. (The same Customer can be created as an contact).

- You can able to view a Contact creation pop-up as shown in the image below:
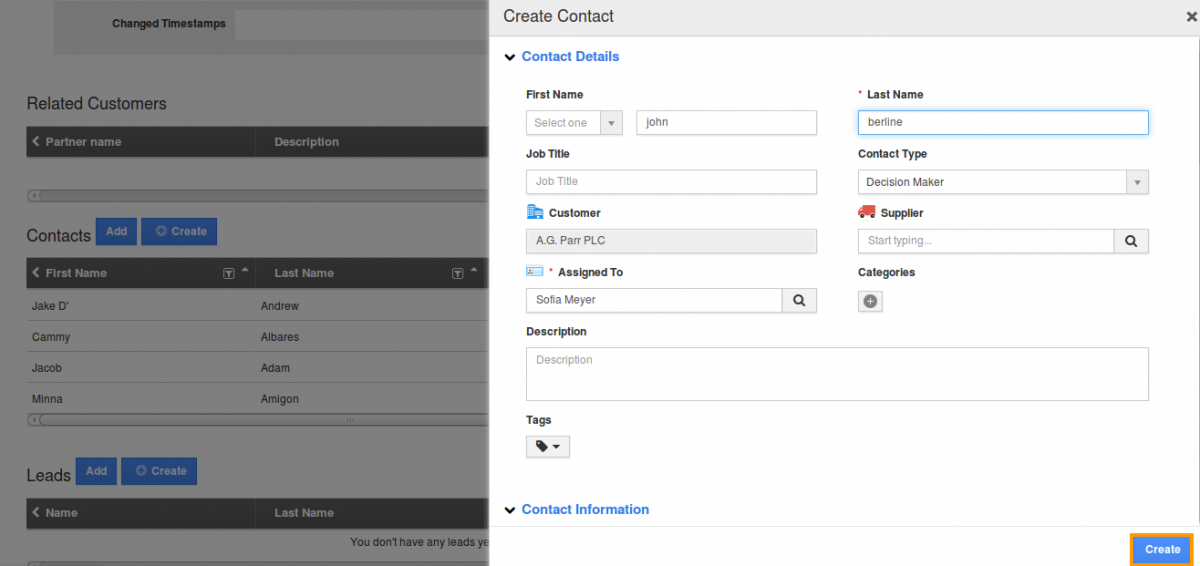
- Enter the details and click on "Create" button.
- Now the contact has been created with the same name as customer.

- Click on "Contact" name, you will be redirected to Contact view page in Contacts App as shown in the image below:
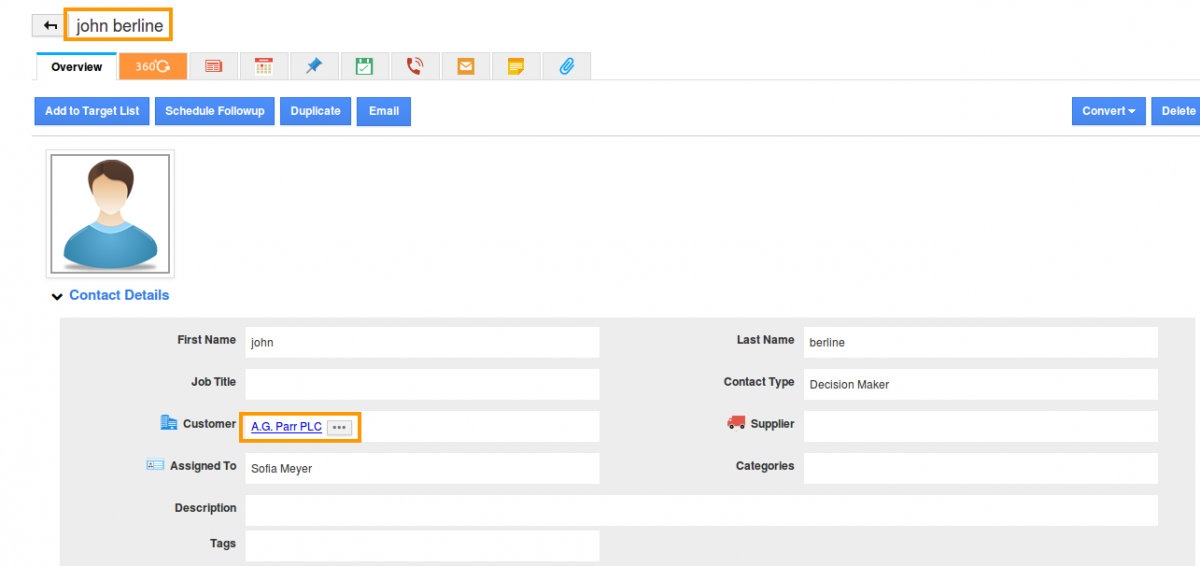
- You can view the associated customer in "Customer" field of contact.
Bulk Import Customers with multiple contacts
This process can be achieved, but it's very important to perform these steps in the right order! For this, we will need to have a spreadsheet which contains 1 contact per row, with a company name in one column. And, we will also need a spreadsheet with all company information, one row per company.
You will use these instructions on uploading data from CSV file to Apptivo. Make sure to do them in order.
1. Go to the Customers App, and upload the sheet with 1 row per company.
2. Go to the Contacts App, and upload the sheet with 1 row per person. Make sure you select the Customer Name field so it matches the company name in your spreadsheet.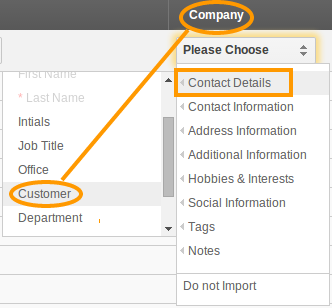
Once the uploads have completed, you'll have all contacts and customers in Apptivo, and they will all be linked together properly.
Related Links
Read more about:

