Browse by Solutions
Browse by Solutions
How do I add custom attributes to estimate lines?
Updated on March 23, 2016 02:05AM by Admin
You can create custom attributes at both header level and line level. The header level attributes are like common helps to gain more information regarding the details about the customer. The line level attributes supports you define the more information about the items/services.
Steps to add Custom Attributes to Estimate Lines
- Log in and access Estimates App from your universal navigation menu bar.
- Click on “Settings"
 icon located at the app header bar.
- Select “Custom Attributes” from left navigation panel.
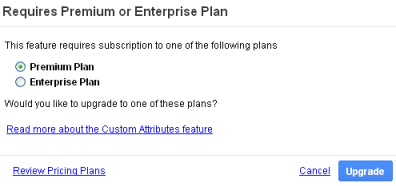
- If you are standard plan user, then you need to upgrade your account to use this feature. It would be notified as below:

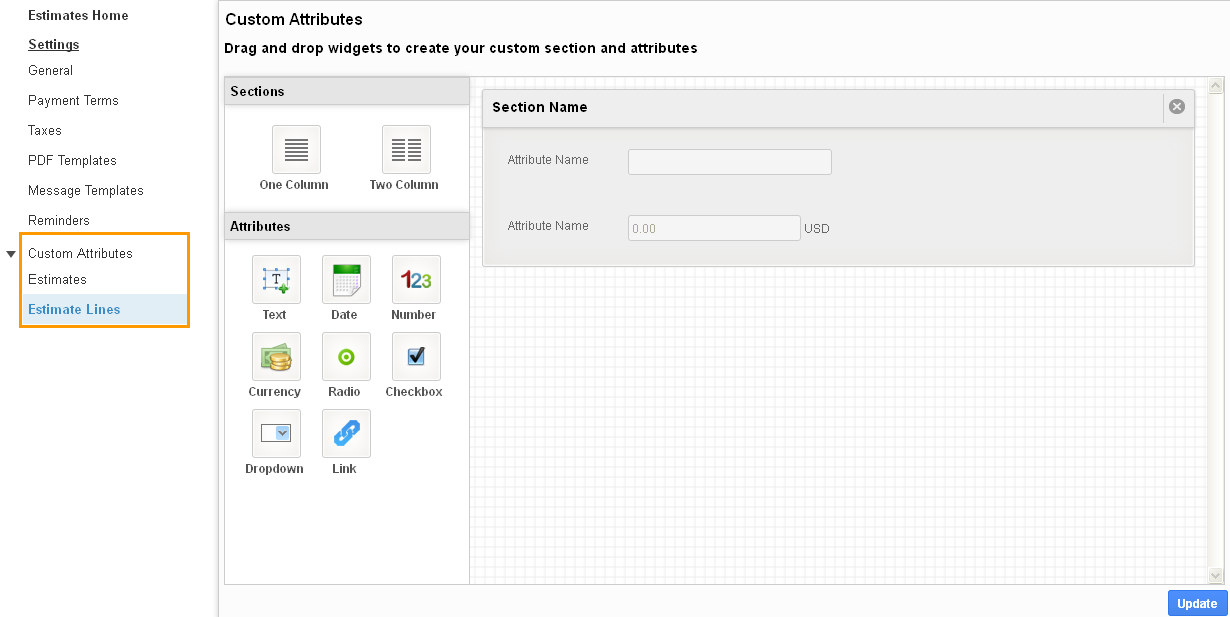
- You can view two options Estimates and Estimate Lines.

- At once you’ve clicked the “Estimates Lines” you will be displayed with the custom attributes page.
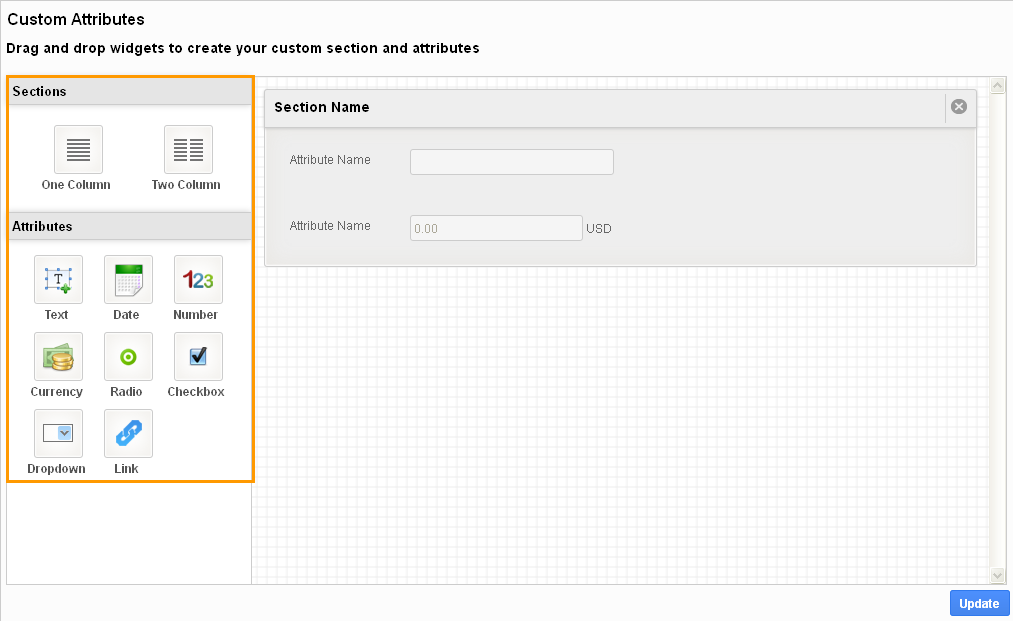
- Design the page with the provided sections and attributes at the left side, which reflects at the time of creating the new Estimates.

- Click either one column or two column sections, drag and drop the attributes inside the sections.

Why can’t I Share Estimate line custom attributes?
Unlike estimates custom attributes you cannot share the Custom attributes created at the line level in estimates (Share button will not be found on the Estimate Lines custom attributes creation page). Since estimates custom attributes are shared to opportunities, there is no need to share the line level attributes to opportunities.
Related Links
Read more about:

