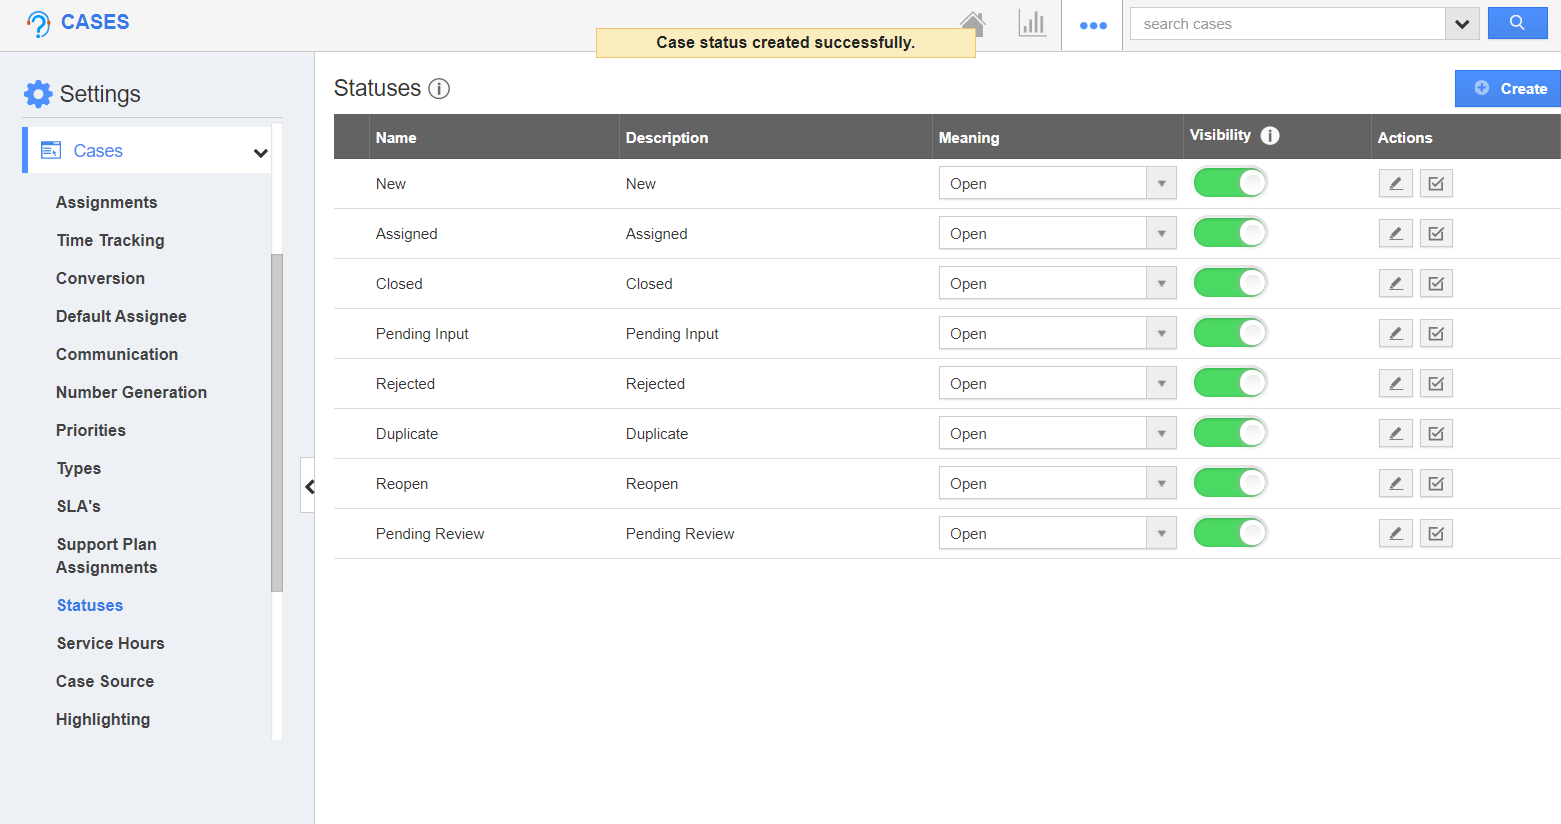
The Cases app has several configurations that allow you to adjust the way the app functions. This includes creating, modifying, and managing the statuses of your cases.
Steps to Create New Case Status
- Log in and access Cases App from your universal navigation menu bar.
- Click on the "More" icon and select “Settings” located at the app header bar.
- Select "Cases" dropdown and click on “Statuses” from the left navigation panel.
- Click on “Create” and specify:
- Name - Name of the status.
- Description - Description of status.
- Meaning - Define whether the status is closed or opened.
- On selecting create, new status is added. By default, the created status will be in enabled mode.
- The created status can be updated by clicking on the "Edit" icon if needed.
- If your case statuses "Visibility" is disabled, then the cases with the configured status will not appear. The cases with this status will also be hidden in search results and other views unless it is searched explicitly.
- In the Meaning field, you can define whether the case is closed or opened.
- A particular status can be made inactive by clicking the Disable icon.
Related Links


