Browse by Solutions
Browse by Solutions
How to create and share 'My Views' with specific employees or teams in the Cases app?
Updated on September 25, 2023 02:41AM by Admin
In general, Views are nothing but act like filtering options, used for showing particular information based on certain criteria, accordingly.
- If you want to view more cases of information, you need to select fields from the Display dropdown.
- You can save our custom view of case information for your future reference in My Views.
Steps to Create My Views in Cases App
- Login and access the Cases app from the Universal menu bar.
- Click on the Search icon located at the app header bar.
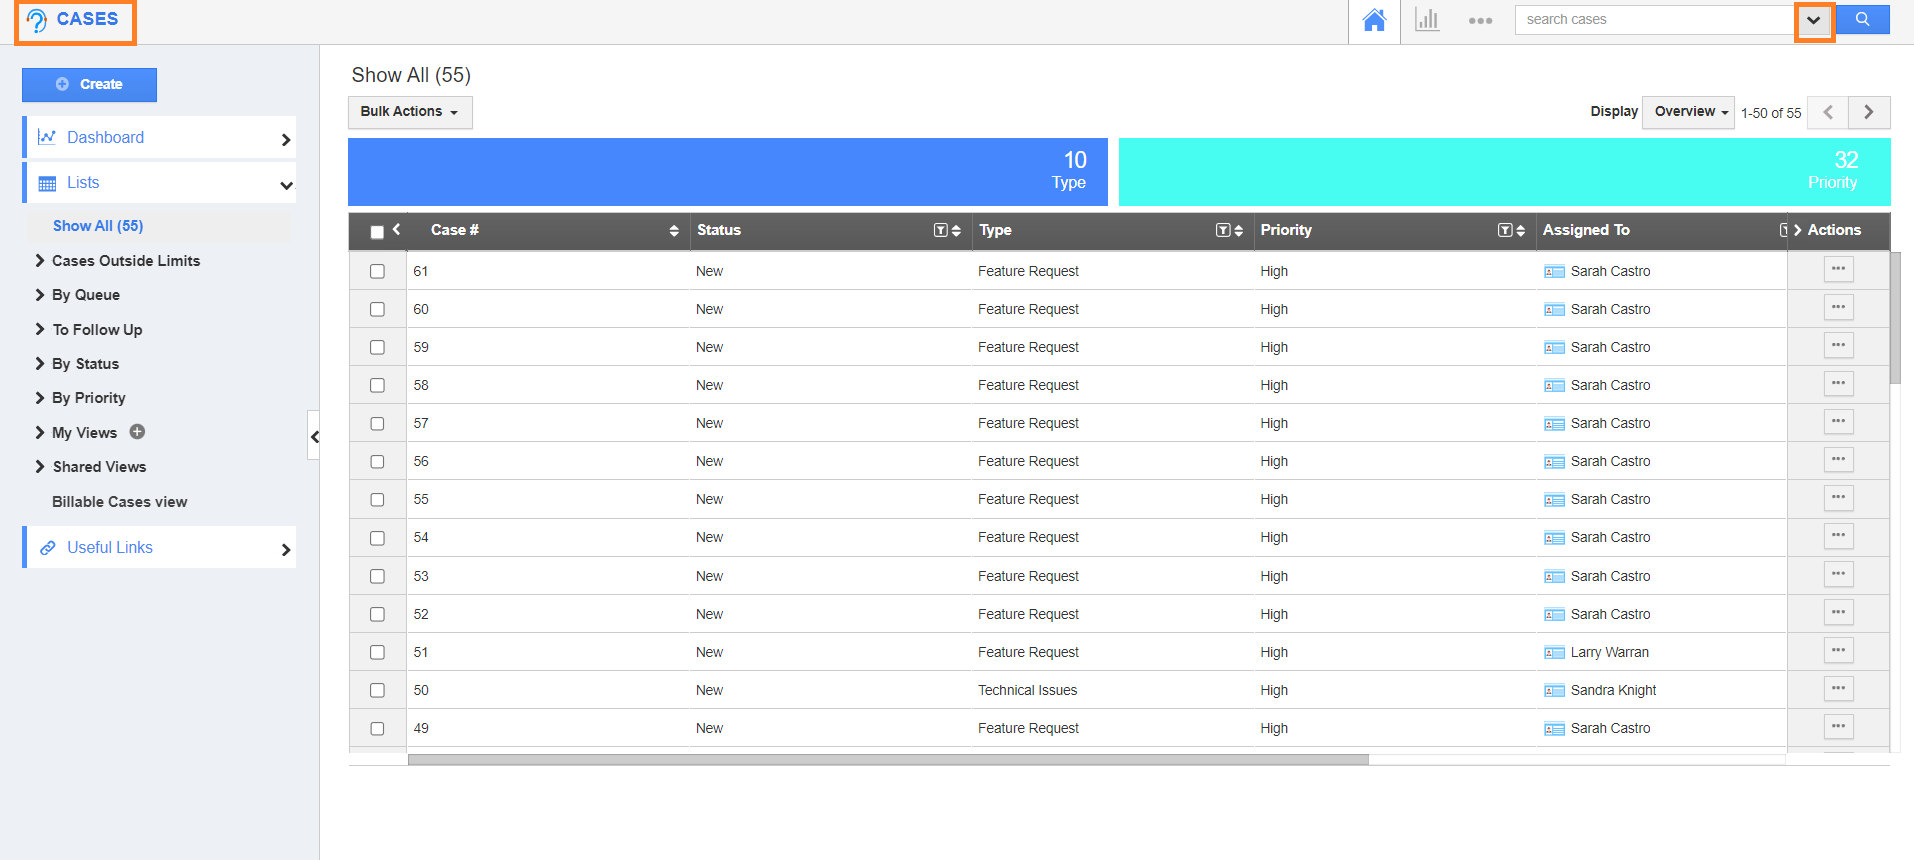
- You can add the search value as per your preferences and click on the Search icon.
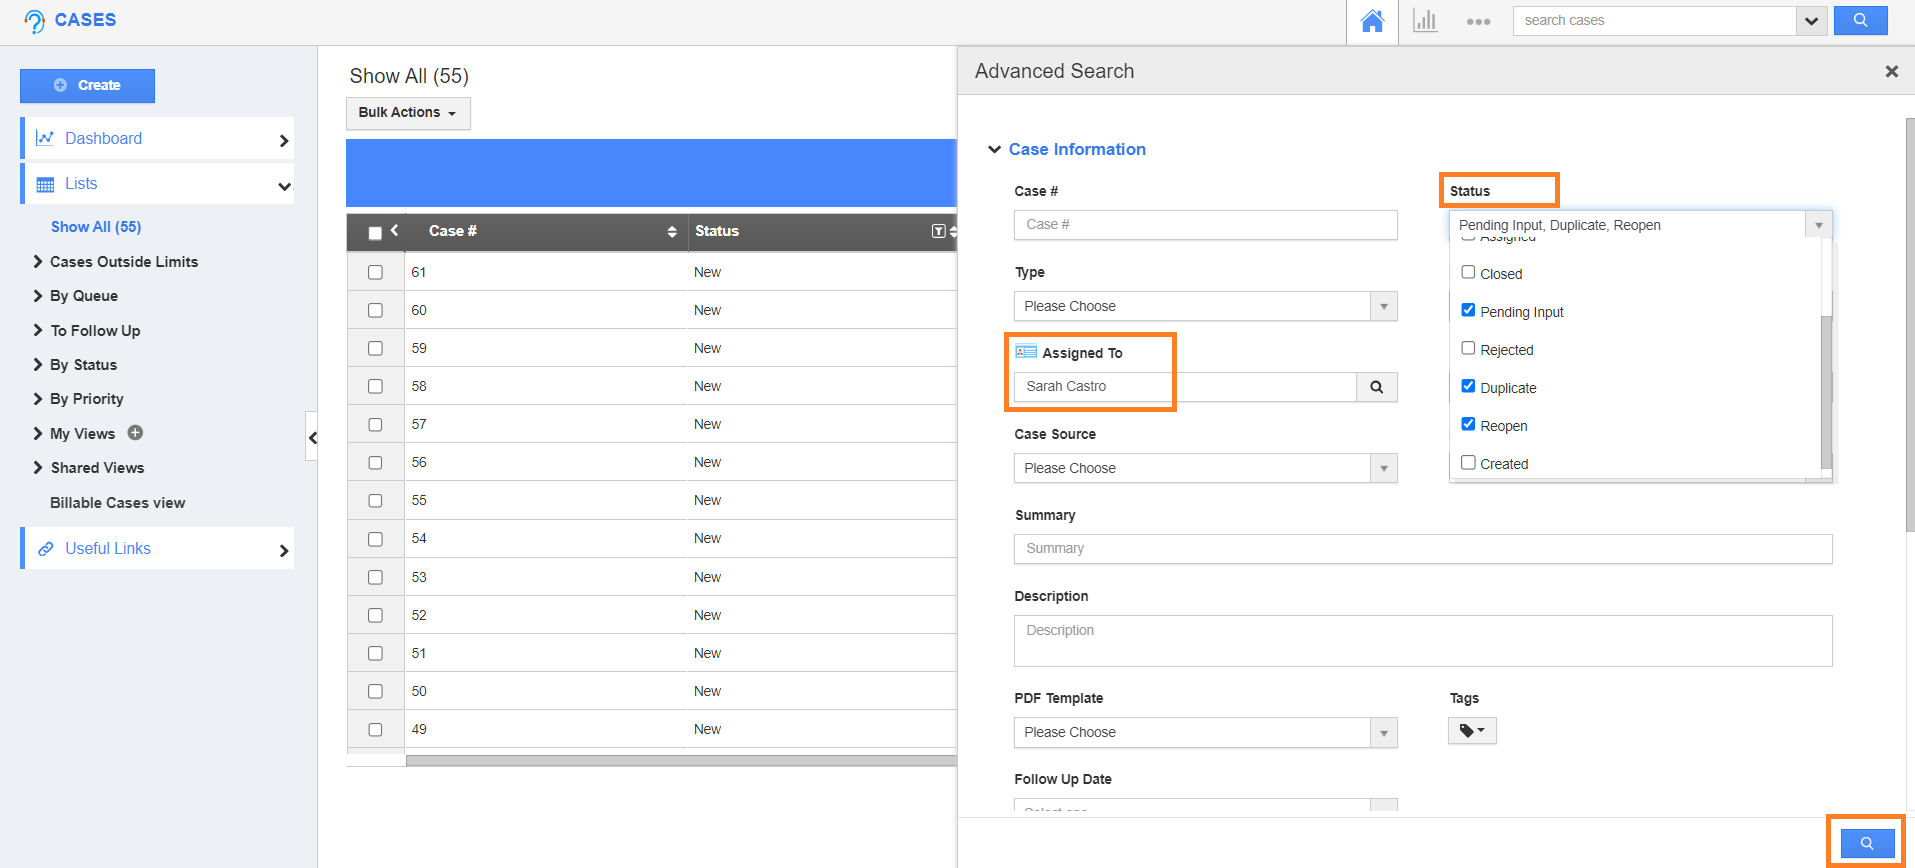
- You can view the search results as shown in the image below.
- Click on the Display dropdown to select the fields you would like to view in a table format.
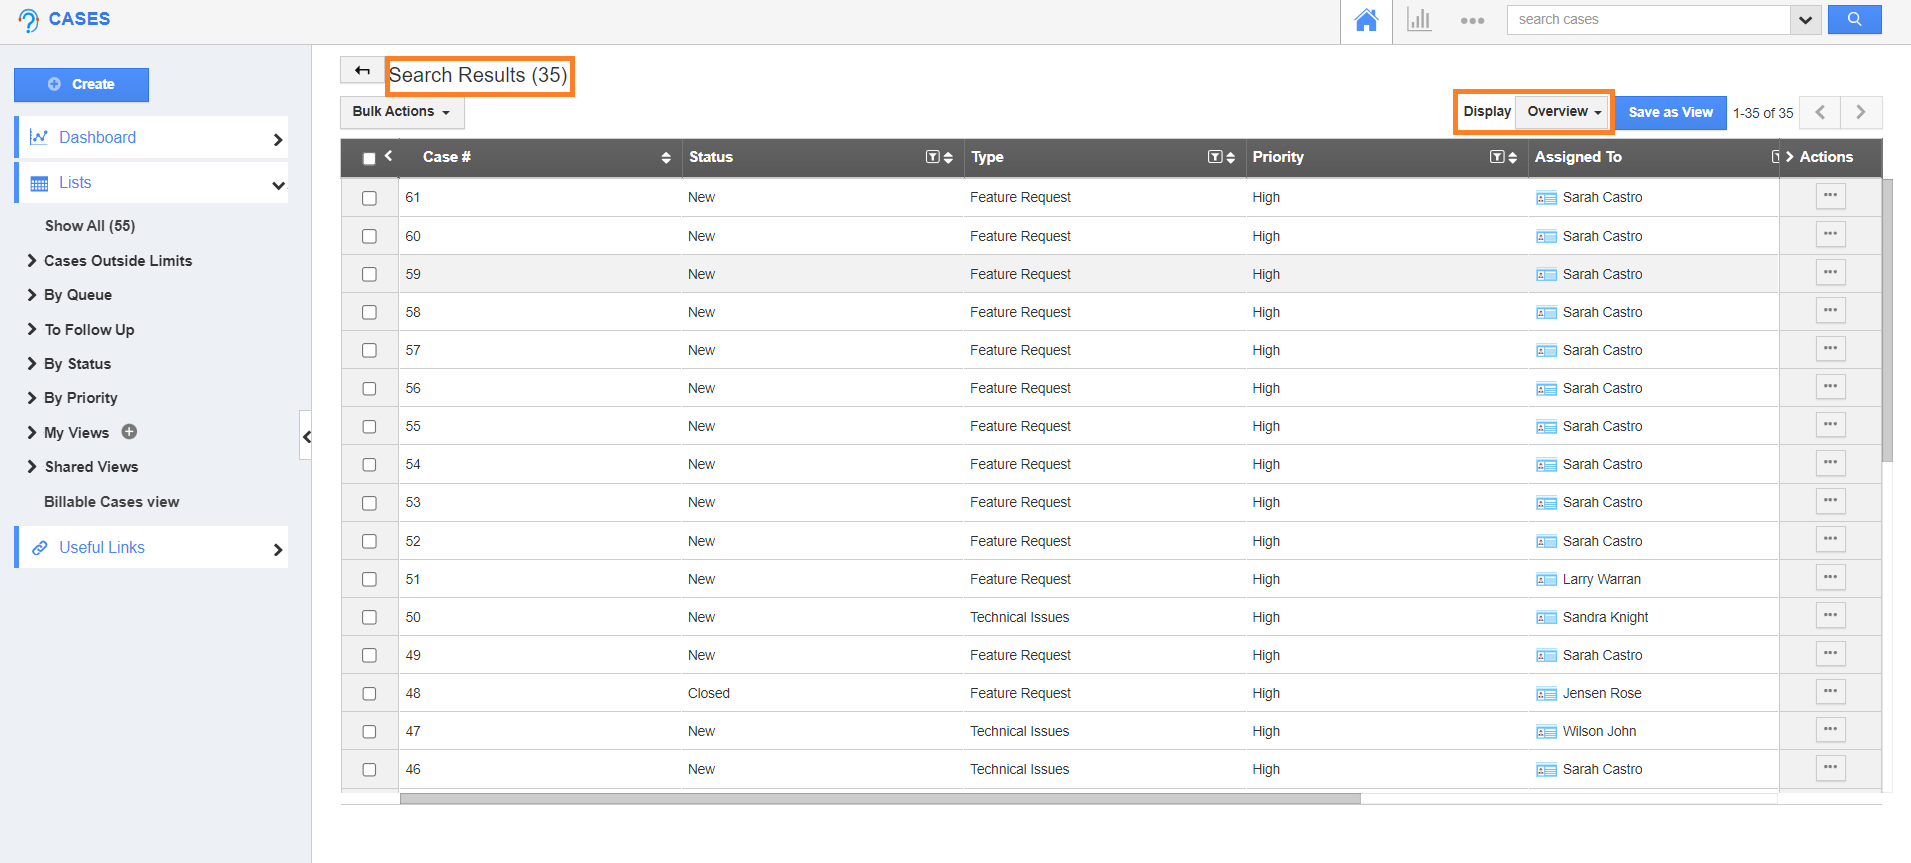
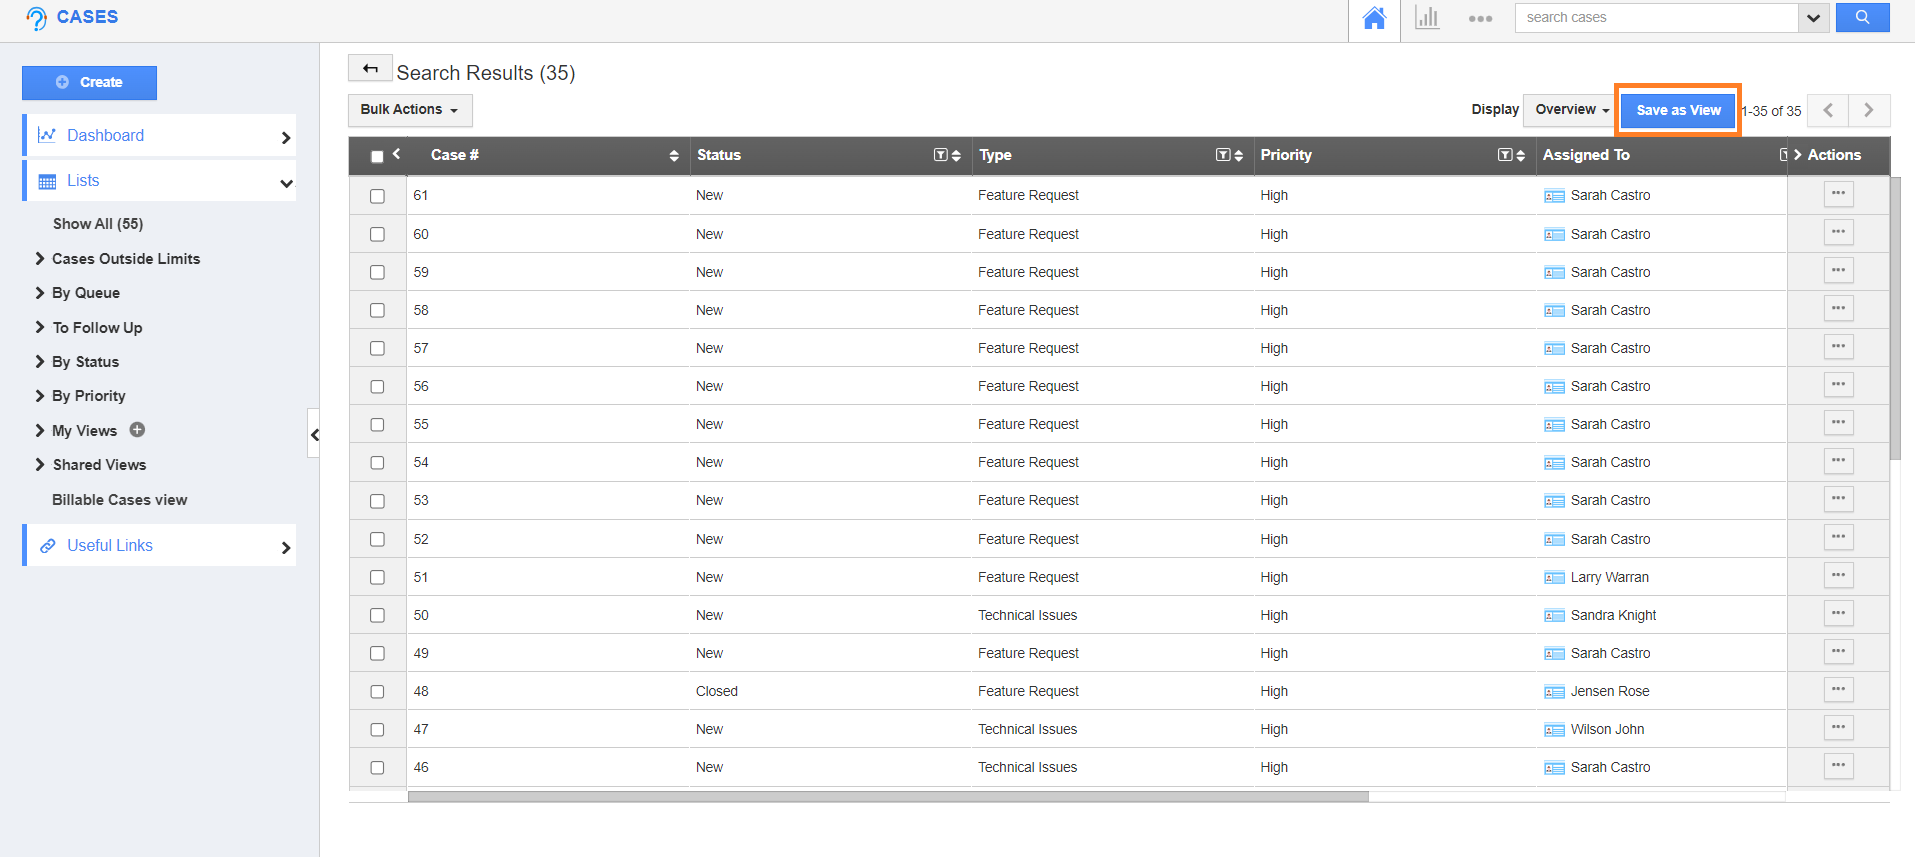
- Click on the Save as View button.
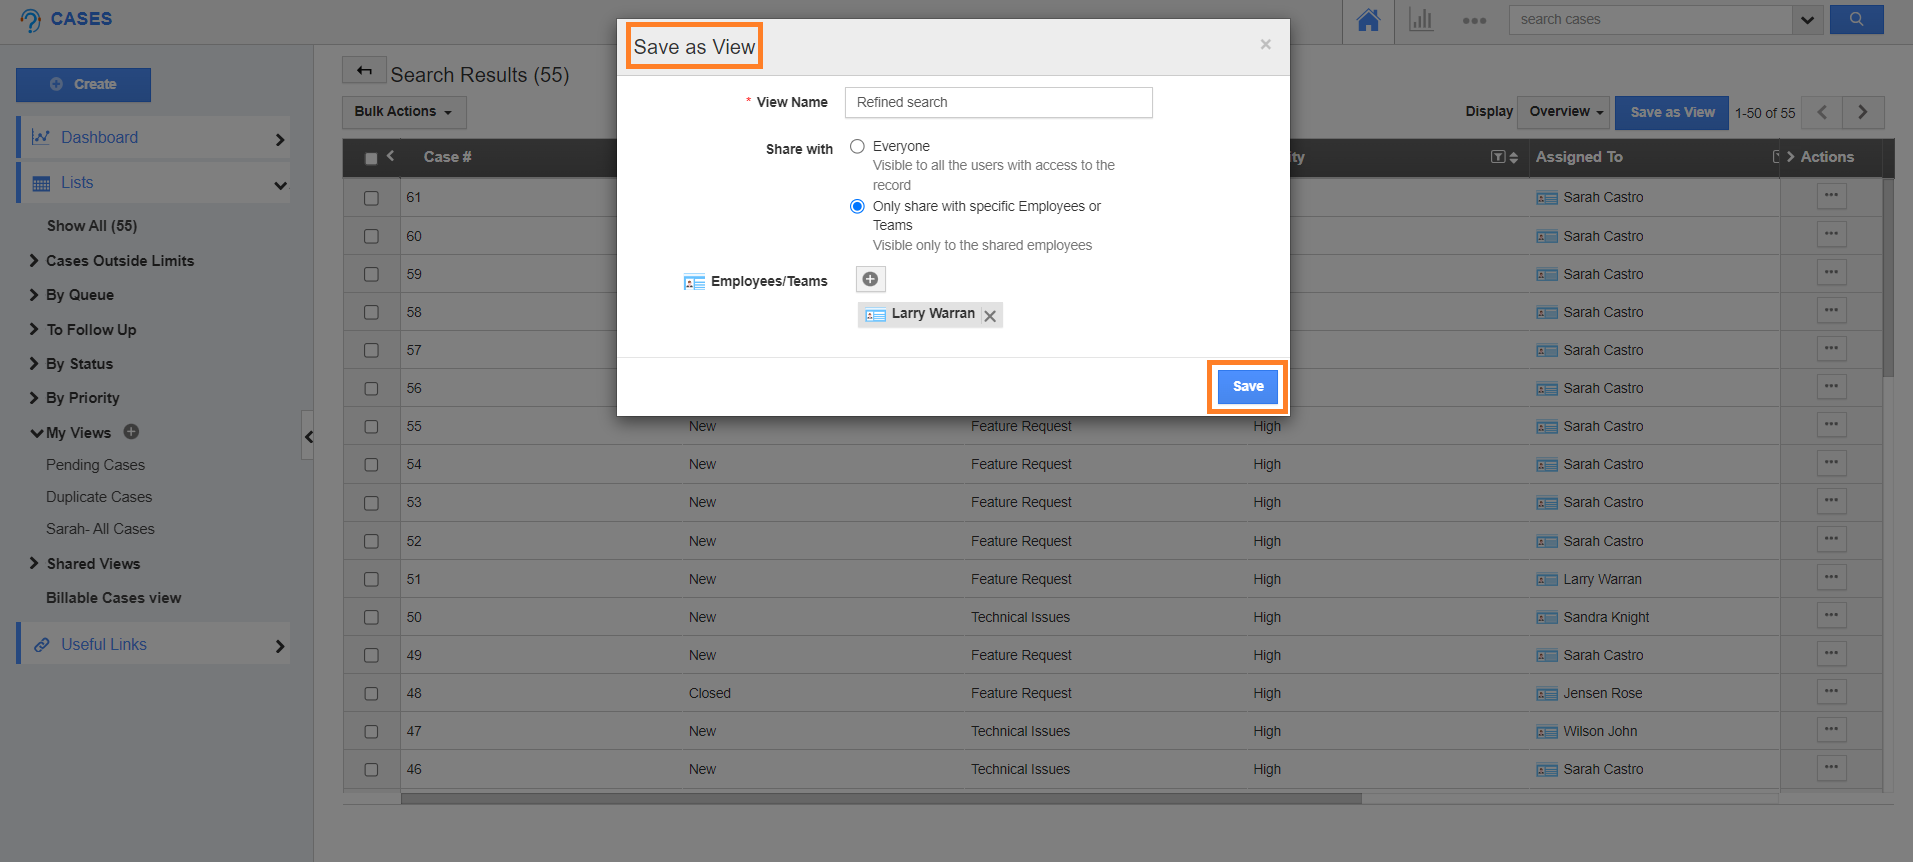
- Add the Name of the view on the Save as View popup.
- The Save as View popup will appear, where you need to provide the following information:
- View Name –When creating a view, it is essential for the user to remember the importance of a unique view name; using a similar view name is not recommended.
- Share with - You can define how and to whom you want to share the created view. You have two options:
- Everyone - By selecting this option, the view will be shared with all the employees in your organization.
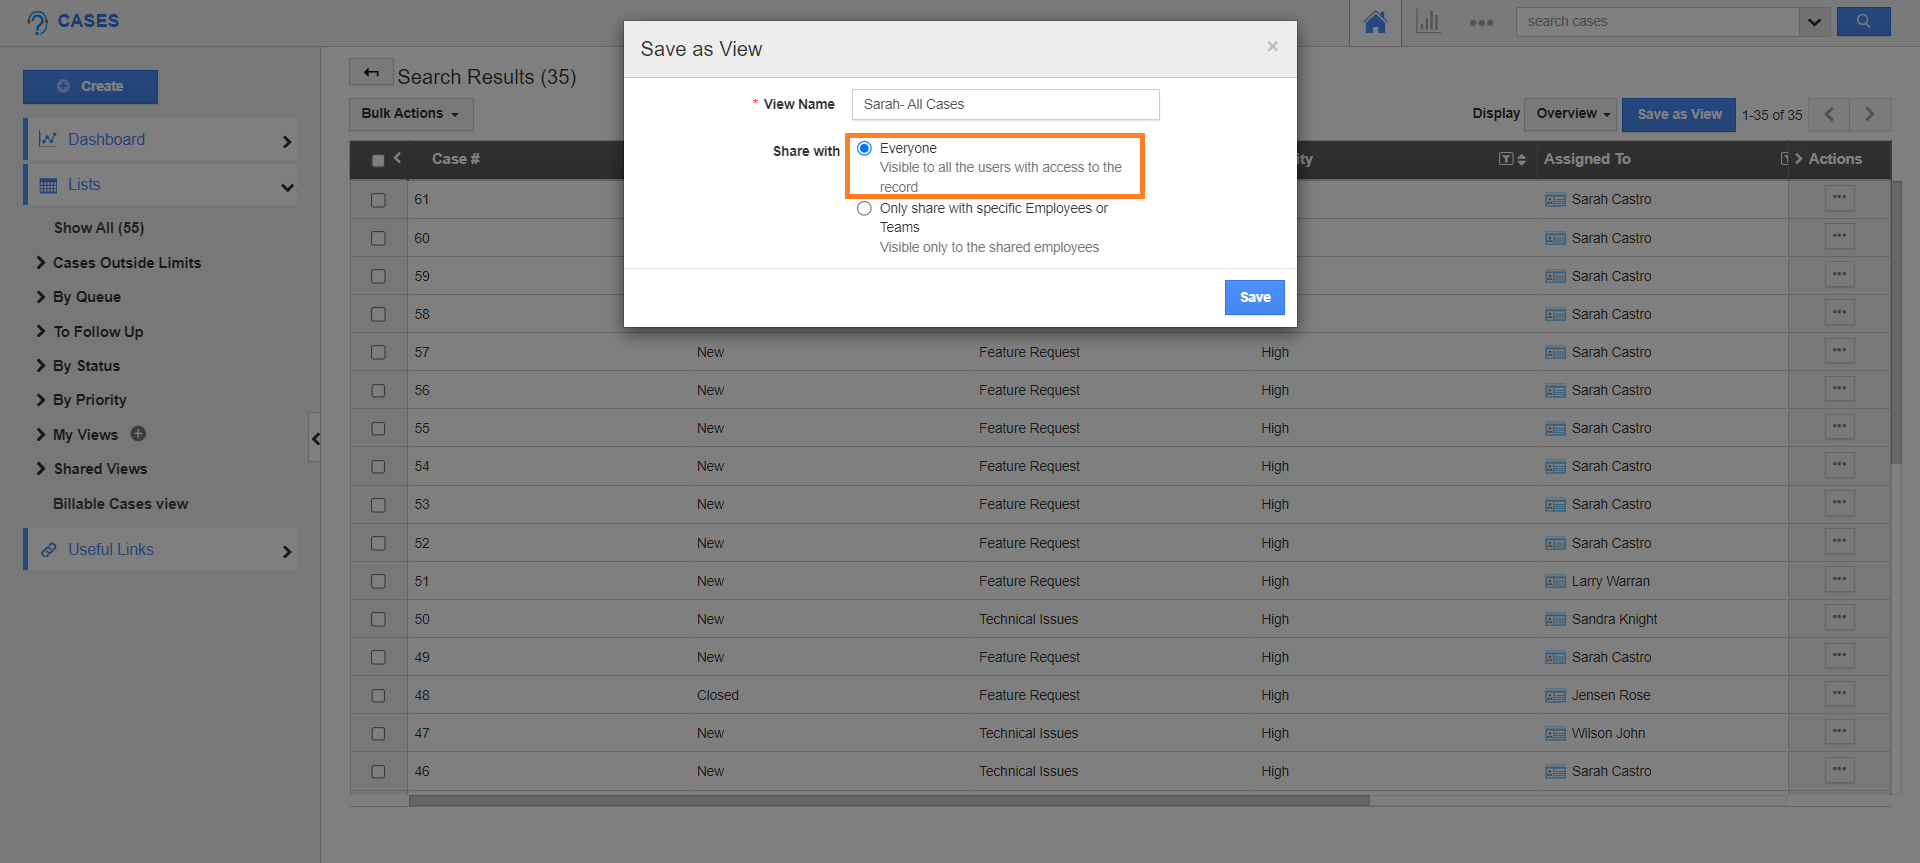
- Only share with specific Employees or Teams - By selecting this option, , you can choose individual employees or teams to share the view with. To do this, click on the "+" icon, which will open an employee search and select pop-up. From there, you can add multiple employees according to your preferences.
- For Example, here I have added Jensen Rose, Stemphany John and Sales Team.
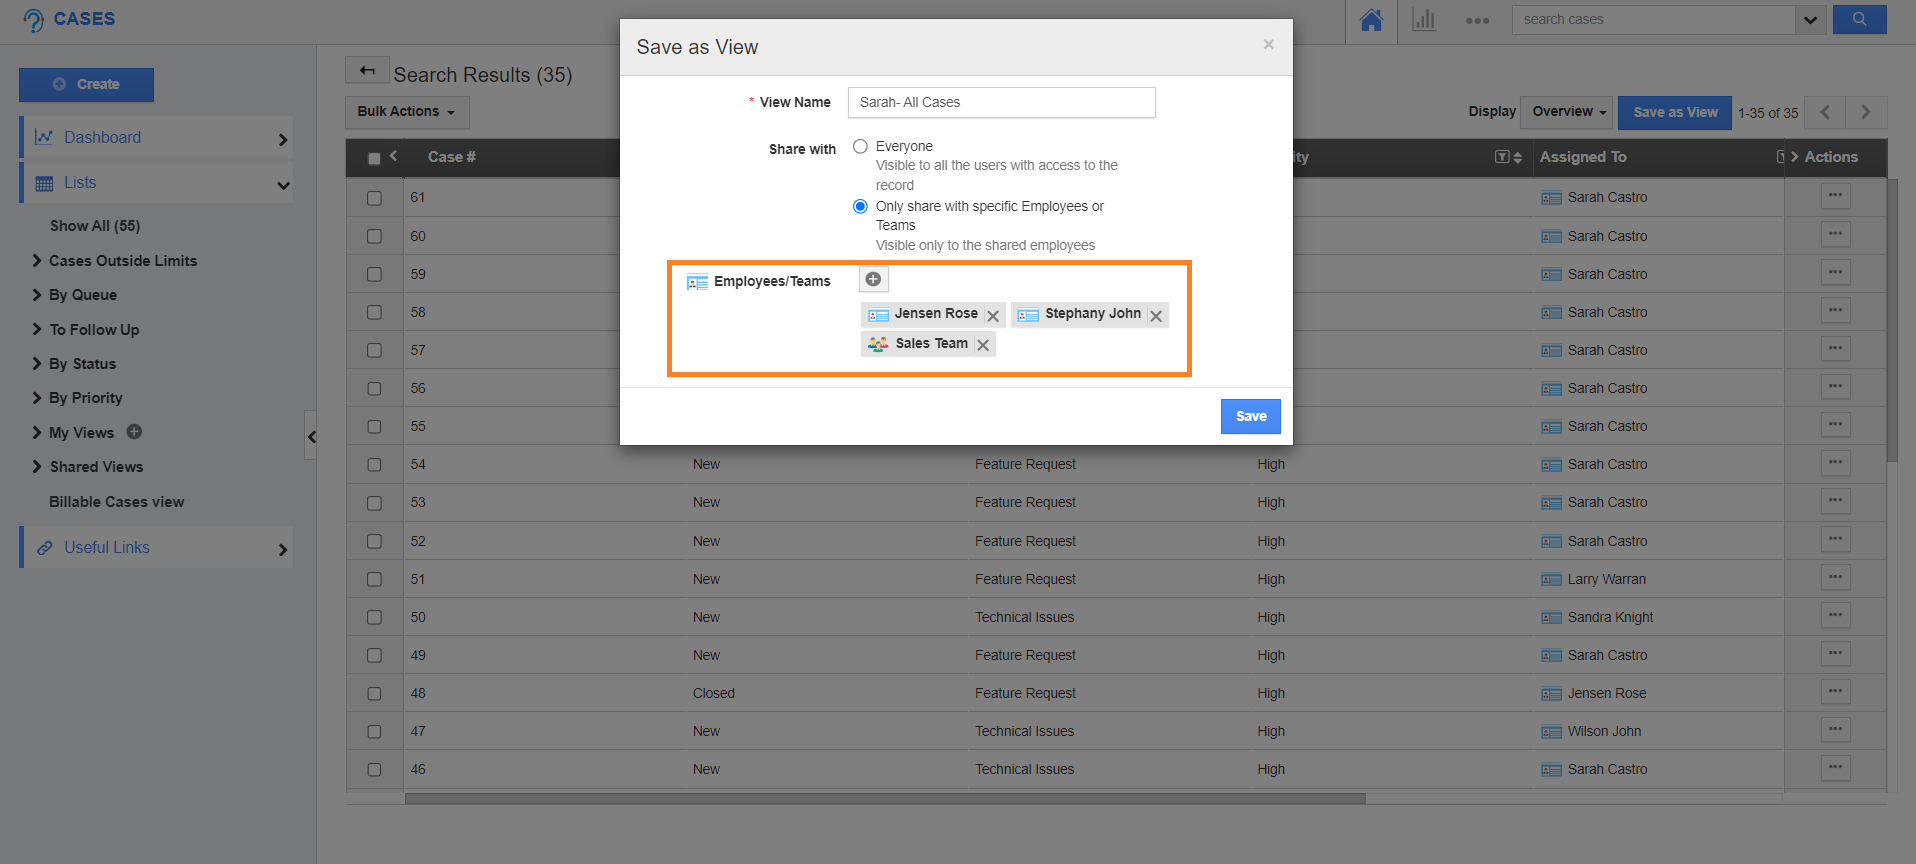
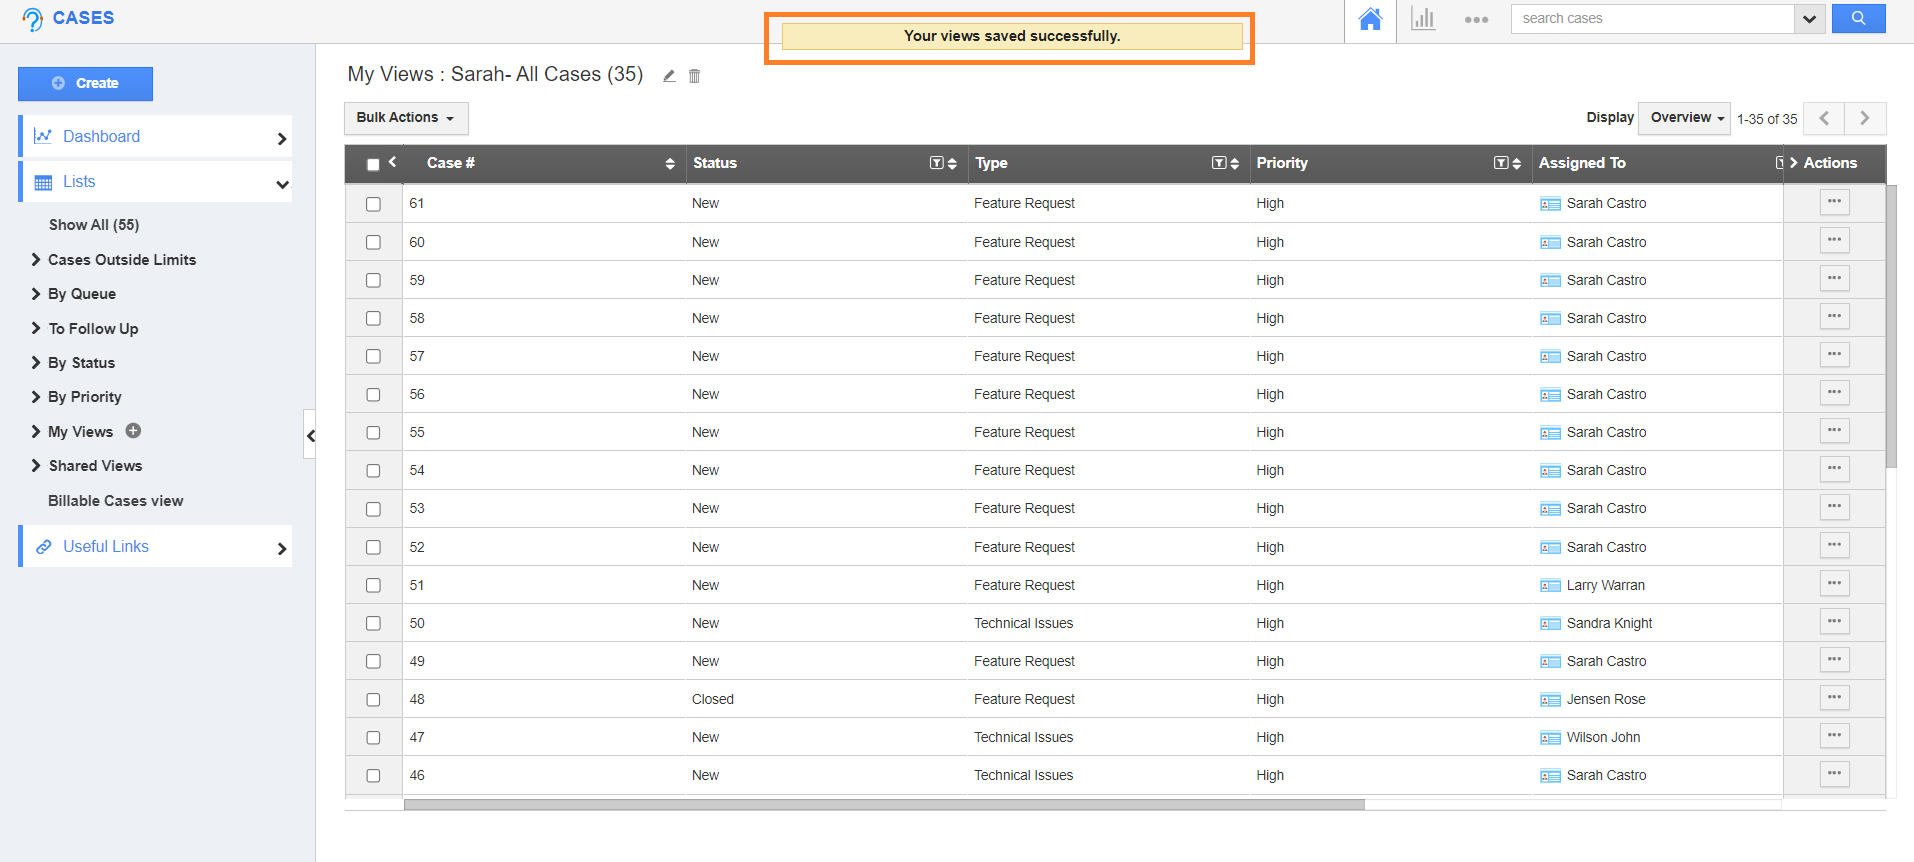
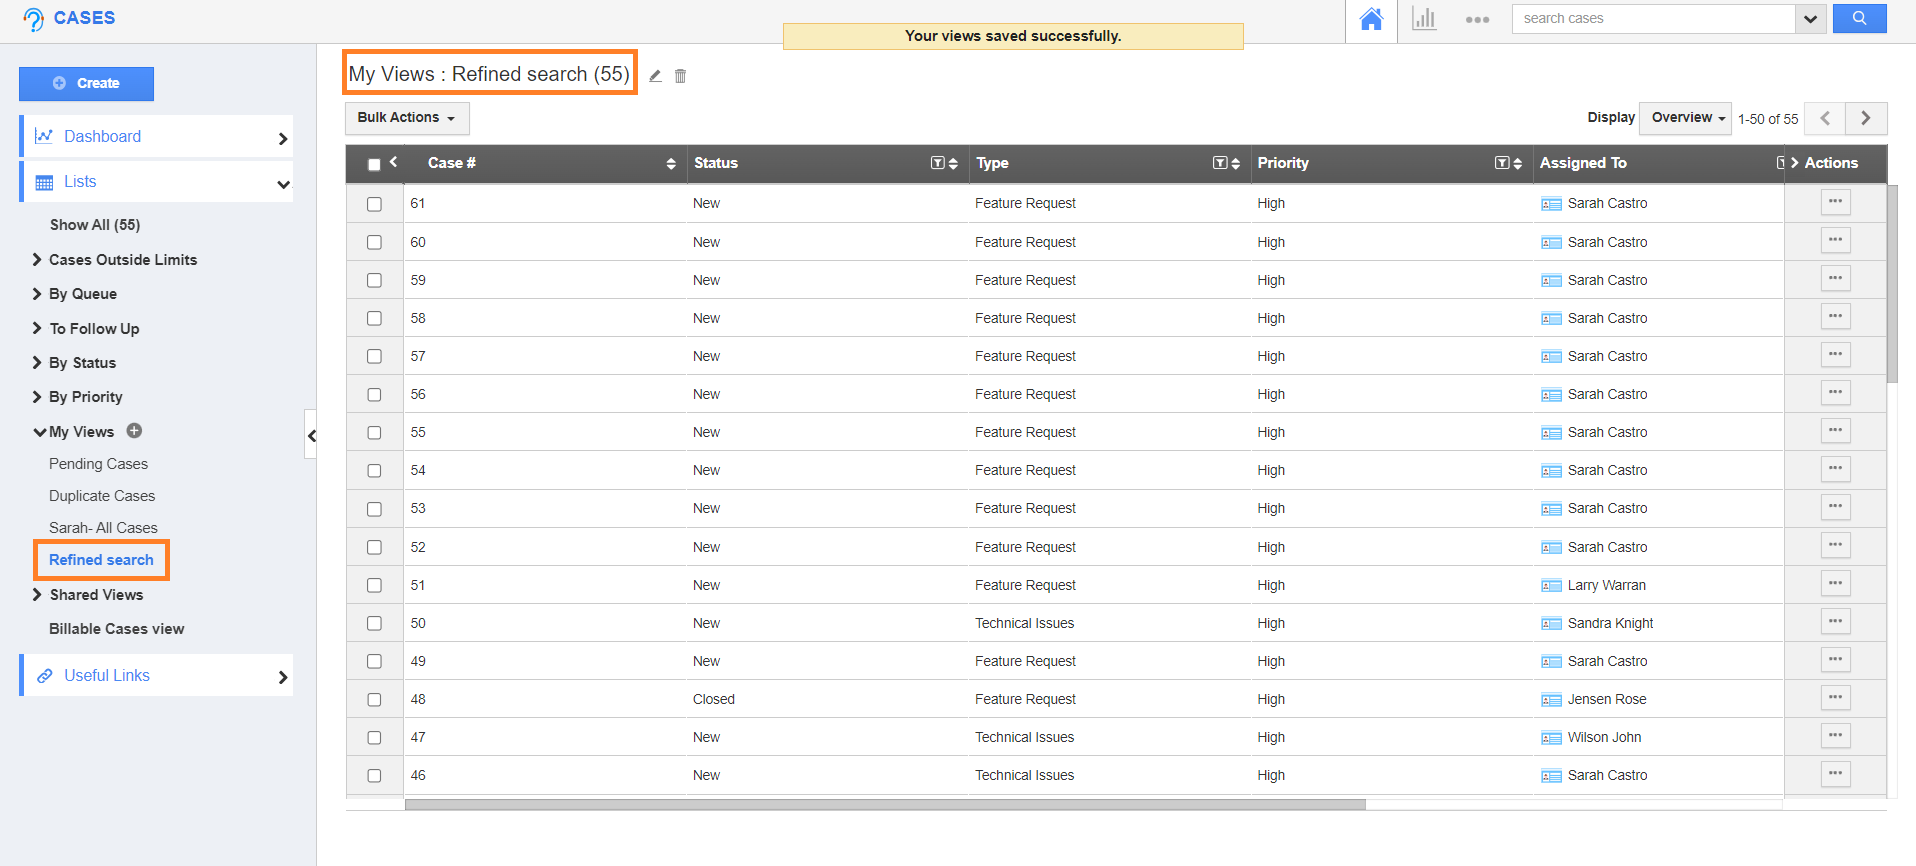
- After specifying the view name and sharing options, click the "Save" button. Now, the view will get saved under My views on the left panel and be shared with the selected employees and teams.
- You can also create a view by clicking on the + icon next to My Views.
- By clicking on the + icon, you can view the Create view side panel will get open.
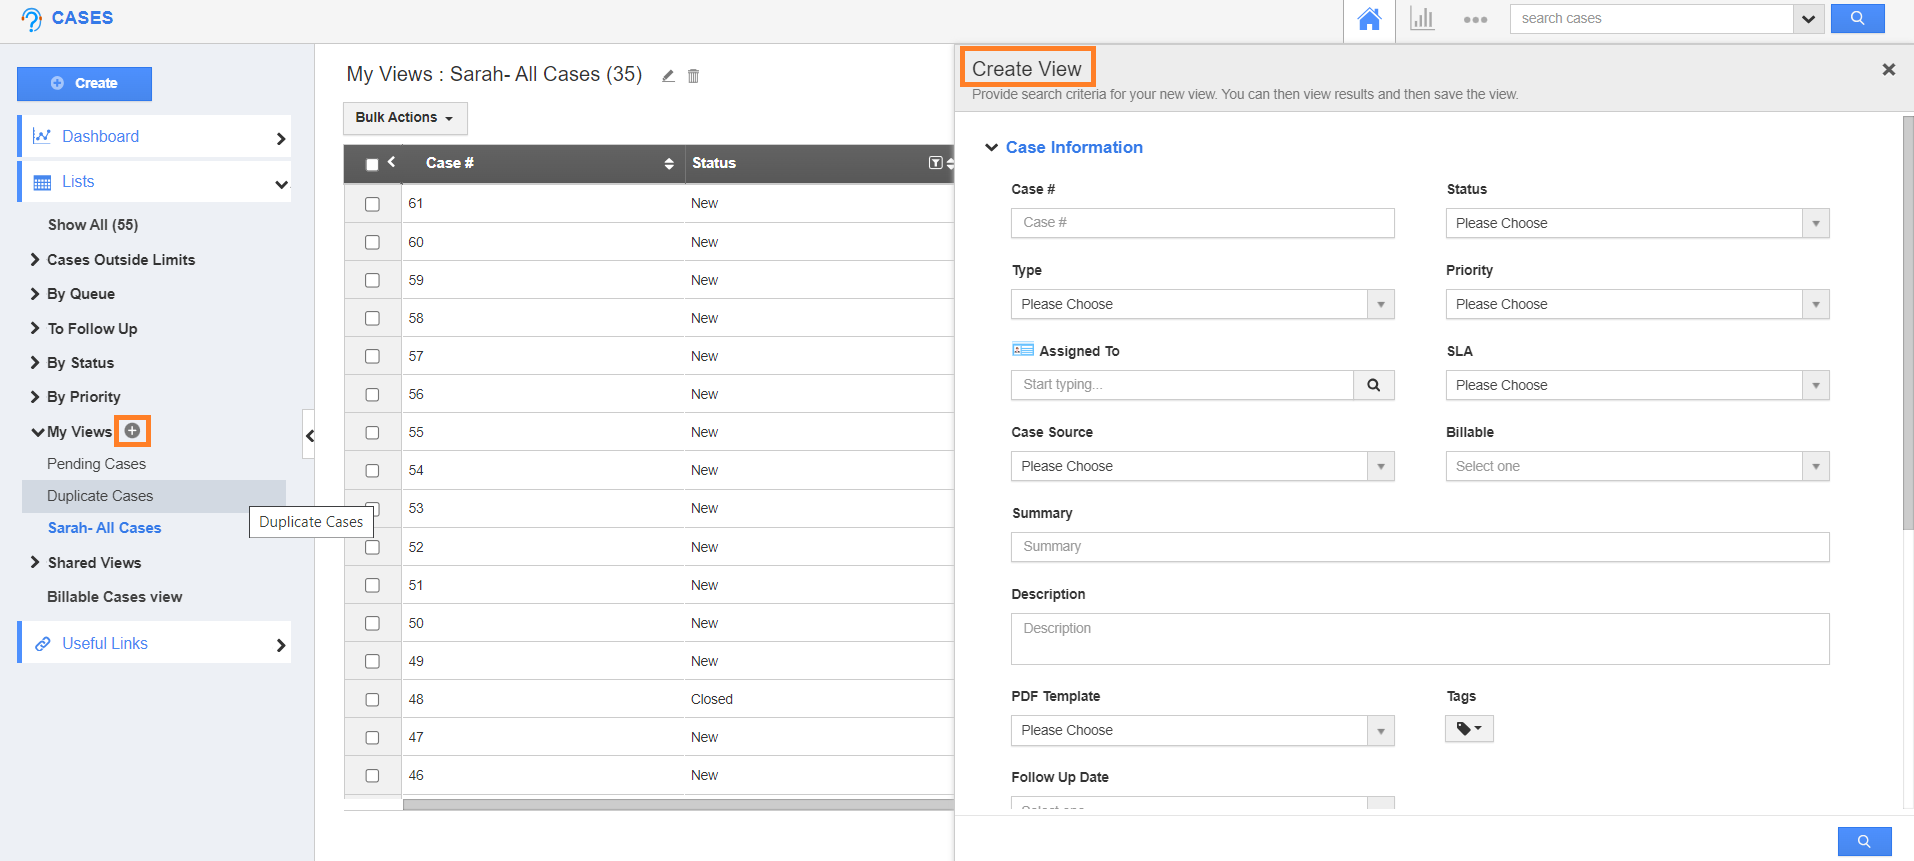
- Define your search and click on the search icon below.

- You can view the search results and Save the view button.

- Add the Name of the view on the Save as View popup.
- Click on the Save button.
- You view will get created and saved under My views on the left panel.
Related Links
Flag Question
Please explain why you are flagging this content (spam, duplicate question, inappropriate language, etc):

