Browse by Solutions
Browse by Solutions
How do I Include Customer Contacts in Invoices?
Updated on April 9, 2018 12:45AM by Admin
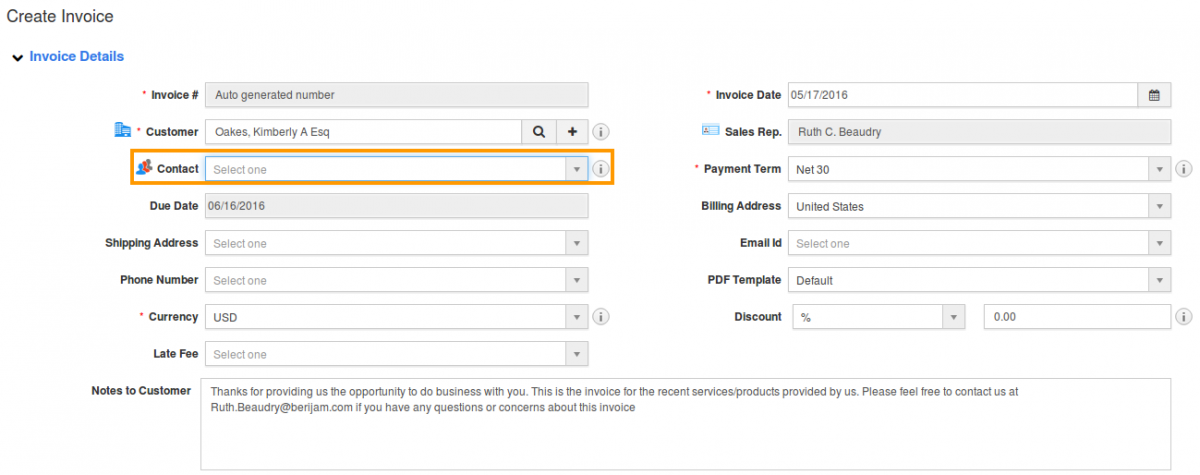
Invoices app allows you to include customer's contact. To include, you need to select the customer first. Depending on the selected customer the contacts of that particular customer will be displayed in the contact field. So here you can select the contact of a customer. Lets walk through the following steps.
Steps to Include Customer Contacts in Invoices
- Login and access Invoices App from your universal navigation menu bar.
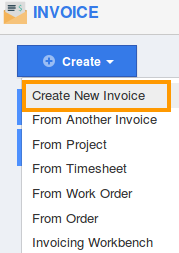
- Click on “Create” button and select “Create New Invoice” from left navigation panel.

- You can view "Create invoice" Pop up, From which select your option.
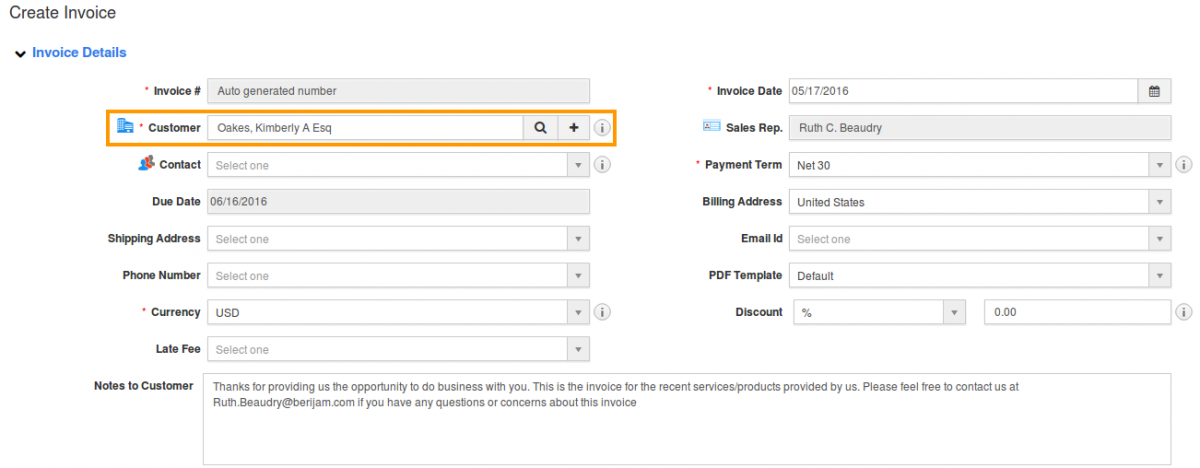
- You can view “Create New Invoice” page, in which you can find:
- Customer – Click on “Search” icon to select Customer or click add “New” customer.

- Contact – Depending on customer selected, Contact will be emerged.

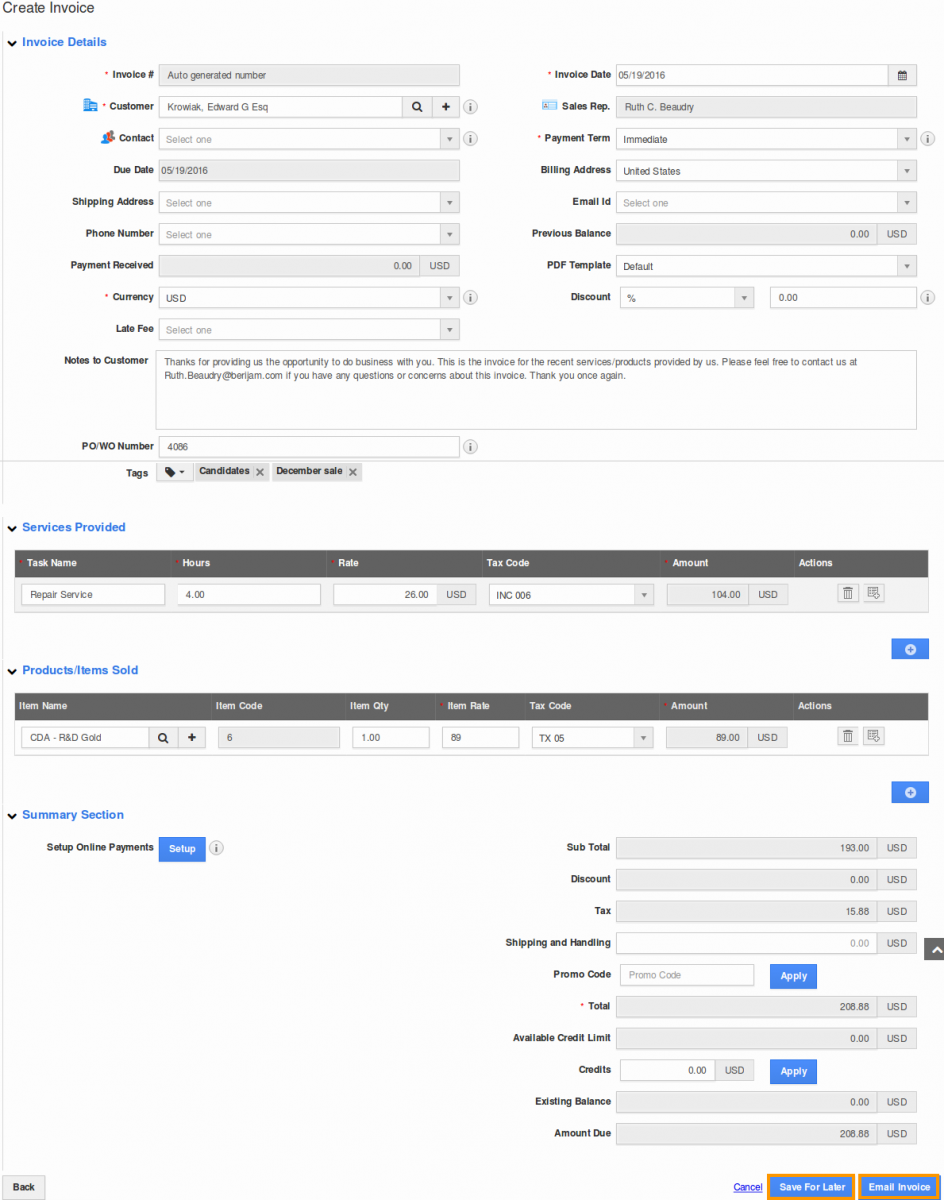
- Provide all information related to invoices.

- Click on “Email Invoice” or "Save For Later" button to finish.
Related Links
Flag Question
Please explain why you are flagging this content (spam, duplicate question, inappropriate language, etc):

