Browse by Solutions
Browse by Solutions
How do I Customize Communication in Opportunities?
Updated on October 30, 2017 10:55PM by Admin
Opportunities App has several groups of configuration settings that allows you to adjust the way you want the app to function. One among those functions is "Communication." This feature allows you to customize the Communication Settings present in the overview page.
Steps to Customize Communication
- Log in and access Opportunities App from your universal navigation menu bar.

- Click on “More” icon and select “Settings” located at the app header bar.

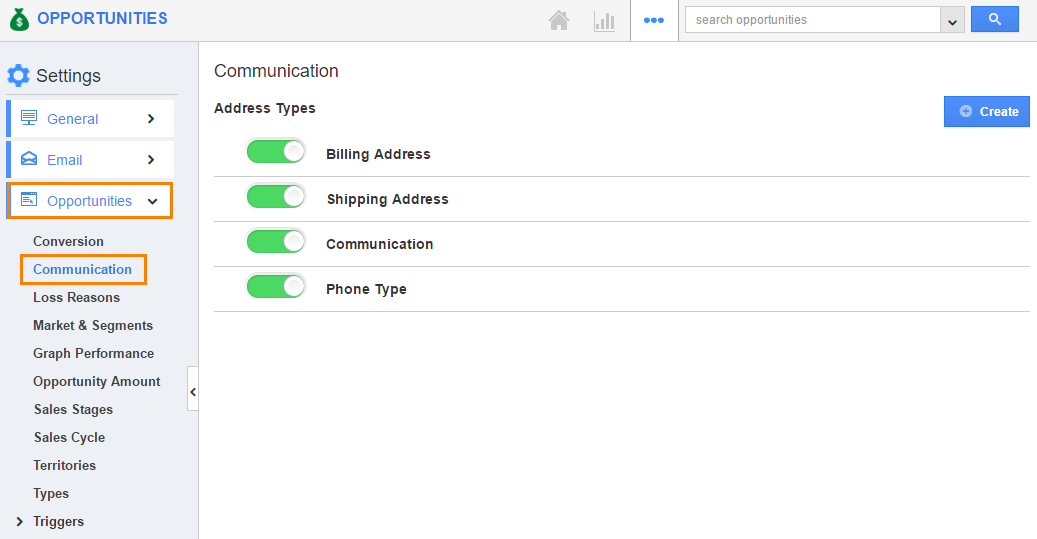
- Click on "Opportunities" from the left navigation panel and select “Communication” menu.

- You can view respective options found at the right side pane:
- Phone Types
- Click on “Create” button to add new phone type and specify "Name".
- Email Types
- Click on “Create” button to add new email type and specify "Name".
- Address Types
- Click on “Create” button to add a new address type and specify "Name".

- Click on “Create” button to add a new address type and specify "Name".
- Phone Types
- You can “Show/Hide” attributes found in "Phone", "Email" and "Address" Types.

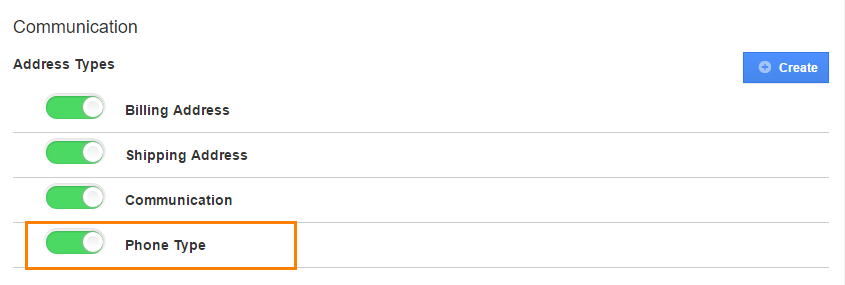
- You can view enabled values or newly created values while creating opportunities and also when importing opportunities CSV. For instance: "Phone Type" is created as an Address Type.

- You can view the created phone type on opportunity creation page as shown in the image below:

Flag Question
Please explain why you are flagging this content (spam, duplicate question, inappropriate language, etc):

