Browse by Solutions
Browse by Solutions
How do I Create an Invoice with Multiple Cases?
Updated on January 11, 2017 02:42AM by Admin
Invoices App allows generating an invoice for the billable cases using Invoice Queue option. This invoice queue collects all the cases which are billable, to generate invoices. Now while creating an invoice, if two or more number of cases are associated with a same customer, then those cases(multiple cases) can be included in the invoice.
Steps to include Multiple Cases in an Invoice
- Log in and access Invoices App from universal navigation menu bar.
- Click on “Invoice Queue” → “Cases” found in the left navigation panel.
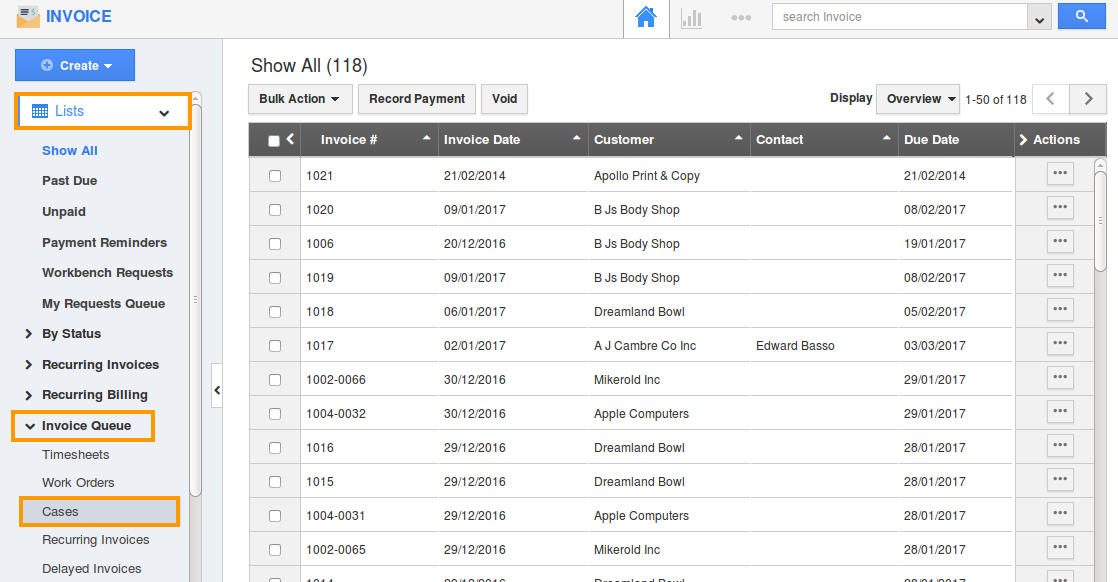
- The Invoice Queue: Cases page will be displayed with a list of cases that are ready to be invoiced.
- For instance: there are two cases associated to the same customer.

- Click on the “+” icon near the case that is to be invoiced.
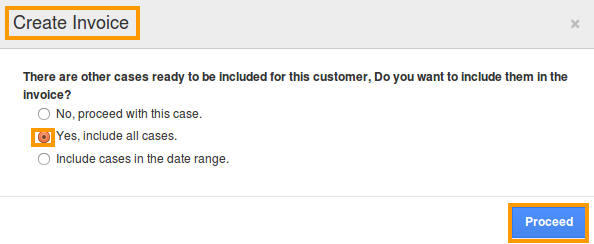
- Create Invoice popup will be displayed as shown, with the following three options:
- No, proceed with this case - On selecting this, only the selected case will be included in the invoice.
- Yes, include all cases - All the cases associated with that customer will be included in the invoice.
- Include cases in the date range - All cases will be included in the date range.
- Now, select “Yes, include all cases” option to have multiple cases. Click on “Proceed”.
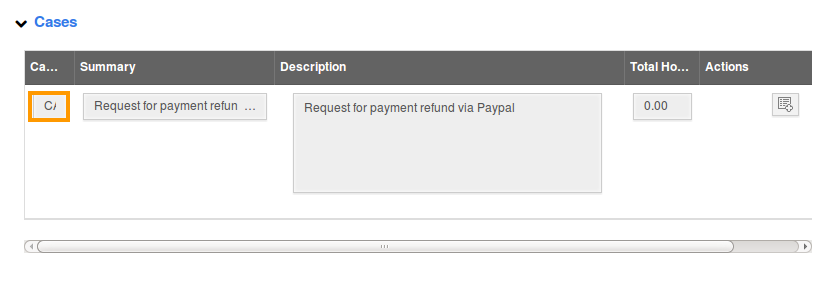
- The “Create Invoice From Case” page will be displayed. Here, you can view multiple cases associated.
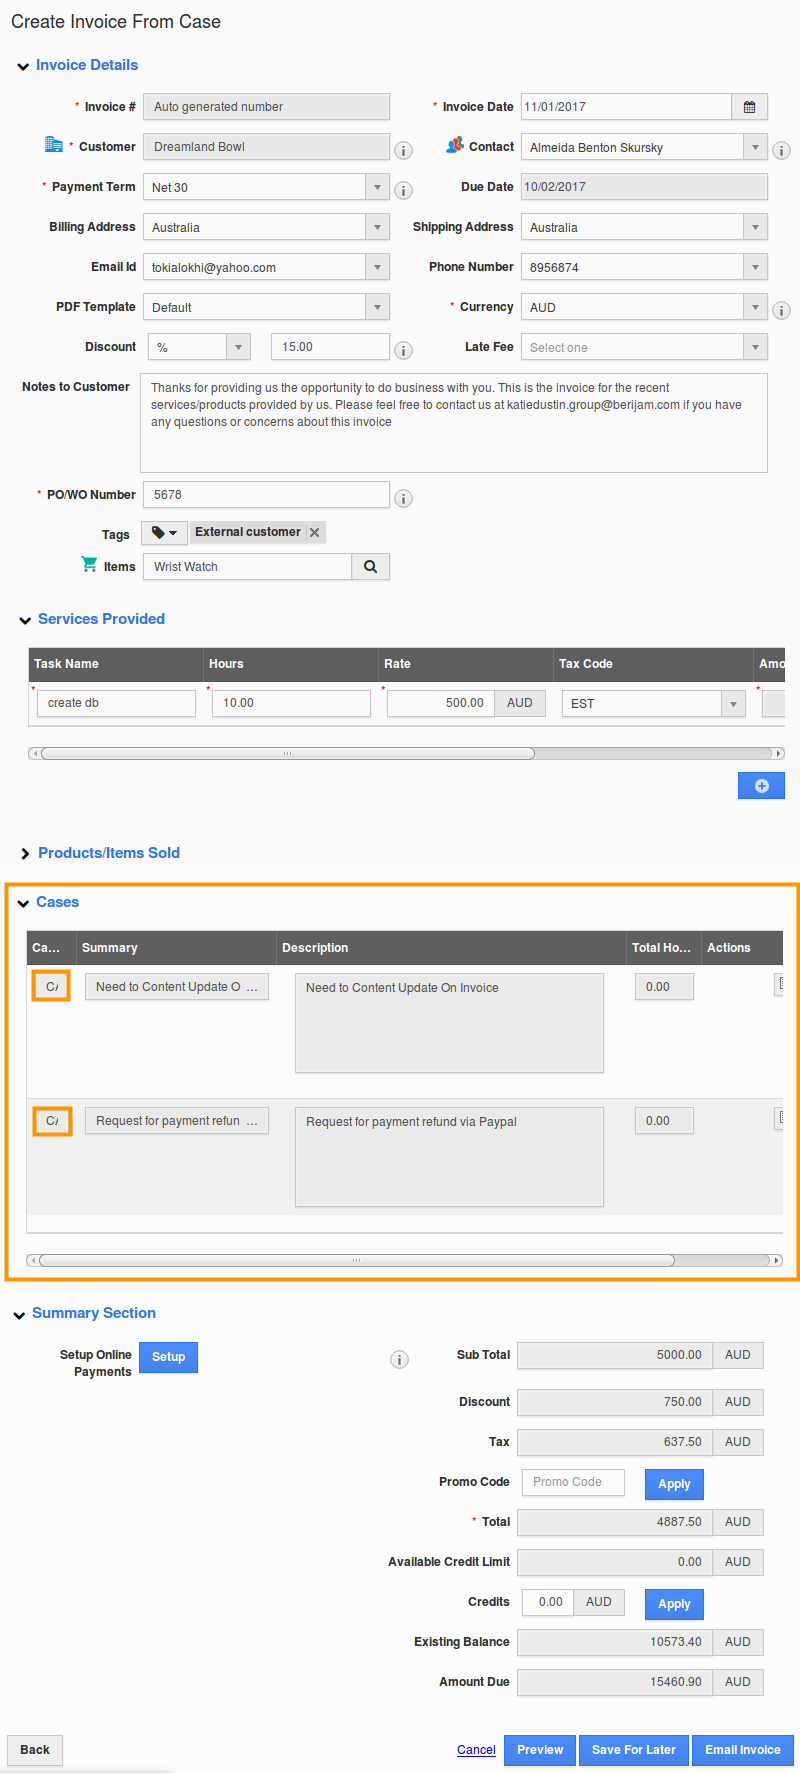
- That is, here two cases has been included in the invoice, as they were associated to the same customer.
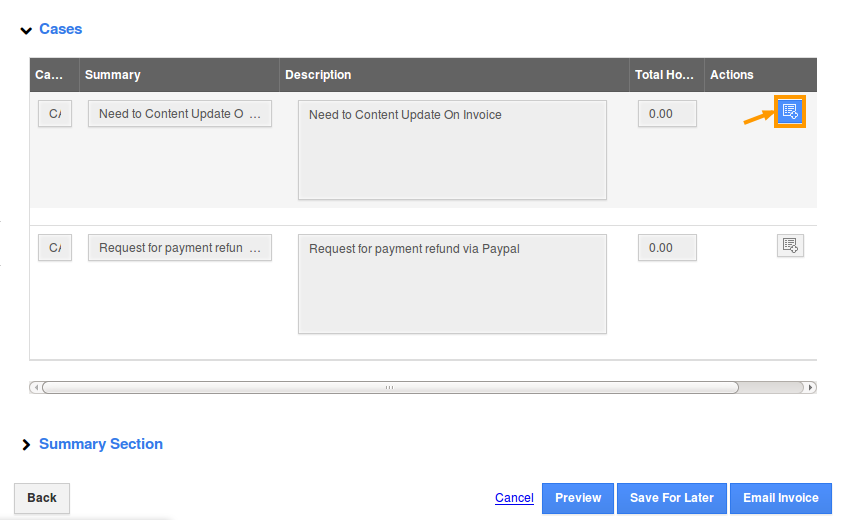
- You can add notes to cases by clicking on “Add Note” icon, if needed.
Note: If you want to create invoice only for the case selected, then click on “No, proceed with this case” option. Only the case selected will now be included in the invoice.
Related Links
Flag Question
Please explain why you are flagging this content (spam, duplicate question, inappropriate language, etc):

