Tags in the Insurance Tracker app allows you to easily group your insurances according to your own preferences by giving it a label. This helps you to easily filter the specific insurance you need from the group.
Steps to Create Tags
- Log into your Apptivo account and go to the Insurance Tracker app.
- Click on the “More” icon and select “Settings” located at the app header bar.
- Select the "General" dropdown and click on “Tags” from the left navigation panel.
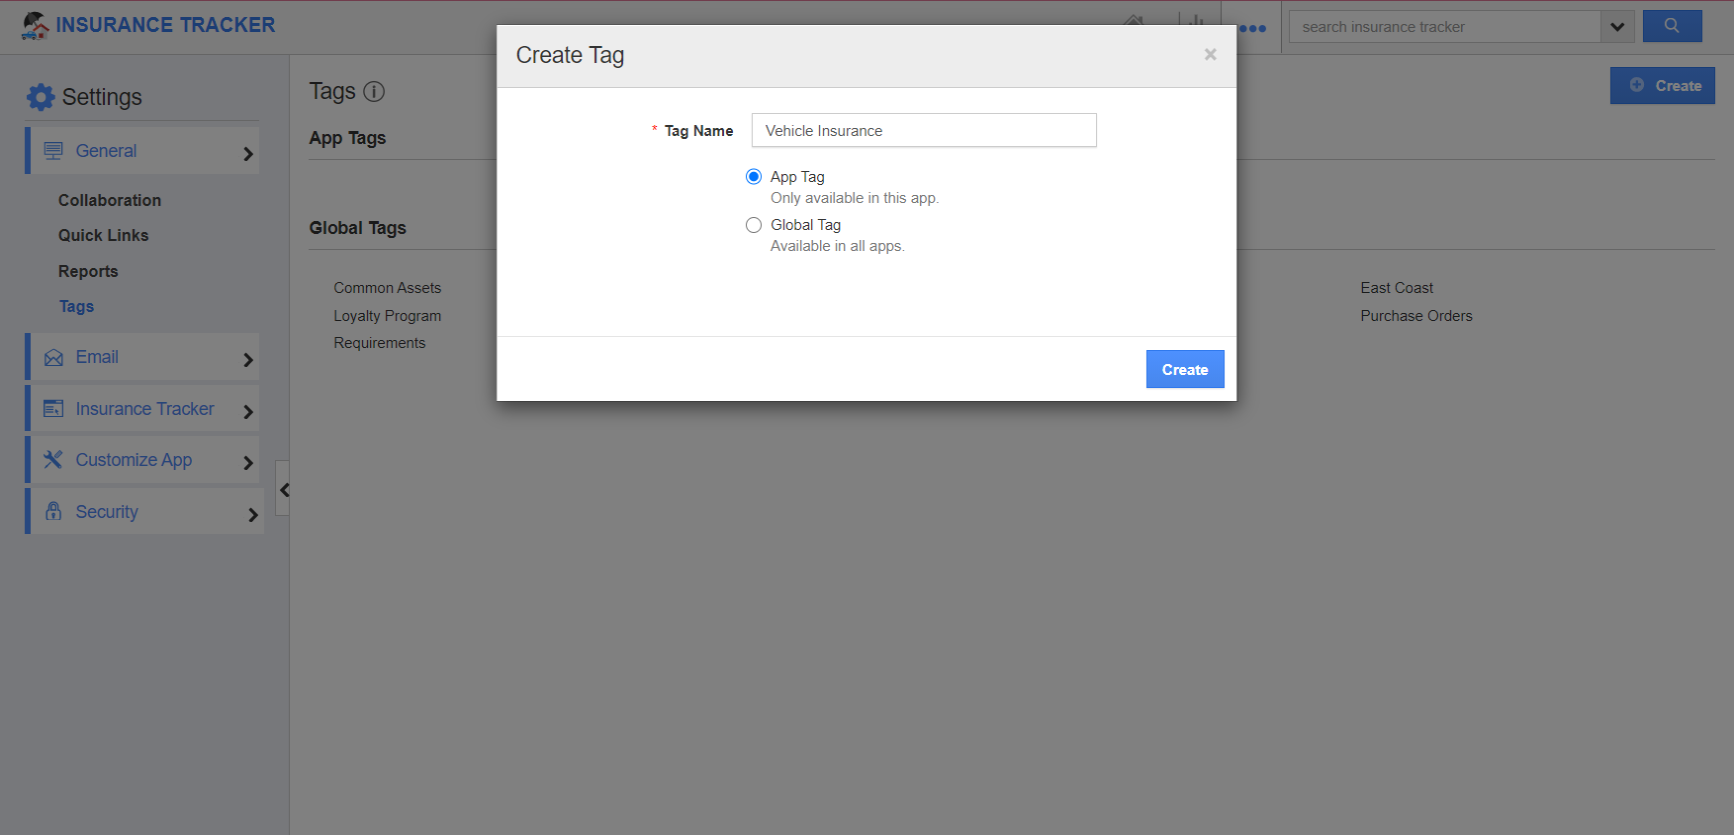
- Click on the “Create” button and specify:
- Tag Name (Mandatory) – Name of the tag.
- App Tag – The tag created will be available only to this app.
- Global Tag – The tag will be available to all apps.
- Here, App Tag is selected.
- Click on the “Create” button to complete.
- You can also edit the tag name using the “edit” icon if needed.
- The created tag will be available while creating or editing a record.
Related Links


