You can easily enable sync between Apptivo and G Suite emails using the Apptivo Emails App. There is no requirement for a password. You have to set up the synchronization and once it is done, you can have a streamlined flow of emails between Apptivo and G Suite. The G Suite Admin can install the Apptivo Emails app and configure G Suite sync. The users can use the G Suite sync.
Configuration in G Suite
- In your G Suite account, navigate to G Suite Marketplace.
- Now, Install the Apptivo Emails App from the G Suite Marketplace to enable the sync. Navigate to G Suite Marketplace and search Apptivo Emails App from the search panel and click Install.
- You can see that Apptivo Emails are added to your list of apps.
- Now, go to Settings in G Suite → Manage this organisation.
- You will be redirected to the Google Admin page. Here, select Apps.
- On the Apps page, select G Suite Marketplace apps.
- Here, select Apptivo Emails.
- You will be navigated to the Apptivo Emails app in the Marketplace.
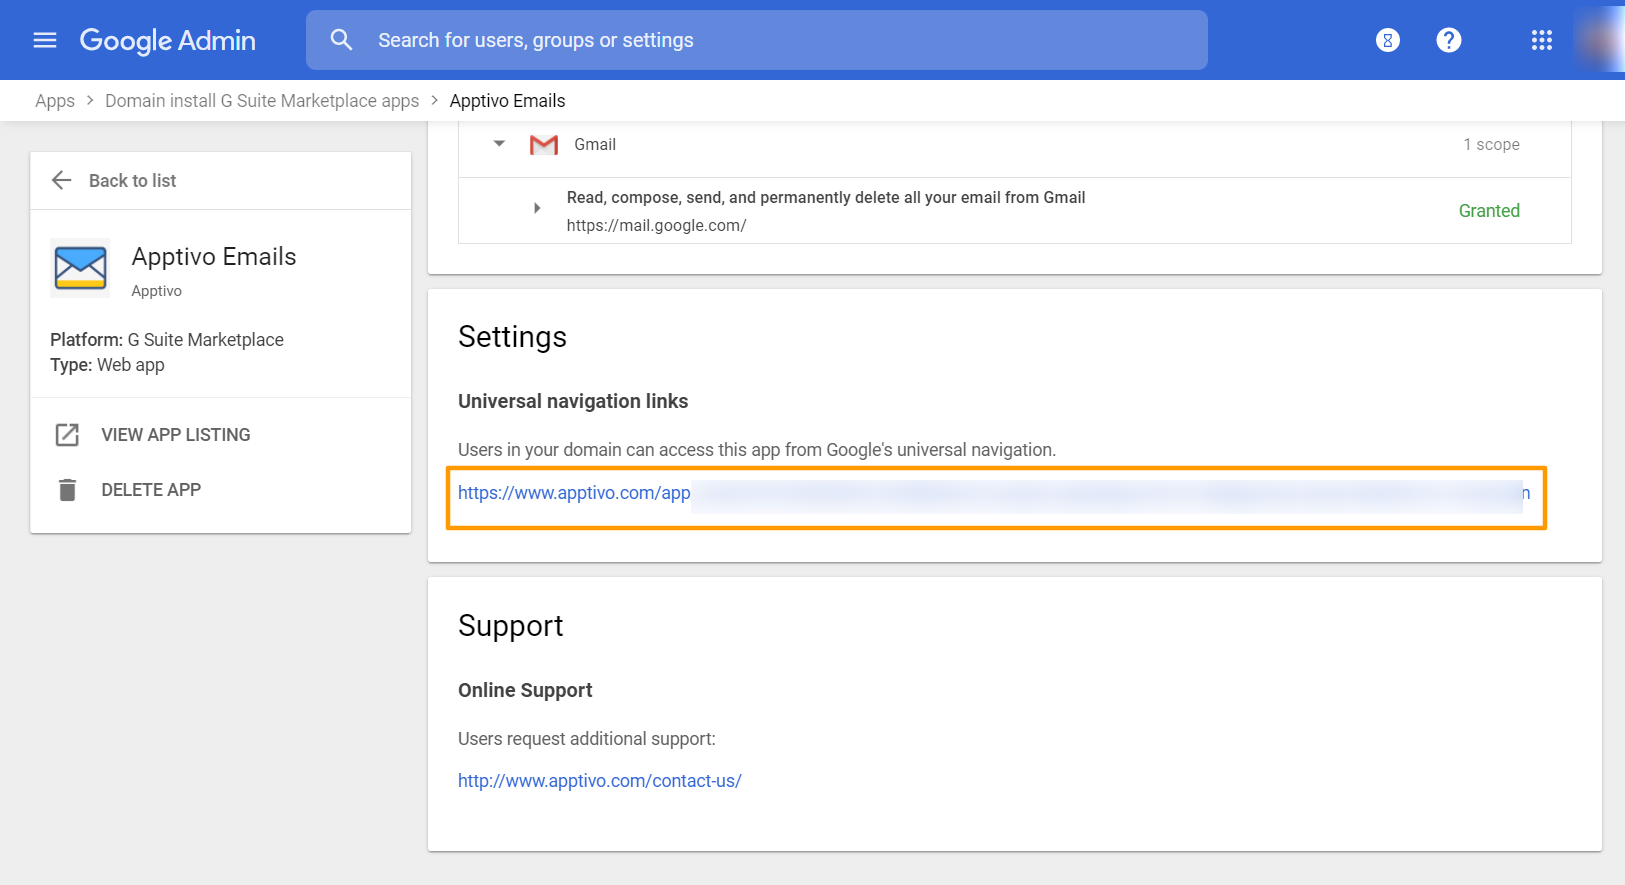
- Scroll down to Settings → Universal navigation links. Click on the link provided.
- You will be redirected to the Apptivo home page.
Configuration in Apptivo
- Navigate to Preferences → General → Email → G Suite in Apptivo. On the G Suite configuration page, your G Suite email will be auto-populated.
- You can see the history of Authentication and Subscription by selecting the preferred action from the “Action Type” dropdown. Then. select Enable sync.
- Once the sync is enabled, Forwarding ID will be available.
- To start the sync process with G Suite, copy the forwarding ID to Forwarding my Emails in G Suite forwarding settings.
- In Apptivo, you can view the last sync time from G Suite, subscription, history of authentication, and status of G Suite authentication.
Email Forwarding
- Navigate to your G Suite account → Settings → Forwarding and POP/IMAP. Now, click on Add a Forwarding Address.
- Paste the forwarding email address to the Add a forwarding address tab.
- Now, click on Proceed in the pop-up to receive a confirmation email with a confirmation code.
- The email will be available in your Apptivo’s inbox.
- Paste the code in the verify code section of your Gmail account.
Note: Select the "Forward a copy of incoming mail to" option manually. The disable forwarding option will be enabled by default.
- Once the above setup is complete, you will receive all your G Suite emails in Apptivo Emails App.
Related Links:


