Browse by Solutions
Browse by Solutions
How do I generate Sub Invoices in Apptivo?
Updated on October 14, 2018 11:23PM by Admin
Apptivo Sub Invoices streamlines your business more effectively, giving you the ability to print only the specific item lines when you print PDF an Invoice. This feature of sub invoices overcomes the existing functionality of printing the entire information.
Consider, you are in the business of exporting furniture. The finished product to be exported may come from multiple warehouses and/or different suppliers. Having the port of origin to be the same for a shipment, the containers may reach the port on various days from the different suppliers/warehouses, and you have allocated your own clearing agents for each supplier who clears and forwards the containers making it ready for shipping. The suppliers are expected to clear the customs before handing over the containers to you for export. So for a single shipment, multiple containers and many clearing agents will be involved.
To clear customs, an Export Invoice should be produced, and that export invoice should have the details only pertaining to that container which the supplier is handling at that moment. And however, to their end customer (importer), only one invoice should be sent for a shipment.
In this case, you can generate sub invoices and send out the parent invoice which has the consolidated list of all sub invoices.
Note: To view the sub-invoices in the Invoice Overview page, existing users should go to Invoices Settings > Invoice > Sub Invoice and enable the toggle present (For new users, Sub Invoice section will be displayed by default).
Let’s now walk through the steps to generate the sub invoices.
Steps to generate Sub Invoices
- Log in and access the Invoices App.
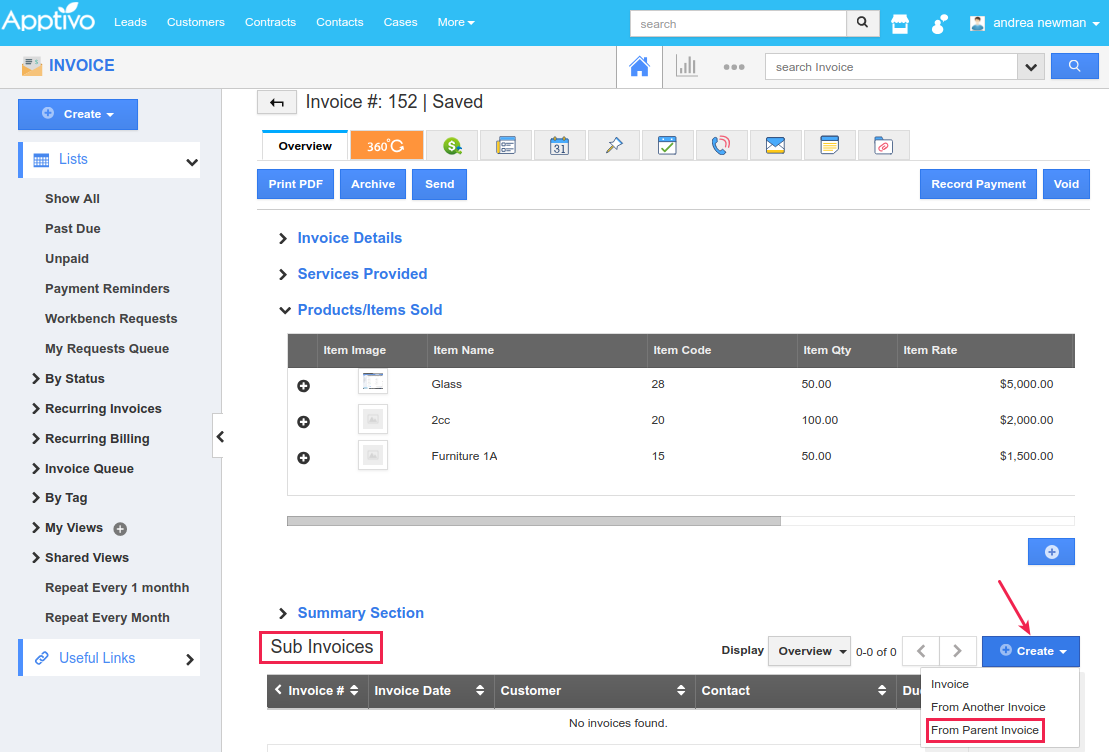
- Create a new invoice or open an existing one. Scroll down to view the Sub Invoices section.
- Click on Create drop down. This lists the following four options from which a sub invoice can be generated - From a new invoice, From parent invoice, and From another Invoice.
- For instance, here click on From Parent Invoice.

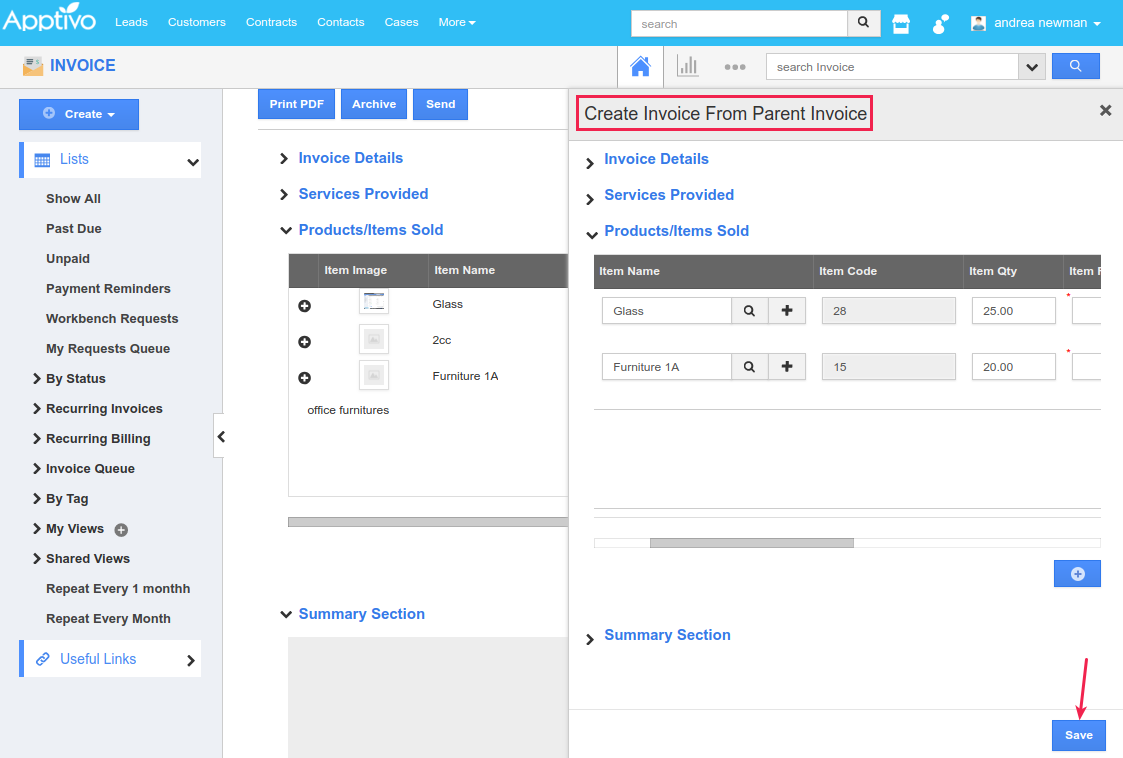
- This will open up a side panel, fetching the details of the parent invoice as such.
- You can now select the required line items according to your requirements and also the quantity. Once done, click Save.

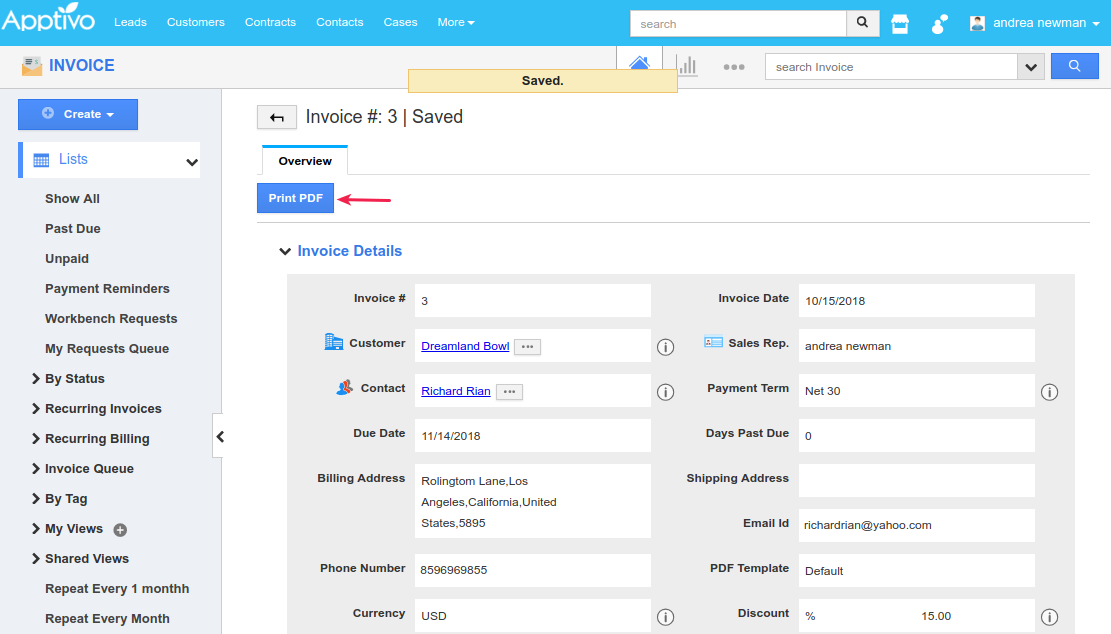
- The sub-invoice will be generated as shown in the below image with the option to only Print PDF it. Thus, you can have the Invoice PDFs pertaining to the selected items alone.


