Get to tie-up the Property information in Properties App with your Contacts in the Contacts App. Reduced clicks and increased reliability has been one of the goals of Apptivo. Standing by this, you can now easily connect the Properties with the Contact information. Rather than navigating through multiple applications, you can get the Property information effortlessly with Apptivo.
Enabling the Associated Object in the Properties App
In order to associate the Properties with the Contacts App, you have to enable the association feature.
- Go to Settings in the Properties App → Customize App → Associated Objects → Relationships.
- It is disabled by default. Enable it to create an association. You can also set the Privileges for the association. The Privileges for the Employees can be set from the Employees App.
Enabling the Associated Object in the Contacts App
In order to associate the Contacts with the Properties App, you have to enable the association feature.
- Go to Settings in the Contacts App → Customize App → Associated Objects → Relationships.
- It is disabled by default. Enable it to create an association. You can also set the Privileges for the association. The Privileges for the Employees can be set from the Employees App.
Configuring the Relationship
For Instance: You want to view the Properties which are associated with your Contacts.
- Go to Settings in the Contacts App → Customize App → Relationships → Create.
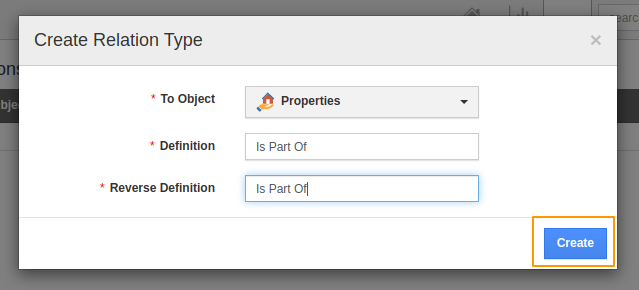
- You will be redirected to Create Relation Type window. Here, select the To Object as Properties while giving a definition and reverse definition for it.
To Object: To Object refers to the application with which the information is to be associated.
Definition: It refers to the relation of the records in the Current Application(Object) with the records in the Associated Object.
Reverse Definition: It refers to the relation of the records in the Associated Application(To Object) with the records in the Current Application.
Once the required fields are added, click Create.
Note: The created relation is applicable to both existing contacts and new contacts.
- Create a new Contact in the Contacts App and navigate to the Overview page of the contact.
- On scrolling down, you can see the Relationships table feature. Here, click on the add button.
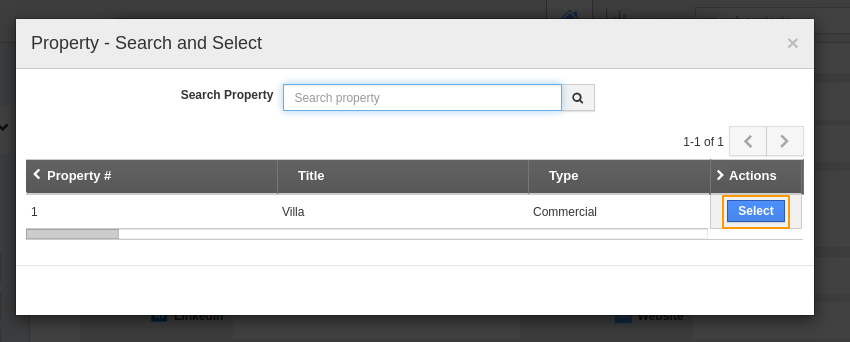
- In the Add Relationships window, select Properties as the To Object.
- Then, select the Property from the Search Property dropdown and select the relationship.
- Now, you can see the Property is added as a part of the Contact.
- The added property is reflected in the Contact Overview page. Click on it to navigate to the Property information.


