Browse by Solutions
Browse by Solutions
How to create a PDF Layout and print the record from the Apptivo Contacts App?
Updated on February 26, 2020 02:29AM by Admin
Contacts App in Apptivo is a powerhouse of all contacts associated with the business. It includes both customers and suppliers. Apptivo enables you to print the contacts in PDF which can be accessed readily.
- Go to Settings in Contacts App → Customize App → Print/Web Layouts.
 |
The “Create” option allows you to create templates in three formats.
- Start with a blank Layout
- Start with the default Layout
- Copy from Another Layout
 |
For Instance: Let us consider creating a template with the default Layout.
- You will be prompted to add a name for the template.
 |
- Now, you can add attributes to the template based on your requirements.
 |
- Contacts app provides various customization tools that help users to create custom templates. They function by drag and drop mechanism.
Sections
The sections tab allows you to add new fields into the Layout. It offers various features like adding One Column, Two Column, Three Column, Line, Table, Header, Footer and Page Break. Each of whose features can be modified using the Inspector tab.
Common Attributes
Common attributes allow users to add App name, header logo, Free text, it’s the description, Line, button and Page Number. The attributes can be customized using the Inspector tab.
Business Attributes
Business attributes decrease the work of the organization by automatically populating the Business Information like the name, logo, business address and phone number.
Customers Attributes
Customers’ attributes allow linking the information related to the customer like their name, sales representative, last contacted date, address and social media information.
Contacts Attributes
Like Customer attributes, Contacts attributes contain information related to contacts like their name, address, status, hobbies, and interests.
- Here, I have added a Status attribute.
 |
- Once the required changes have been made, save the template.
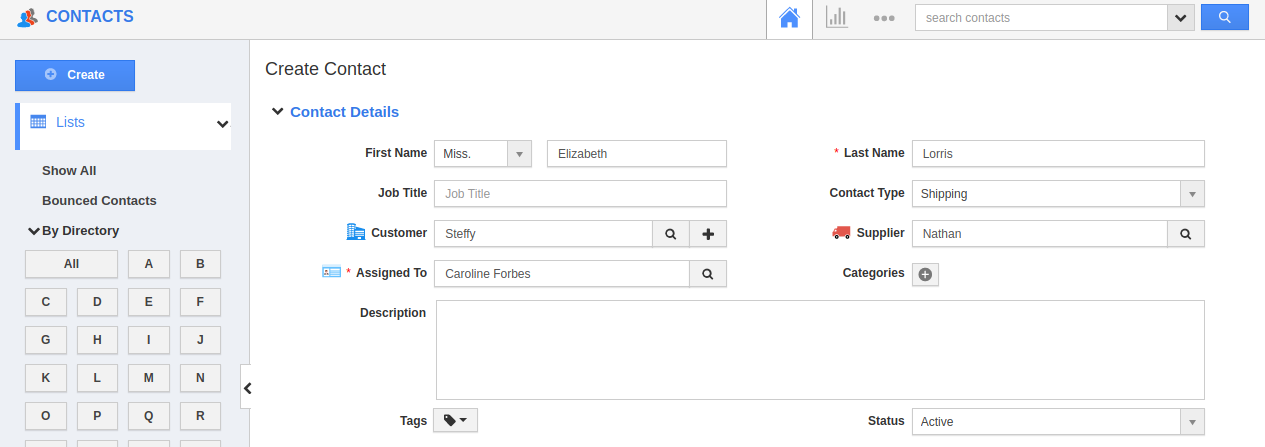
- Now select Create in Contacts app to create a new contact and add the required information.
 |
- Once the contact is created, select Print from the Overview page and choose the Template.
 |
- You will receive a copy of the record in PDF format.
 |
Note: You can enable PDF layout from Settings → Security → Actions → Objects → Print PDF.
 |

