Estimates app from Apptivo helps you to create the sales quotes for the customers. It will help you to track the sales opportunities and generate estimates for them. In addition, you can create the estimates and send an email to the customer for approval directly through Estimates App.
Let's consider creating estimates for a customer and send the estimate to the customer through email and get it approved by the customer.
Steps to follow
- Log in and access the Estimates app from the Universal menu bar.
- Click on the Create Estimate button.
- Select the Create New Estimates.
- In the Create Estimate page, add the customer for whom you want to create an estimate.
- Click on the search icon next to the customer. Search and select the customer from the list.
- By selecting the customer, it will auto-populate the customer contact details and the billing details.
- Then, scroll down to view the Products/Items sold.
- Click on the “+” icon to add the items.
- In the Item name, click on the search icon to select the items.
- Enter the Item Quantity and view the Summary with Total.
- Now, click on the Create & Email button on the bottom right corner.
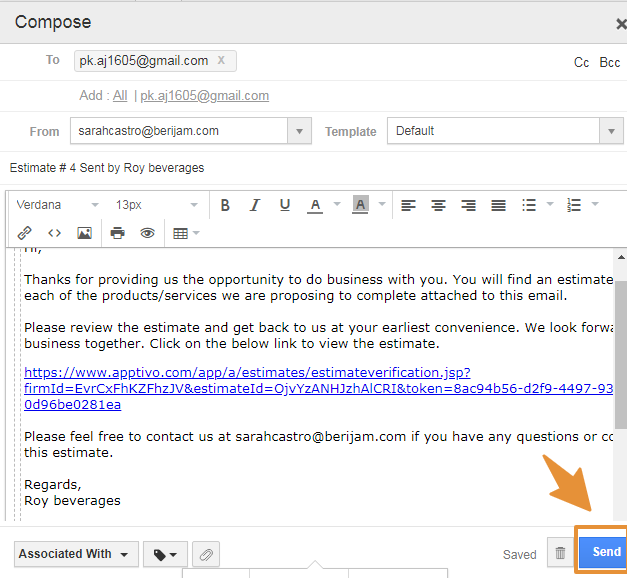
- By clicking on the create & Email button, you will be navigated to the Compose Email panel with the default email template.
- Edit the email if you want to make changes and click on the Send button.
- By sending this mail, the customer will receive a mail with the Estimate Copy with the actions like Approve, Estimate Verification and Print PDF.
- With the Approve button, the customer can Approve the Estimates. By clicking the Approved button, the estimate will get approved.
- Before approval, the Estimate overview page will be having Approve, Reject and Delete button. Estimate status will be Submitted.
- Once approved by the customer, the estimate will be changed to Approved status.
- By clicking the Estimate Verification, the estimate will open with the Actions like Print PDF, Request Change, Accept and Reject button.
- With the Request change button, the customer can type the requested changes notes and send the Estimate back for Verification.
- By Sending this Request change, the Estimate status will be changed to Change Requested.
- And the Requested Message will be visible in the Estimates History. Scroll down to view the Estimates History.
- By Clicking the Print PDF, the Estimate will get download in the PDF Format.


