This Kanban view can be enabled for all the possible standard views and custom views present in the left navigation panel. Based on any view, you can have the Kanban View of all Projects. In addition, you can set the Kanban view for your Project Portal.
Steps to Customize the Kanban Layout
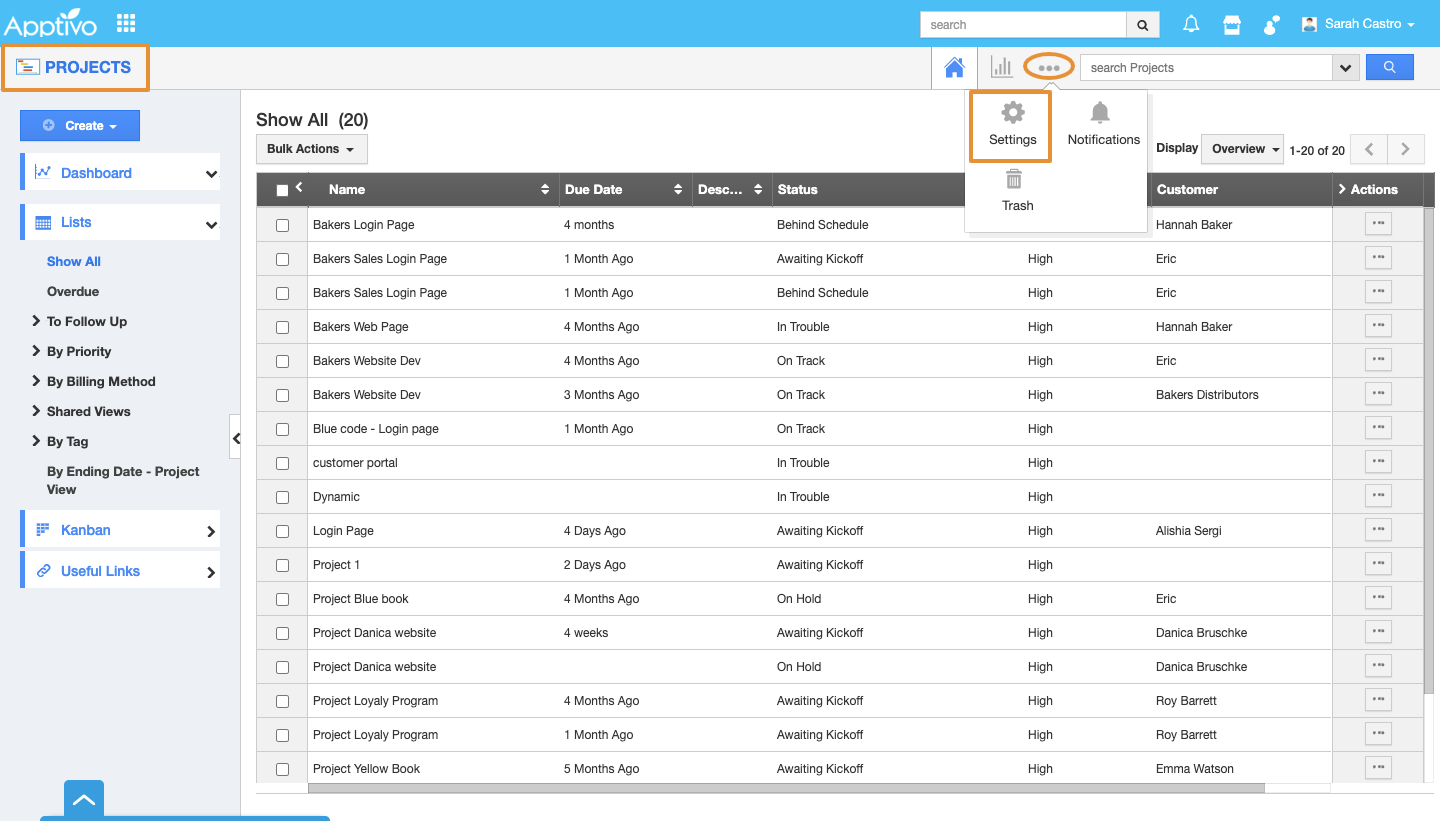
- Login and access the Projects app and click on More (...) icon and select the Settings.
- In the Settings page, click on the Customize App and select the Kanban Layouts.
- From the Kanban Layouts dashboard, click on the Create and select the Default Layout.
- The Create Kanban View popup will be displayed. Enter the layout name and click on Next.
- Now, the Create Kanban Layout page will be displayed with the drag and drop editor. In the Default Kanban section, drag and drop the Name, Customer, Start Date, End Date, Due Date & Status attributes.
- Similarly, in the Additional Field Detailed Kanban section, drag and drop the Contact, Project Manager, Modified By, & Follow Up Date fields.
- Click on Save.
- The customized Kanban layout will be successfully created.
- In the default drop-down, select the above created Kanban layout.
Note: To get the Kanban View in the Portal, make sure to keep the Kanban view as the Default View in the Projects app.
- Click on the Customize app and select the Views from the Settings.
- Now, go to the Project app homepage. You can view the Kanban View as the Default view with the added layout.
- By customizing the Kanban view in the Project app, you can view the same Kanban Layout in the Project Portal as well.
- Go to the Project Portal, you can view the similar Kanban Layout with the customized fields.
- By clicking on the More link, you can view the added Additional Fields.


