The Contact Center App of Apptivo allows you to transfer the calls to the callback Queue using the IVR setup page. With this, you can easily follow up on the incoming calls.
- In the Contact Center App of Apptivo, select Settings from the App Header.
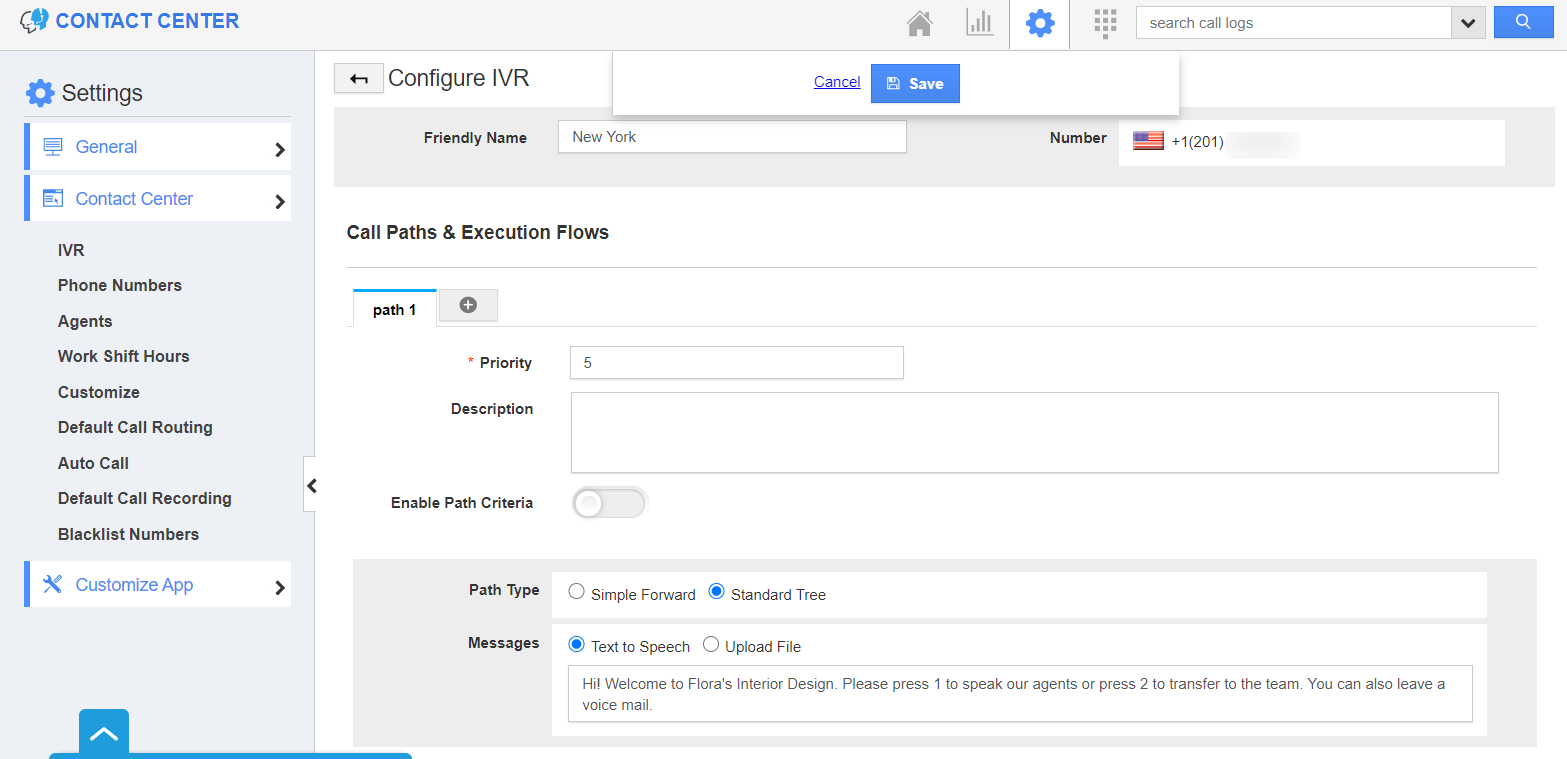
- Go to Contact Center → IVR from the left navigation panel of the Settings page. Select the phone number in which you want to set up this callback option.
- You will be redirected to the Configure IVR page. Scroll down to the Call Handling Rules section.
- Select the routing option in which you want to set up a callback queue. For instance, here we have selected Route to Employee. Select the employee added to view the Inspector tab.
- In the Inspector tab, the ringing cycle is 20 seconds. After 20 seconds, you can choose to allow the caller to either leave a voicemail or request a callback.
- In the Message section, you can configure the message to be conveyed. Once the message is conveyed to the caller with our Text to Speech translator, our system will by default ask the caller to leave the callback number. This applies when Queue in Callback option is selected. Save the changes.
Note: You can configure Queue in Callback option only during the below IVR Setup:
- Route to Employees
- Round Robin
- Forward to a number
- Now, when an incoming call is not answered by an employee within 20 seconds. The call will be added to the Callback Queue along with the customer entered 10 digit phone number in the Work Queue section.
- Here, if the caller ID is available in the database, then the call information will be recorded with the caller name along with his callback request number mentioned in the call.
- If it is an unknown caller, the incoming call number and callback request number will be recorded.


