Setting up your G Suite with Apptivo only takes a few seconds. Follow the steps below to get started.
- Log in and go to the “Preferences”link in your account.
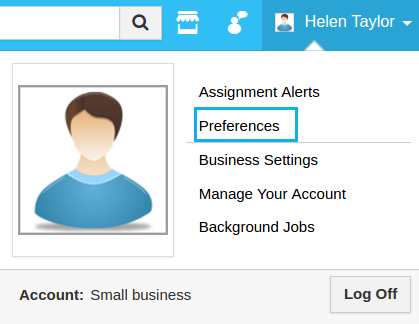
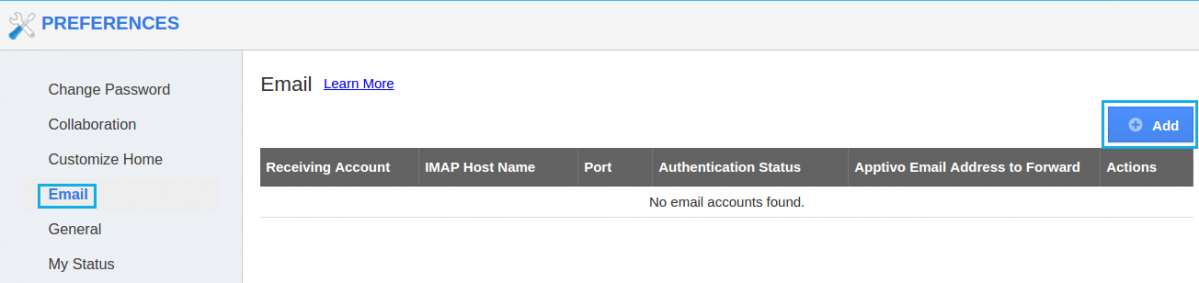
- Click the “Email” preference link in the left navigation.
- Click “Add” button at the top right corner of the preference pop up.
- Choose your domain from the given options Gmail, Yahoo, Godaddy, Outlook, AOL and Others.
- Enter your “Username”, “Password”, “IMAP Host Name” and “Port” of your G Suite email account.
- Username: You can specify the username of your Gmail/Yahoo to authenticate for your account.
- Password: Make sure to enter the password of your domain email address.
- Host name: Based on the domain you selected it will be pre populated with specific host name. Define the host name for the domain which you would like to authenticate the email address.
- Port: Based on the domain you selected it will be pre populated with specific port number. Define the port number to distinguish the services of the domains. We will always enforce that your email provider’s remote server has a valid SSL certificate (Port number 993, 143).
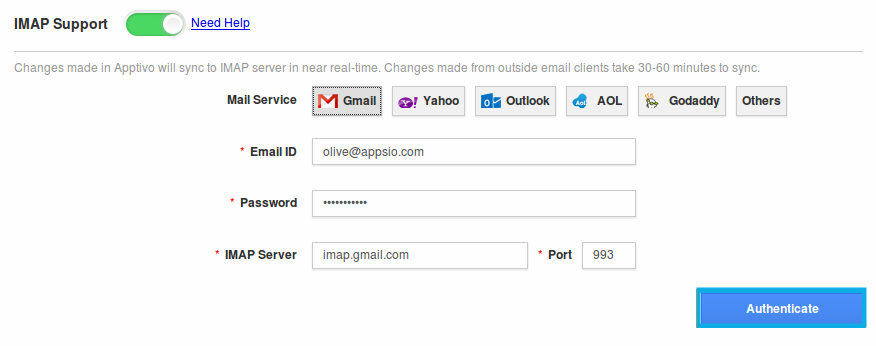
- Hit the “Authenticate” button to confirm and save your email account or hit the “Save” button to only save your account credentials.
- You can view the authenticated email address in the list with the authenticated logo and re-authenticate button.

- If you change your password in G Suite, you must re-authenticate the email address in Apptivo.
- Click on “Re-authenticate” button to re-enter your password for your email address and remember to click on “Authenticate”.
- Perform actions like edit and delete using appropriate action buttons.
How do I access emails config from emails settings?
Apptivo allows to access emails config through email settings, follow these steps to add email accounts.
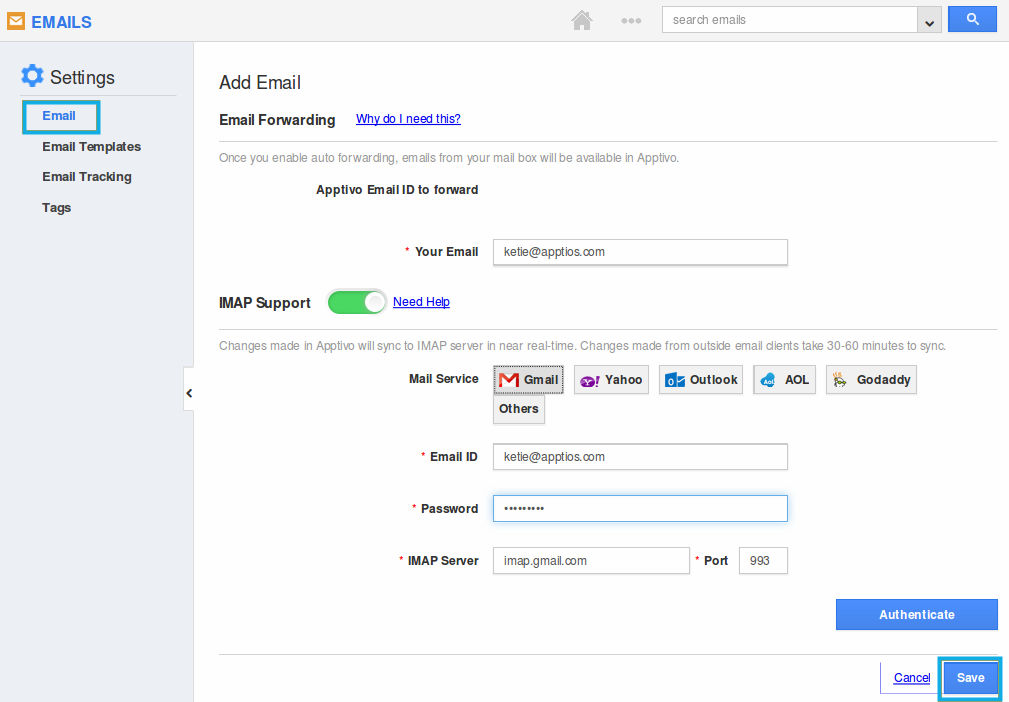
- Log in and click the emails icon from the left navigation of the home dashboard.
- Click on “More” icon and select “Settings” from app header bar
- Click on “Add” button.
- Specify your “Email id” and click “Save” button at the bottom.

Setup Steps was last modified: November 4th, 2020 by

