This article will explain how to take the proper steps to re-size and upload your product photos into the Items App. These images can then be published to your Apptivo eCommerce website. We’ll cover the steps to determine what type of image size you need, then we’ll cover the basics of proper re-sizing so the image displays without being stretched or altered.
Step 1: Figure out the optimal image size
We’ll start off by viewing our actual website and taking a look at an existing product. What we need to do is determine exactly how large the display area for the image is. You can do this a number of ways, we’ll cover the easiest method, using the Google Chrome browser as an example.
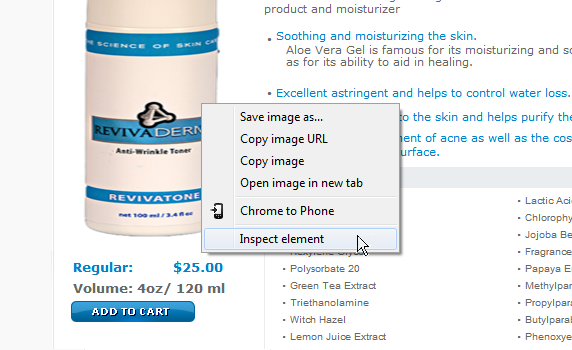
1. Right click the image, and select “inspect element”.
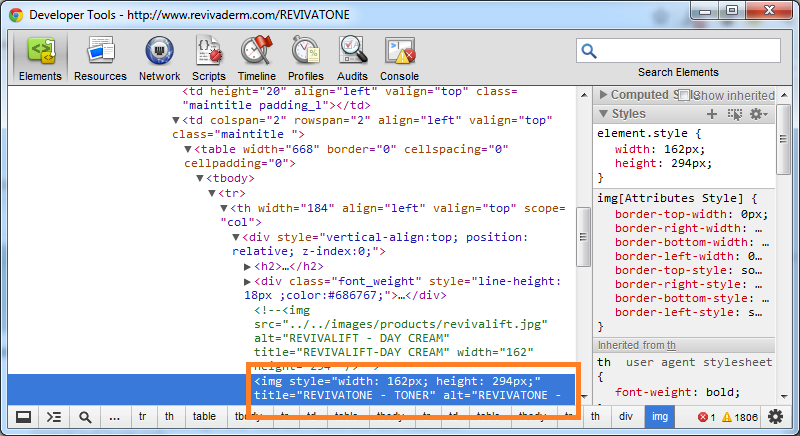
2. A popup called “Developer Tools” will be opened, and you’ll see an area of text is already highlighted at the bottom of the popup.
3. Now without clicking anything, move your mouse over the highlighted text. You will see on your web page that the entire image has been highlighted, and the size of the image is displayed just below.
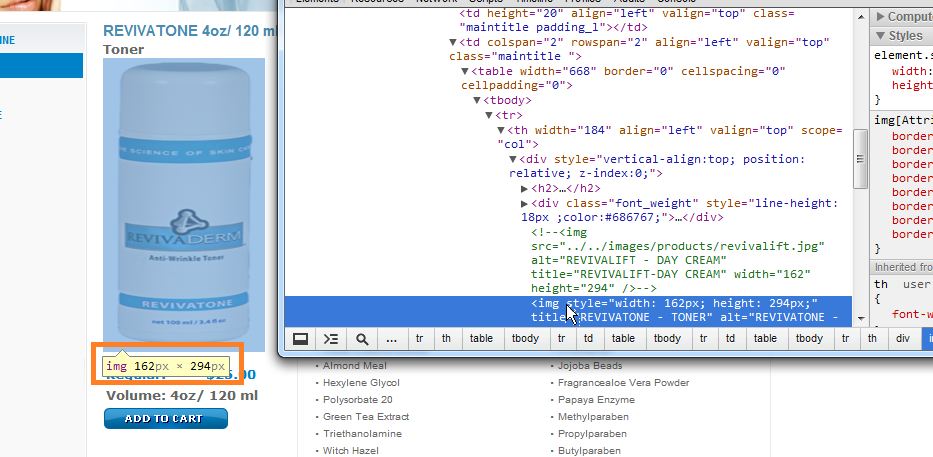
4. Write down these numbers (ex. 162 x 294), these are your optimal image dimensions.
Step 2: Re-size your image to proper dimensions
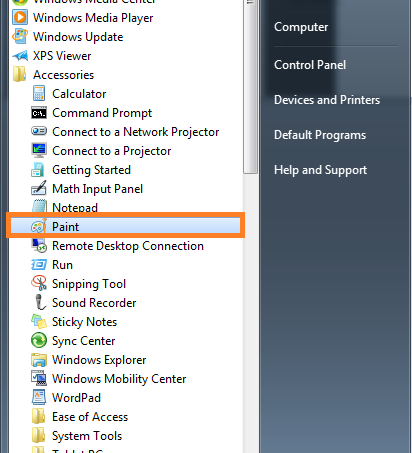
1. Open up your favorite image editing software (Adobe Photoshop, MS Paint, etc).
2. Load your image into the program, and note the current dimensions (usually printed at the bottom).
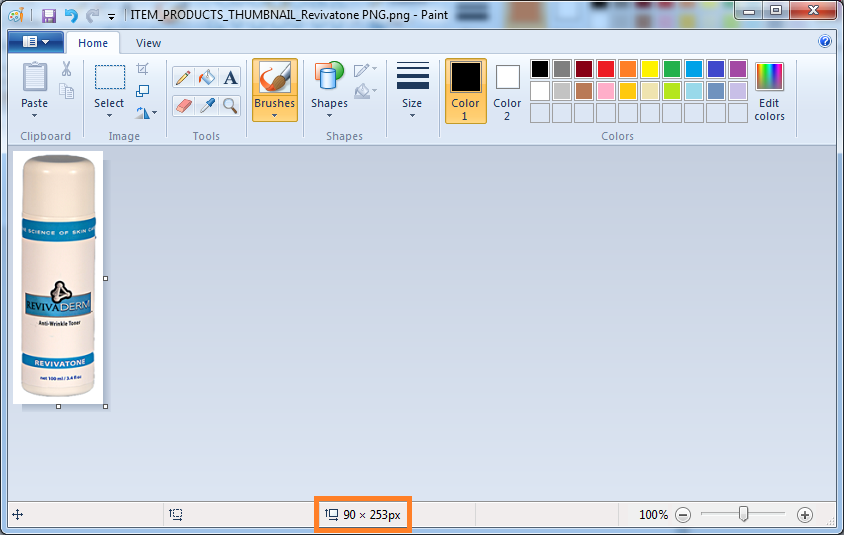
3. Now we need to take the larger dimension, and ensure it matches the optimal dimension exactly. In our example, the image height is currently 253 pixels. Our optimal image height was 294 pixels, so we should increase the image height.
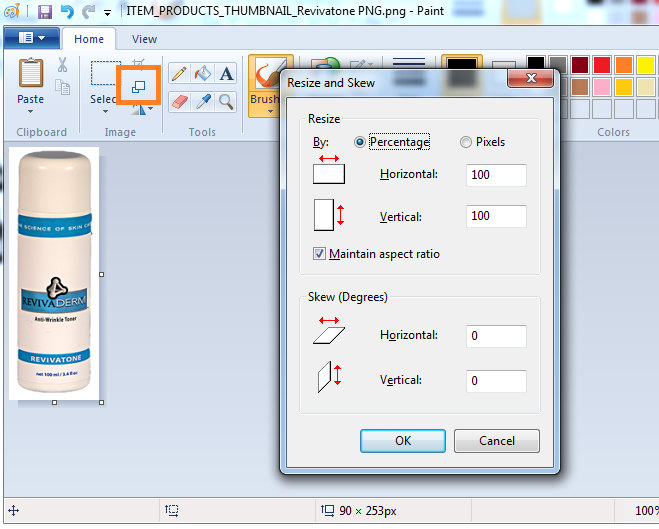
4. Now that we know what to change, how do we do it? In MS Paint, there is a small icon next to the “select” box, which allows us to re-size. Click this to reveal the screen to re-size.
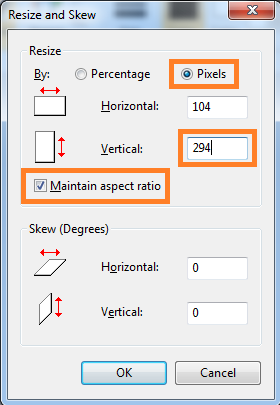
5. Inside of the “Resize” section, select the “Pixels” button, and also ensure the “Maintain aspect ratio” box is checked. Now we will update the “Vertical” field to be our optimal 294 pixels.
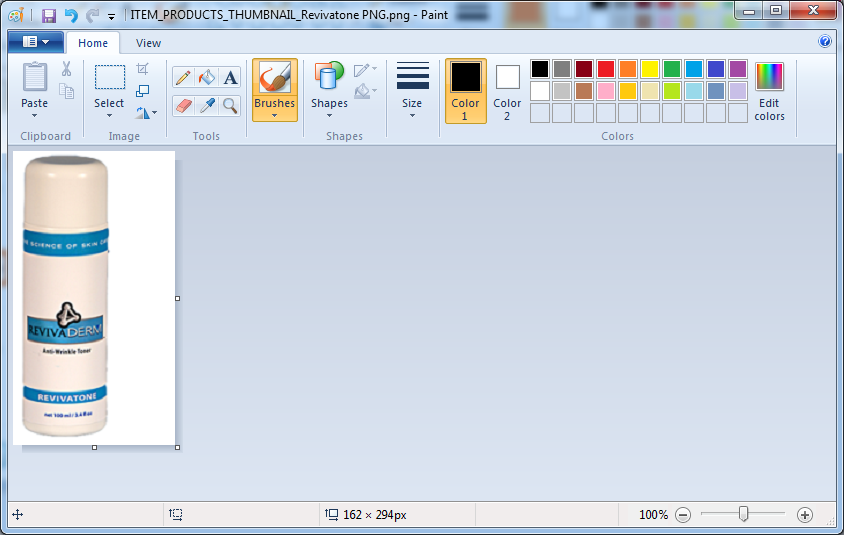
6. After pressing OK, our image size is changed. Now we just need to fix the other dimension, the width. Currently our sample width is 104 pixels, we need to increase this to the optimal size of 162 pixels.
7. Instead of re-sizing the image again, we will actually increase the width of the image by adding blank white space. We can simple drag the small boxes on the side of the image to increase the width.
8. Now we just need to use the select tool, and center our image.
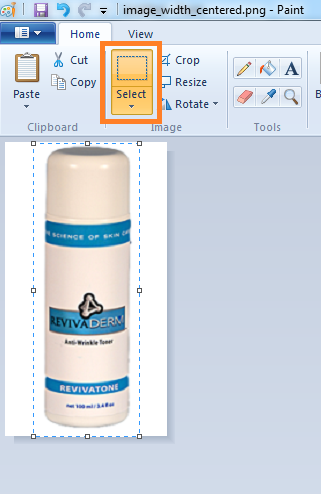
9. Finally, save your new image!
Uploading the image to Apptivo
Now that you have created your properly sized image, simply go to the Items App, and upload your new image on the E-Commerce tab of your item. After uploading your image, use the Sites App (or your WordPress Plugin) to publish the change.
Latest Blogs

Role Of CRM In Travel And Tourism Industry
Travel and tourism have been a significant part of everyone’s life since the ancient period. When we skim through the pages of history, It should be noted that humans were initially nomads before they became settled in one place. They...
Read more →
WHAT IS CRM TECHNOLOGY?
Introduction CRM is a technology that helps manage the entire customer information and interactions in order to build and maintain superior customer relationships. The CRM solution replaces spreadsheets and other different applications, which makes it easy for the businesses to...
Read more →
Everything you need to know about the Annual Maintenance Contract!
1. What is an Annual Maintenance Contract? 2. Benefits of Maintenance Contracts 3. How can Apptivo CRM help you manage maintenance agreements and vendors? 4. Summary Think about getting the confidence that the machinery is well-maintained and performing optimally, without...
Read more →
