Introduction
Apptivo has developed an integration with Google Forms so that users can easily create forms, embed them on their website, and have the submissions captured in their Apptivo CRM. This works by creating a Google Form like normal, but then we perform some additional configuration to that form so it creates a new sales lead in the Leads App when submitted.
At this time the integration can only create a new lead, but if you are interested in other capabilities to let us know!
Google Forms Overview
Google Forms is an application available for free with Gmail accounts, as well as being a part of G Suite. It’s a simple tool that allows you to create a form with any questions desired (text fields, dropdowns, etc). This form can either be shared directly with people via email, or you can embed an HTML snippet onto your website and display the form there.
This guide will cover the creation of a basic form, and then we’ll provide some on how to embed that form on your website below.
Prerequisites
To perform this integration you’ll need a few things:
- Have a Google account (G Suite or Gmail both work)
- Have an Apptivo Premium, Ultimate, or Enterprise account
- Have Super User access in your Apptivo account
- Configure all your fields in the Leads app.
Note:
- You can modify this integration to change field names, values, and submit hidden fields with code.
- Once you’ve created the form, you can share it directly with people via email, or you can embed it as a HTML snippet onto your website.
Setup Instructions
Before we get started, we need to think about what our form is for. In many scenarios, your website will have a simple contact form, and you just want that form to be submitted directly to your CRM. You might already have an existing form created, in which case you can skip the first section down below.
Here are the high-level steps we’ll follow:
- Create the Google Form with all fields
- Ensure our fields match our Apptivo account
- Integrate the form with Apptivo by inserting some special code
- Run a test to make sure things are working
- Embed the form on your website
Create Your Google Form
This step doesn’t include anything specific to Apptivo, so feel free to explore other guides on customizing your Google Form from across the web. The only key requirement you must consider is that the field names in your Google Form must match the fields configured inside of Apptivo exactly.
For example, let’s say you want to create a drop-down menu called “Type of Business”, with options of “IT, Manufacturing, Government, Education, and Other”. You should first go into Apptivo, and configure it with that label and values, then just create everything exactly the same in Google. So long as the text matches up, the integration will automatically place data into any of your custom fields.
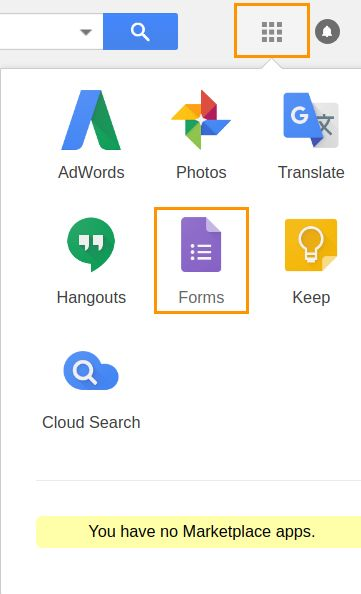
Start by logging into your Google account then..
- Select “Google apps Grid” Icon, Click on “Get more apps”, Click “Forms”.
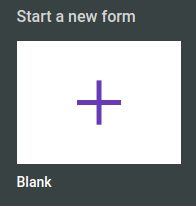
- Click on “Blank” (Start a new form) form.
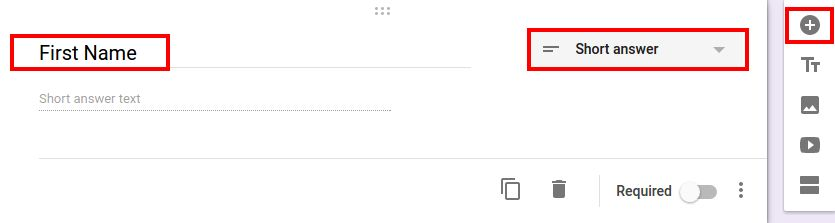
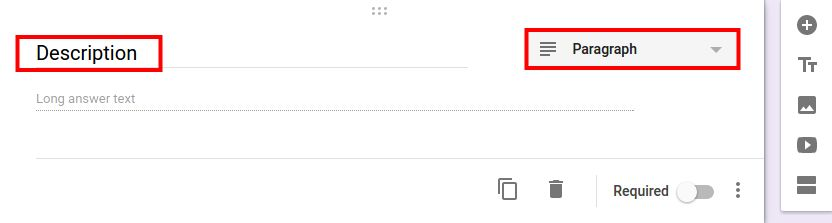
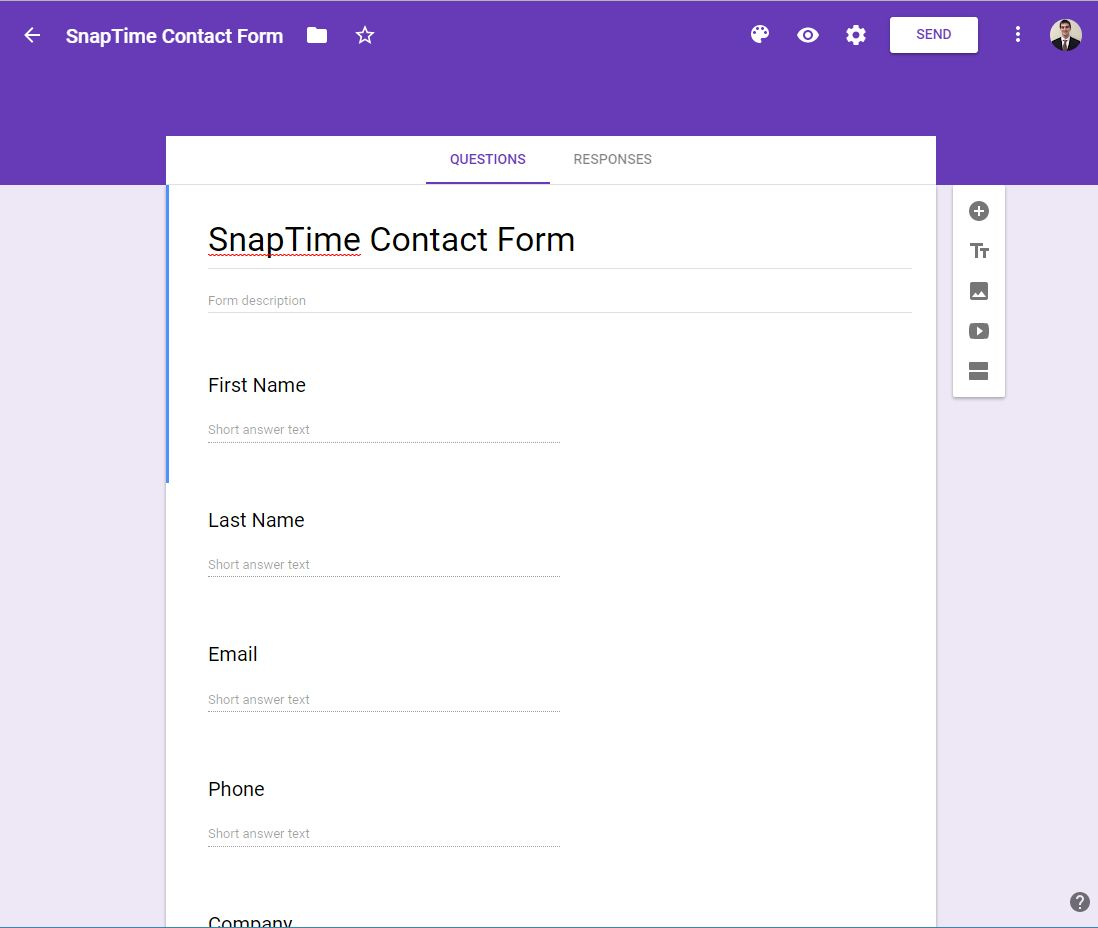
- Configure all desired form fields.
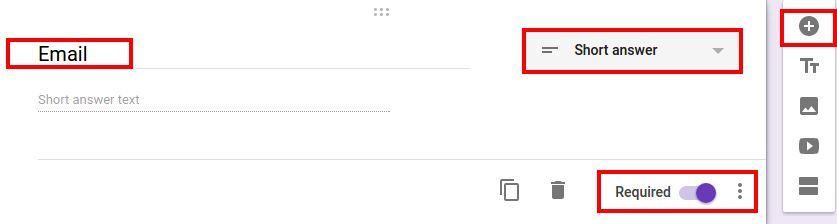
- If you have any required fields in Apptivo, make sure to mark them as required here.
- Common fields include First Name, Last Name, Company, Phone, Email, Description.
- Give your form a name, and make any other desired adjustments.
- Copy+paste the code in the script editor.
- Update with your Apptivo account API & access keys.
- Create a trigger to run when submitted.
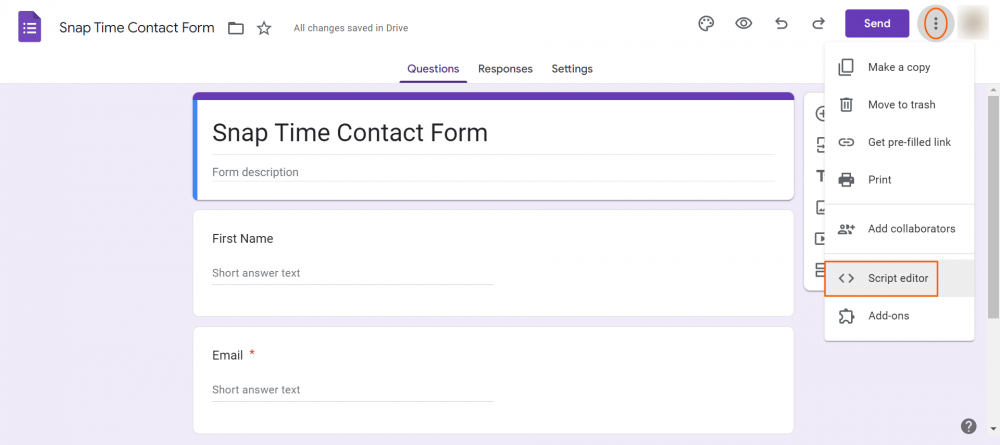
- In the top right corner, click the 3 dots, then click “Script Editor…”.
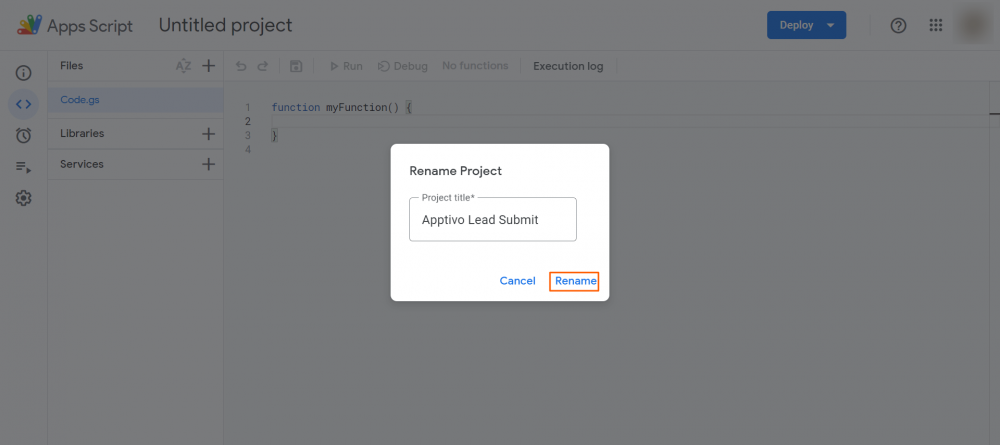
- Click the text Untitled Project in the upper left corner, type in “Apptivo Lead Submit”, and click Rename.
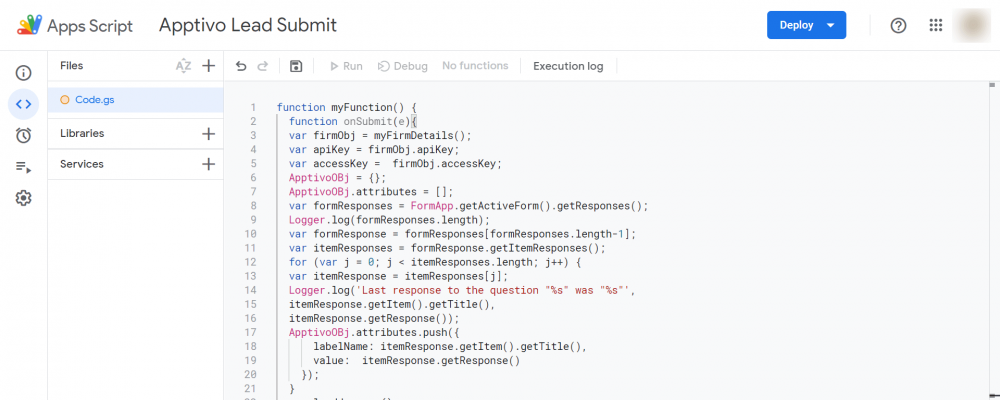
- Now in the main text area of the page (editing Code.gs), we want to paste in the special Apptivo code.
- Copy everything on the screen to your clipboard.
- Click here to view the code: https://pastebin.com/raw/rxwAKt8W
- Now paste the entire contents into the editor in Google Forms. This should replace everything, including the default text that is already present before you paste.
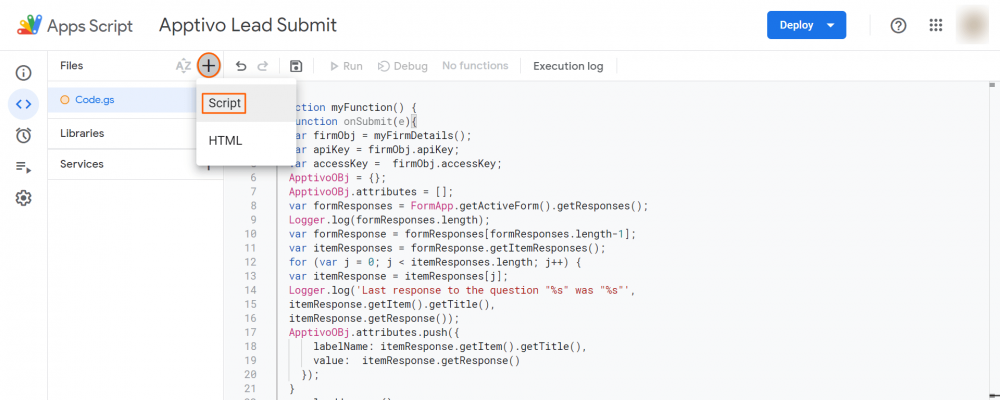
- Now click Files + icon in the upper left corner, and select Script.
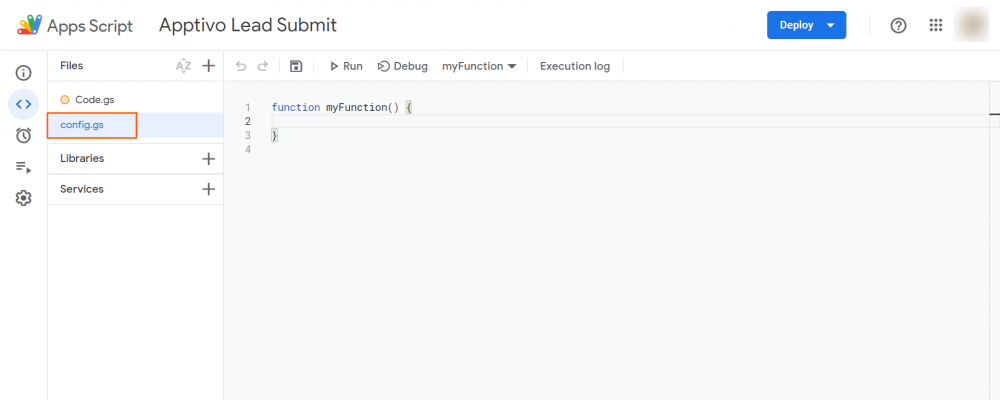
- Provide the name of “Config.gs” for the file name using Rename option.
- Now in the main area of the page (editing Config.gs) you want to paste in a different chunk of special code.
- Click here to view the code: https://pastebin.com/raw/ML17aakC
- Copy everything on the screen to your clipboard
- Now paste the entire contents into the editor in Google Forms. This should replace everything, including the default text that is already present before you paste.
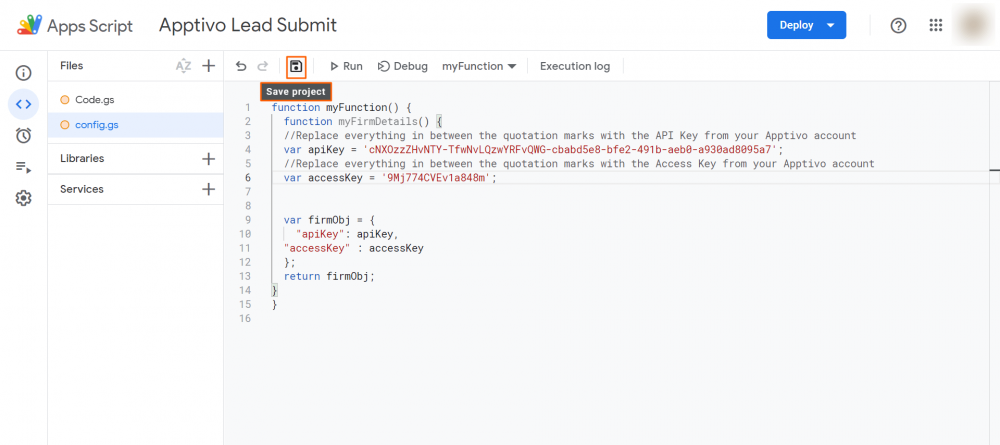
- Lastly you need to update this Config.gs code with your API & Access key, shown in the next section
- //Replace everything in between the quotation marks with the API Key from your Apptivo account
var apiKey = ‘vxYDzLZYxPwO-QyY55vUvDjSv-cb34493-2b1a-43ab-8fa1-6c7347725f’; - //Replace everything in between the quotation marks with the Access Key from your Apptivo account
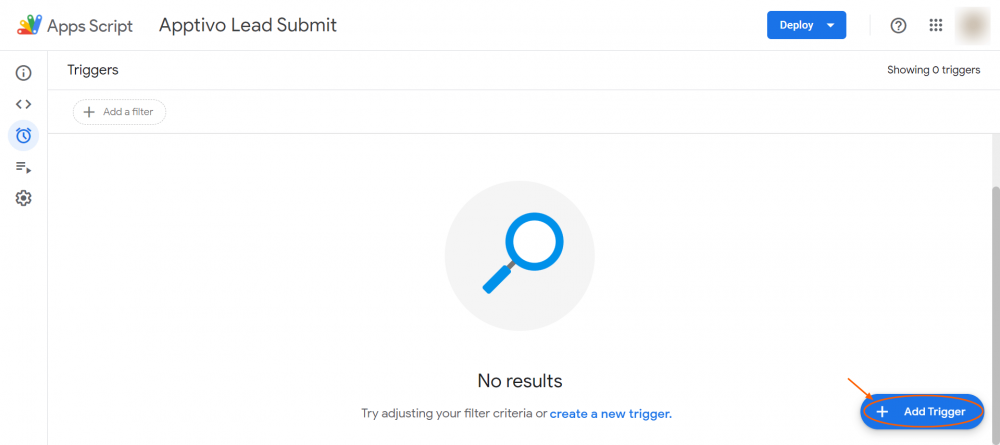
var accessKey = ’96R53463CnIfH34′; - Click the clock icon in the menu bar to open triggers.
- Click on the Add Trigger button.
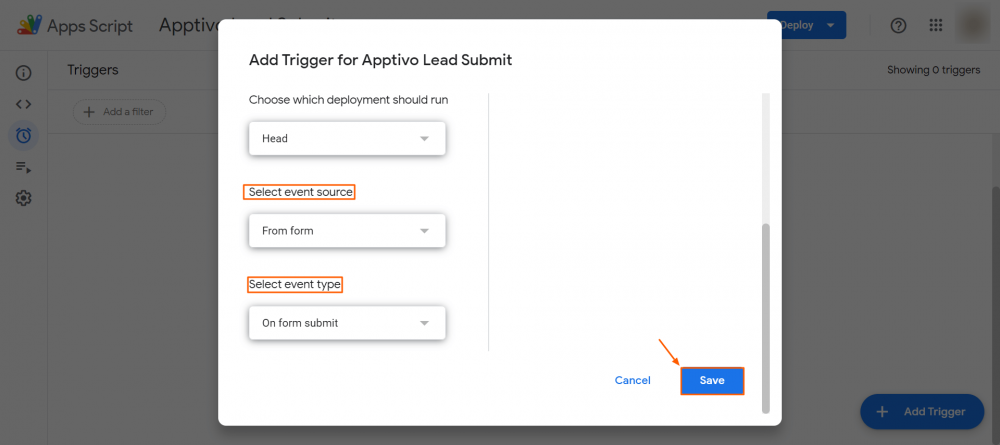
- Change the Select Event Source dropdown to “From form” and Select Event Type to “On form submit”.
- Leave the other options as their default selection, and click Save.
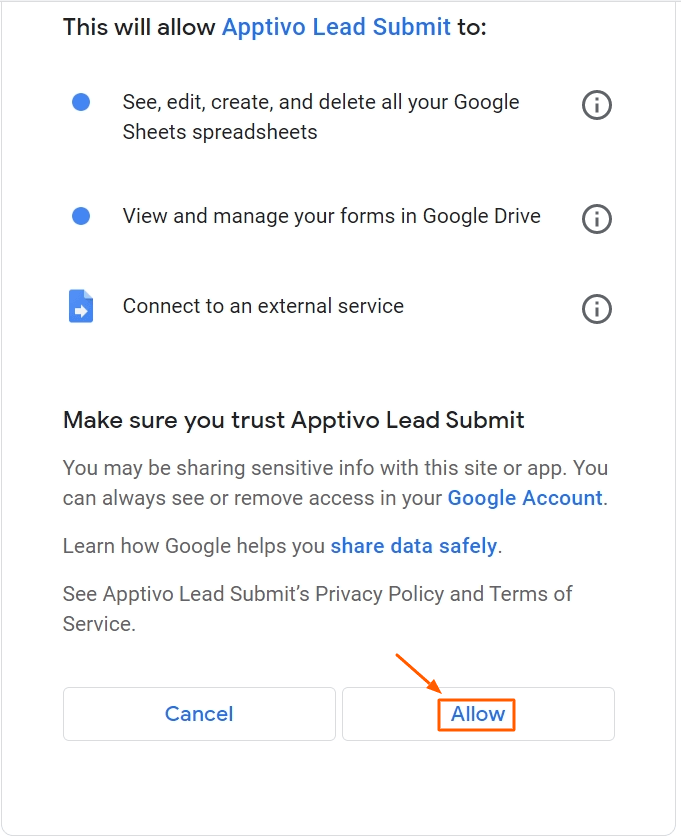
- You will now be taken through a few steps to confirm permissions for Apptivo. Simply follow these steps until complete.
Note: If you are on G Suite, you might need to change the form settings and uncheck “Restrict to [your company] users”
Integrate Your Form to Apptivo
Once we are satisfied with our form, we have a few steps to complete the connection with your Apptivo account.
Configure the Script Editor
This is the most complex part, but don’t worry, you don’t need to know to the programme to complete these steps.
|
|
|
|
|
Update Your API/Access Key
This section requires you to have Super User access in your Apptivo account. First, you’ll log into your account and locate the page with your API & Access key.
Now in the previous step we pasted in some code that contains some sample keys, and we just need to replace them.
As noted in the text, carefully copy & paste the API Key from Apptivo first, and replace the line that starts with “var apiKey”.
var apiKey = ‘vxYDzLZYxPwO-QyY55vUvDjSv-cb34493-2b1a-43ab-8fa1-6c7347725f’;
Now repeat the same for the access key, and you are done.
Create Your Trigger
Before we create a trigger, you should save your progress. Click on the Save Project icon as shown below.
|
Now we’ll follow a few final steps to enable the submission to Apptivo:
|
|
|
That’s it! Your form is now connected to Apptivo and ready to test.
Test The Results
Now that our form is fully integrated, we can run a test. You can close the script editor tab and return to the page where you are viewing/editing your Google Form.
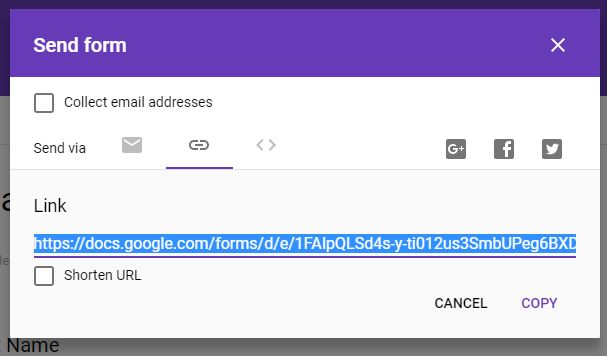
Now click the “Send” button in the upper right corner, and select the link icon to view a hyperlink.
|
Now open this link in a new browser tab, and you should be able to type in your form details and submit a test.
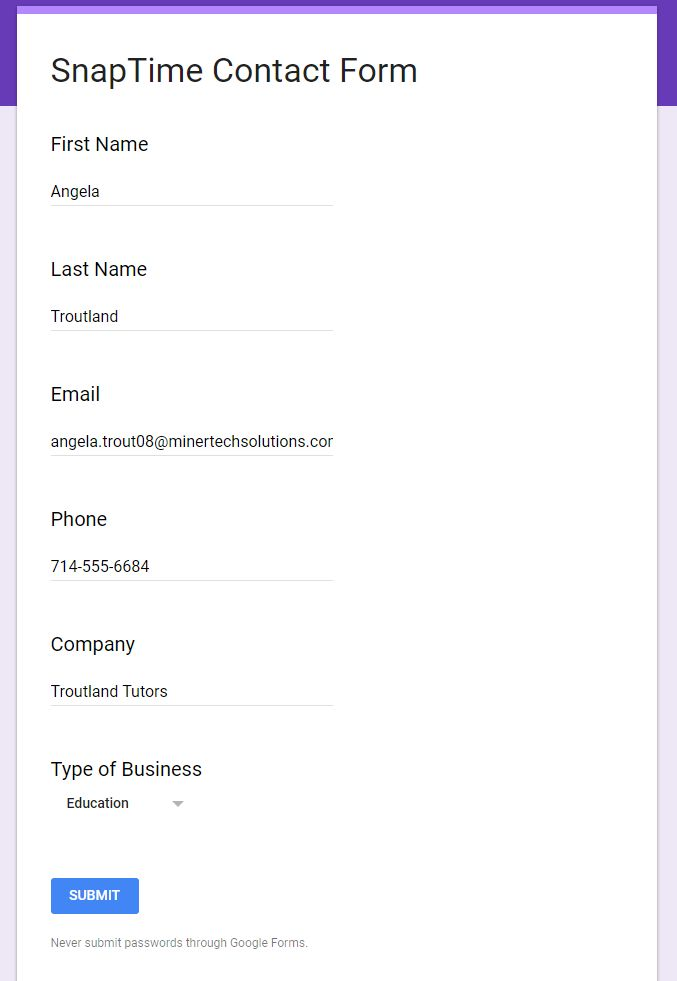
|
After about 10 seconds, you should be able to find that test lead inside of Apptivo.
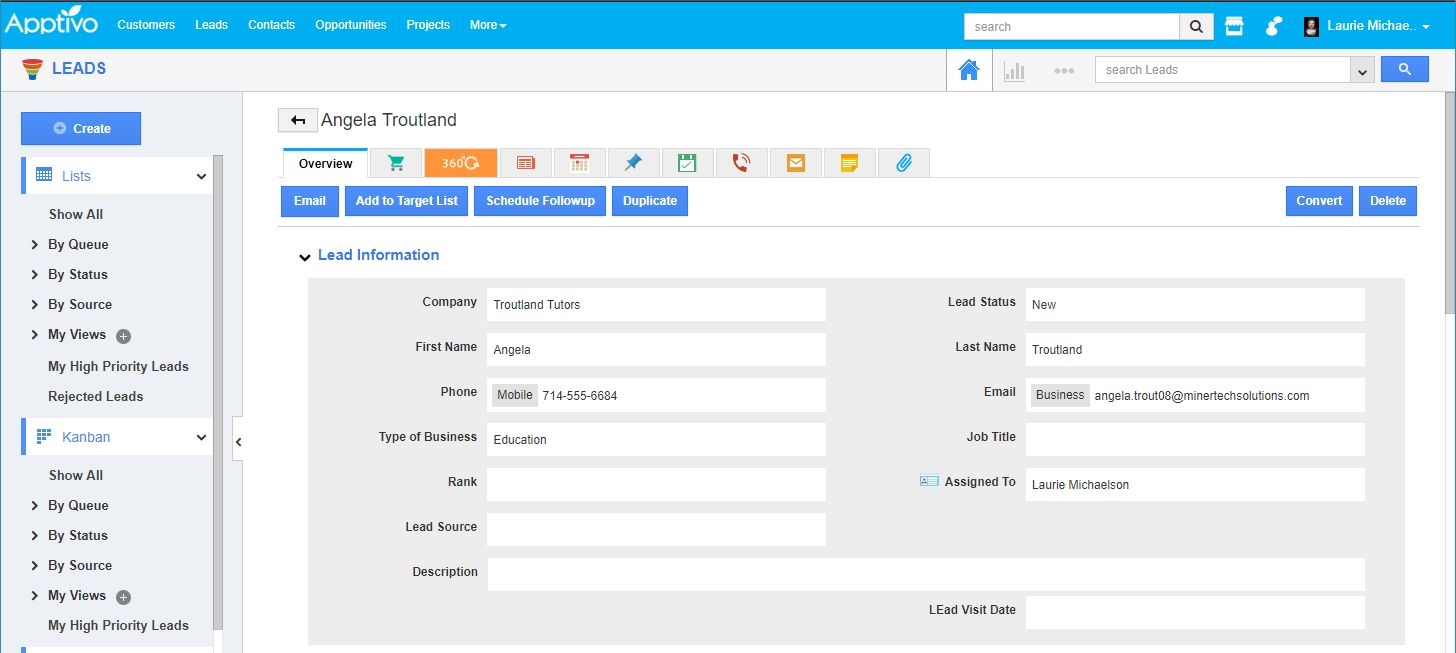
|
Embed In Your Website
Now that everything is up and running, the last step is to get this form in front of your customers! Navigate back to the page where you are viewing/editing your form, and click the “Send” button in the upper right corner.
Now click the < > icon to view the embed HTML, and specify a good width & height for where you’d like to place the form.
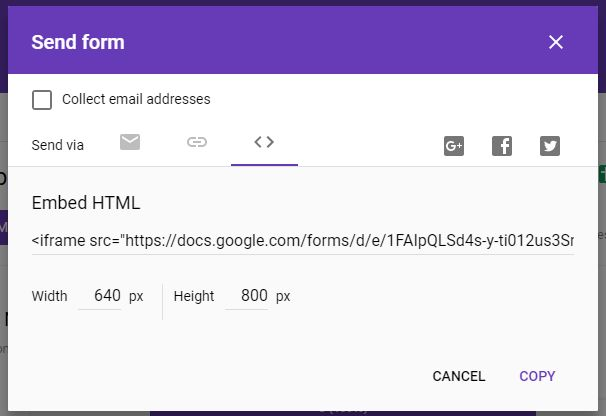
|
Now just paste this code into any page(s) on your website where you’d like it to display. This step will vary based on who your current web host is, and which platform you use. For instructions on how to embed HTML code on your website, please see your current website provider.
Customizing The Design of Your Form
The default form allows basic control over the size of the form, but not much else. It is possible to customize this further but will require HTML/CSS knowledge to proceed. There are several guides available across the web that you can leverage, such as this:
https://support.google.com/docs/topic/9055404?hl=en&ref_topic=1382883