Browse by Solutions
Browse by Solutions
How to add business logo to your custom estimate template?
Updated on August 30, 2018 02:48AM by Admin
Creating your own estimate gives you a lot of room to incorporate our business’ needs and ideas into the design. Adding the logo to your estimates, though not necessary, is a very common practice and has become vital.
To add the logo to your custom estimate template,
- Log in to your Estimates app and click Settings.

- Click Print/Web layouts options under Customize App dropdown in the left navigation panel.
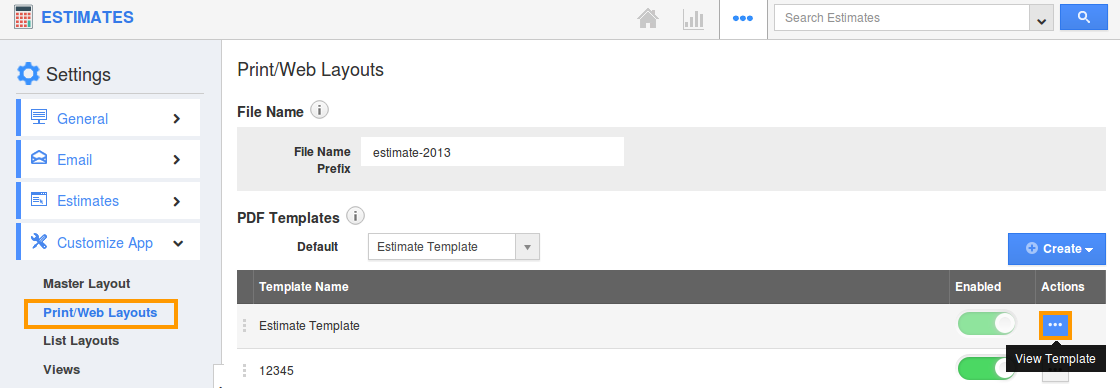
- Now, click the Create button to open the editor and create your custom estimate template from scratch or from the existing templates.
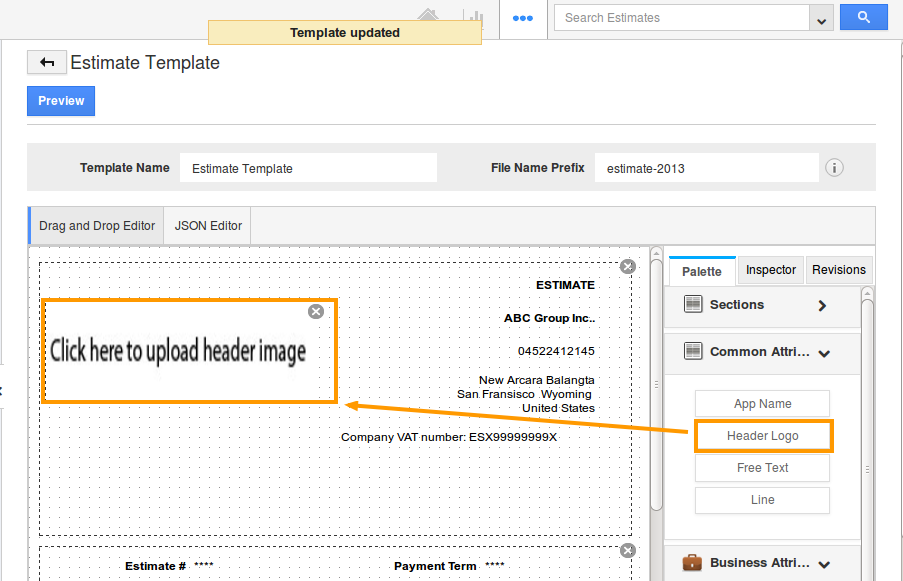
- Now, drag and drop the Header Logo field under Palette > Common Attributes in the required place.
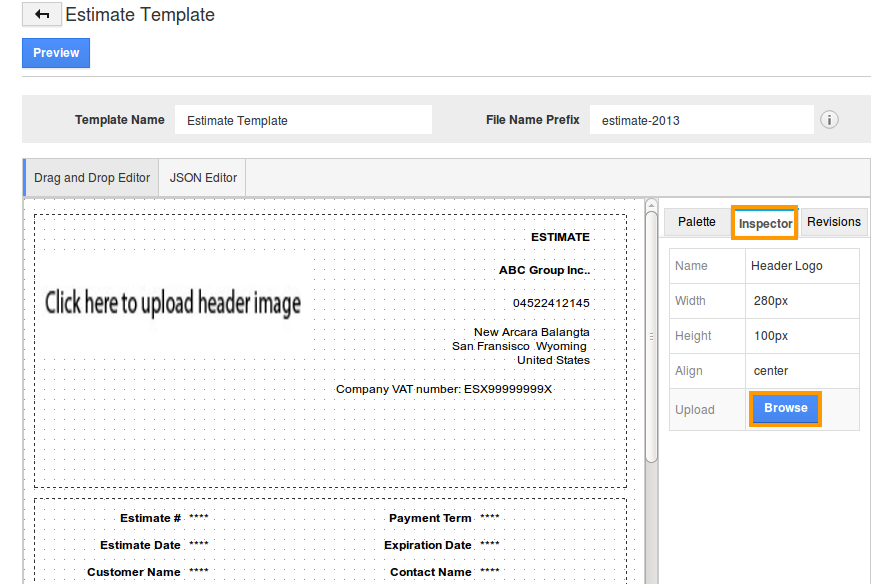
- Next, select the Inspector tab and click Browse to upload the logo from the hard disk.
- From now on, the estimates you create with this template will have the logo.
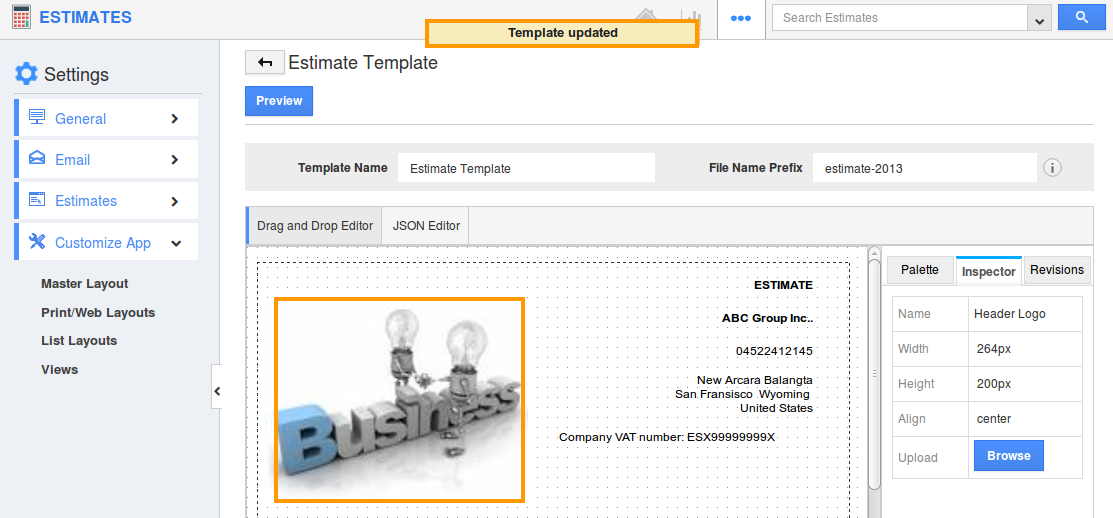
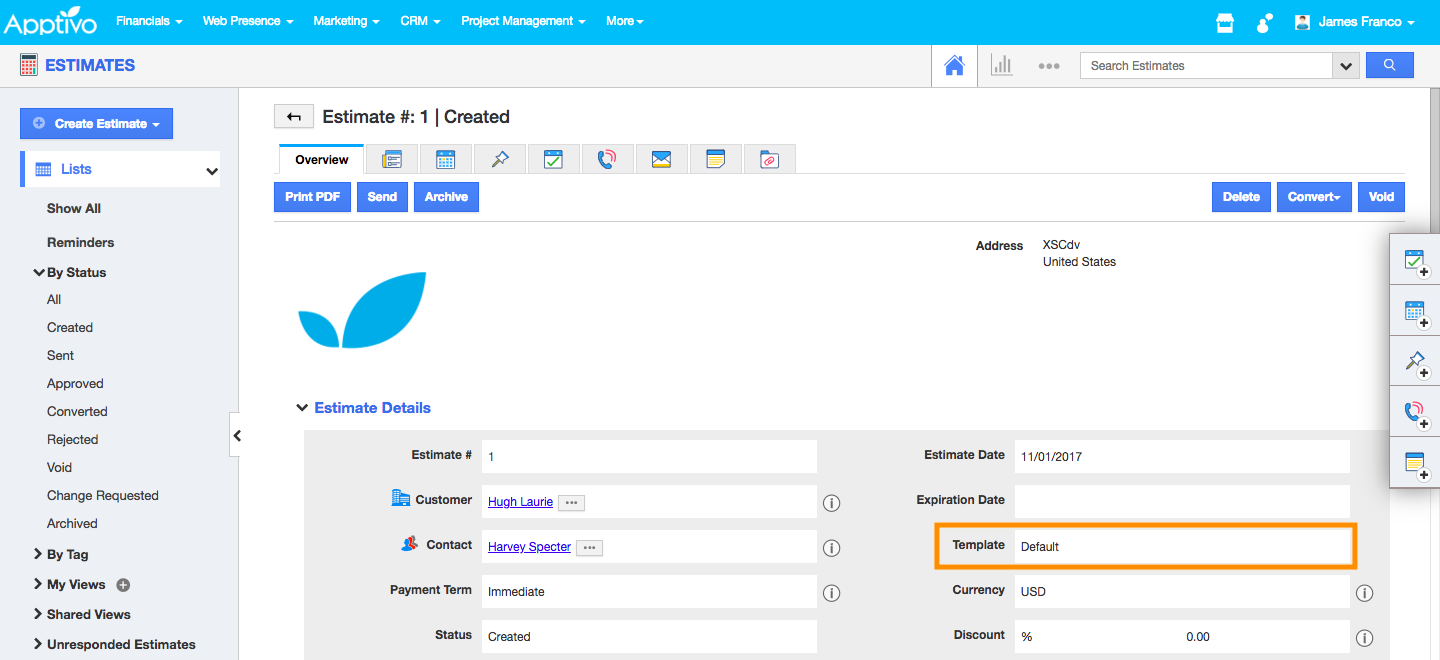
- For estimates that you’ve created already, you have to update the Template again in the More Details page.
Flag Question
Please explain why you are flagging this content (spam, duplicate question, inappropriate language, etc):

