- In your Apptivo account, select the Settings from the App Header of Candidates App.
- In the Settings page, go to Customize App → Views in the left panel. The View page will come into view.
- Click create to create a new custom view.
- The Create View side panel will appear. Add the title and description of the view.
- You can also set the privileges for the view. Only those employees who have the selected privilege can access the view.
Note: The privileges for the employees are configured from the Employees App.
- Choose a list layout for the view. Based on the selected list layout, the attribute will appear.
- Enable the display toggle to keep the view active.
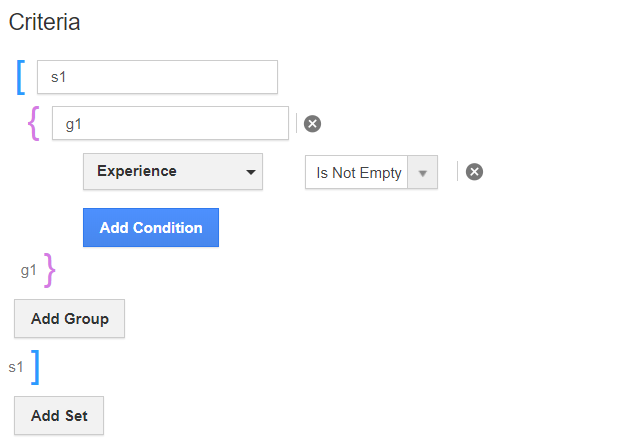
- In the criteria section, add the condition based on which the records should be filtered.
- Here, the criteria are set to display the records if the experience field is not empty.
- Once the configuration is complete in the View Builder, select Create. The Custom View is added to the View Builder.
- Go to the Home Page of the Candidates App. Select your created custom view from the left panel.
- The records will appear matching your criteria.


