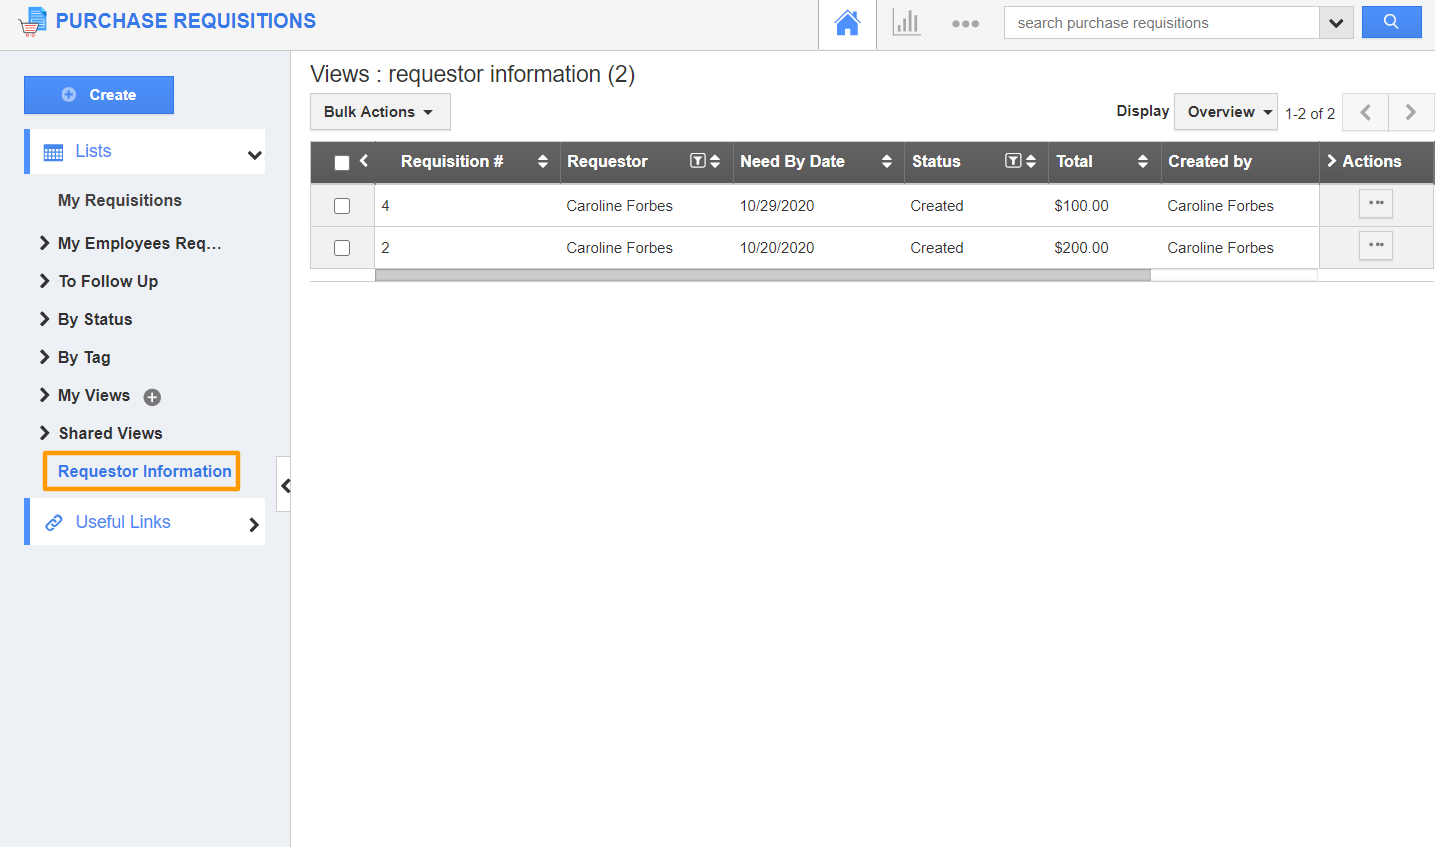
The Purchase Requisitions App of Apptivo allows you to create your own custom views. With this, you can filter the records based on certain criteria. Additionally, you can determine the type of bulk actions that can be performed in the view.
Steps to create a custom view
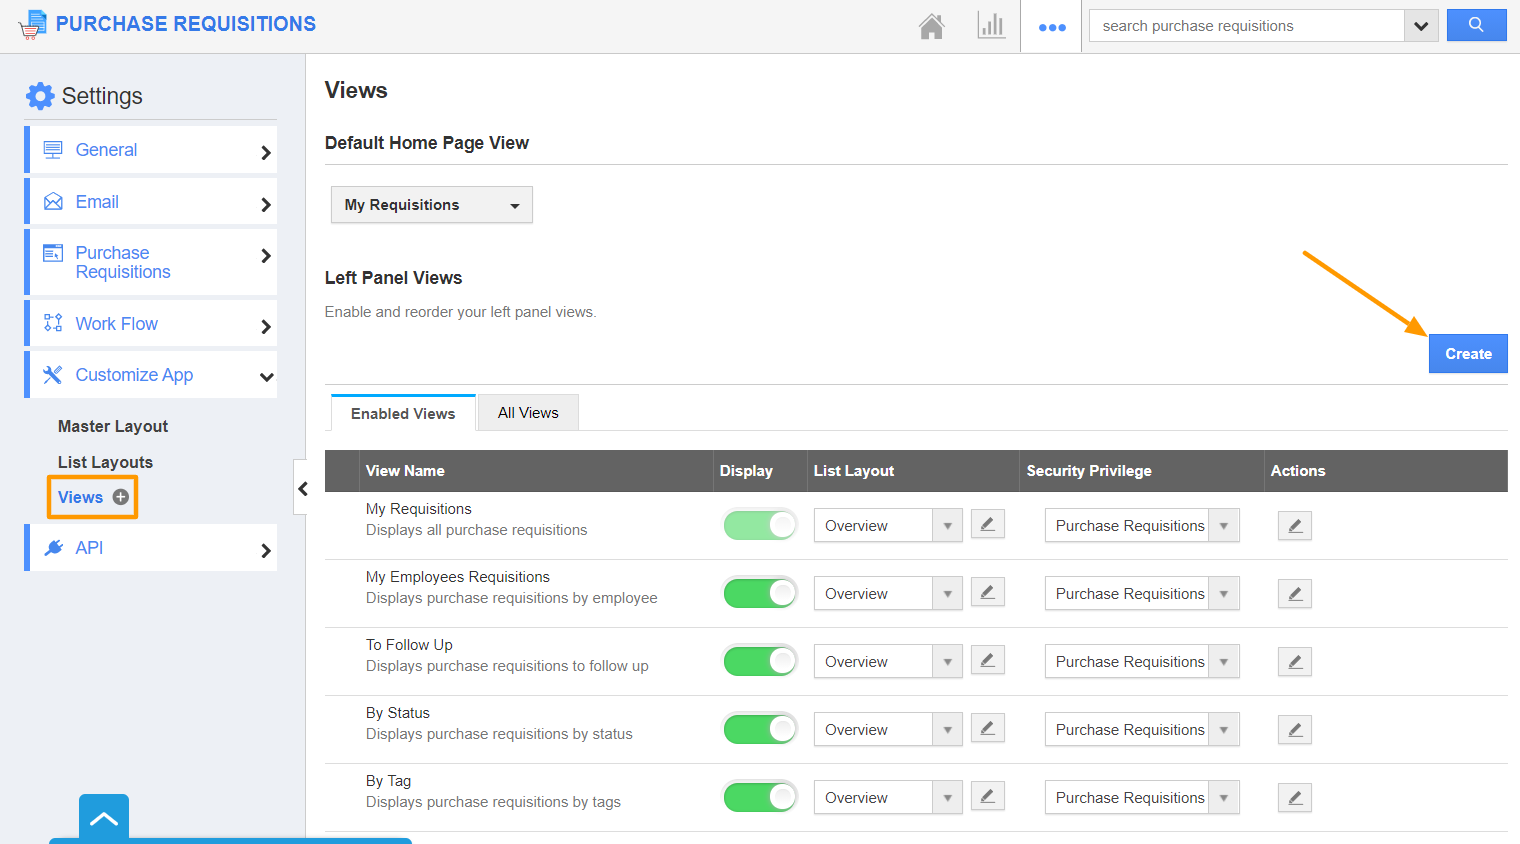
- In Purchase Requisitions App, go to Settings → Customize App → Views. In the Views page, select Create to create a new custom view.
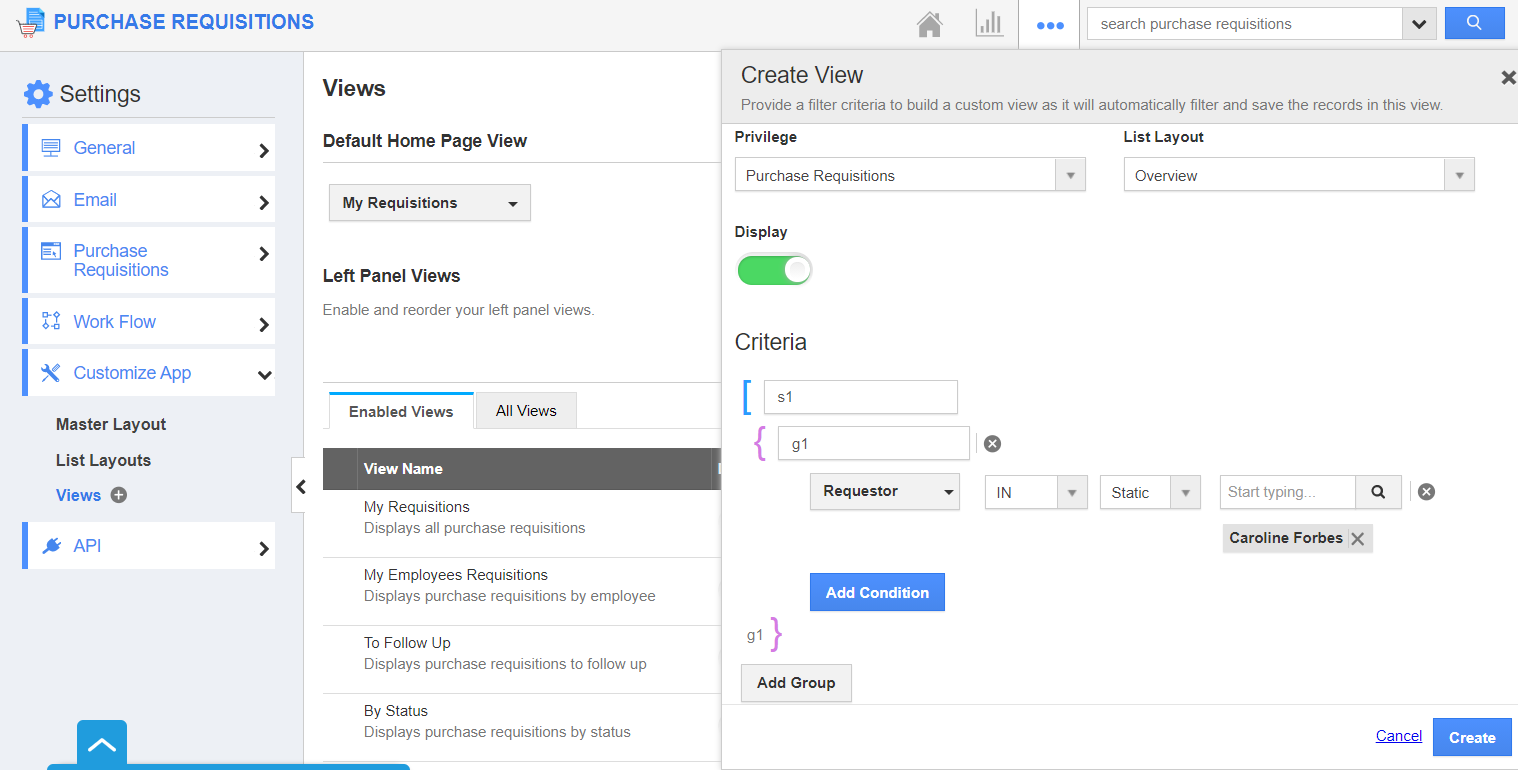
- You can add a Title and Description for the view in the Create View side panel. Along with this, set the privileges for the Custom View.
Note: The Privileges are set for the Employees from the Employees App. Based on the assigned privileges, Employees will have access.
- Now, select the List Layout which has to appear while displaying the custom view. Here, you can see the Overview is selected.
- To make the View available in the left panel, make sure the Display toggle is enabled.
- In the Criteria section, you have the ability to set the criteria upon which the records are to be filtered.
- Here, the condition is set to display the records only if the Requestor is Caroline Forbes. You can also make use of the Add Condition feature to add more than one attribute.
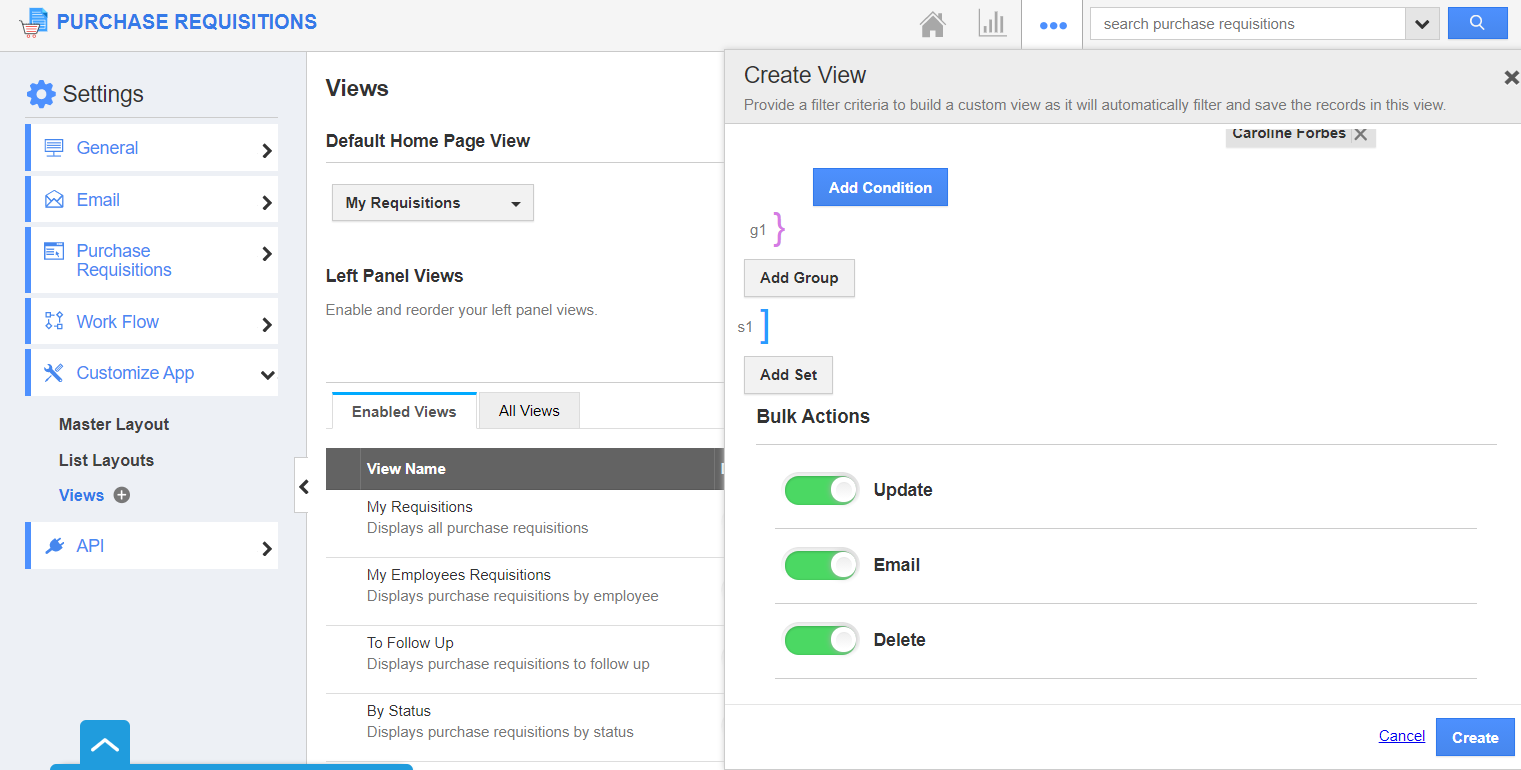
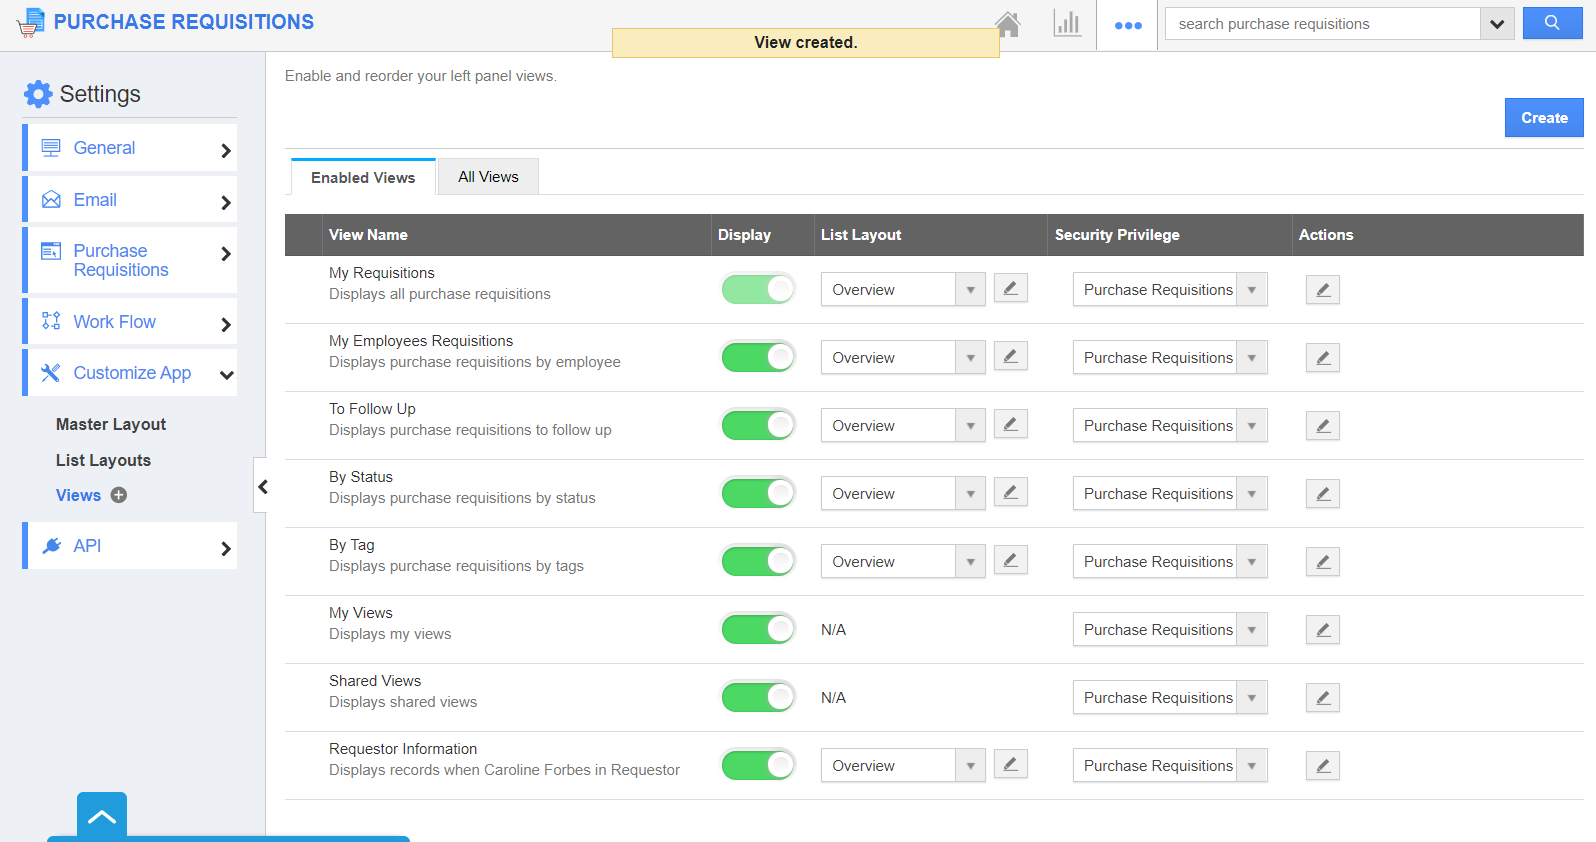
- Lastly, you can decide what actions have to be made available while performing Bulk Actions. By default, it is enabled for Update, Email, and Delete. Select Create. A new view is listed in the View Builder.
- Navigate to the Home page of the Purchase Requisitions app. The created view is available in the left panel. Click on it to view the records which match the criteria in the right panel.
