There are multiple standard pages that are required for the jobs plugin to operate properly, and a couple additional features which are optional. Start off by setting up the required pages, then move onto the optional pages & widgets.
Embedding in Pages
Jobs Listing Page *Required
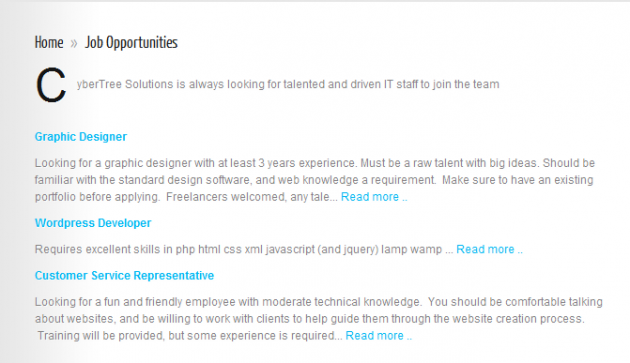
The first thing you’ll need is to create the page that will list the available jobs on your website. Typically companies will have a page named something similar to “Careers” or “Job Opportunities”. We will create this new page, and then copy the shortcode provided on the “Jobs” tab of the Jobs page under the Apptivo plugin section of your WordPress admin dashboard.

Job Description Page *Required
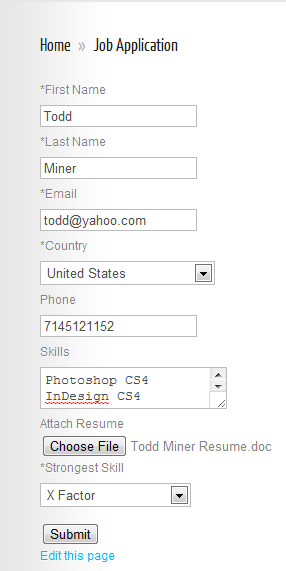
Now that you have provided a place for users to locate and select a job, we need a page that will display the complete details of each job description. Once again create a new page, and let’s name it “Job Description” to keep things simple. In this page, paste in the shortcode found on the “Jobs Settings” page of the “Configuration” tab found in the Jobs feature of the Apptivo plugin. This page will automatically display the job information, and provide a button that allows candidates to apply for this position.


Jobs Applicant Form Page *Required
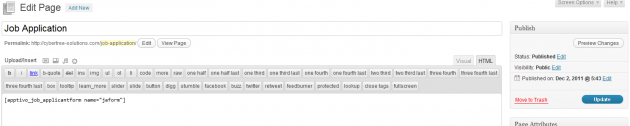
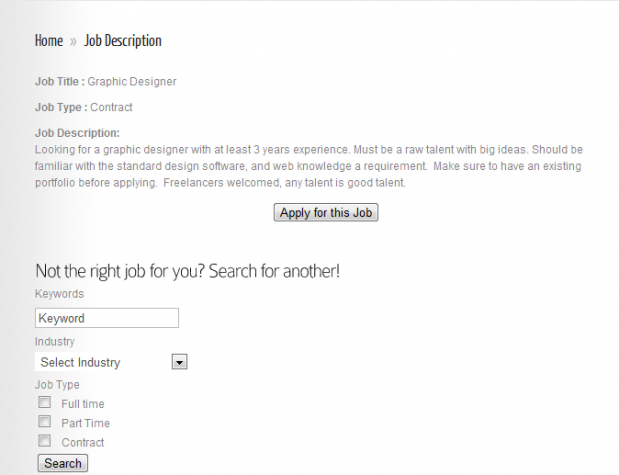
The final required page for the Jobs feature is the application form. In order to take advantage of displaying these job positions on your website, you’ll need a place for the candidate to apply for the position. All we need to do is create a new page called “Job Application”, then paste in the shortcode found on the “Jobs Applicant Form” page of the “Configuration” tab found in the Jobs feature of the Apptivo plugin. Users who submit this form will automatically have their application stored with the original Job posting within Apptivo.
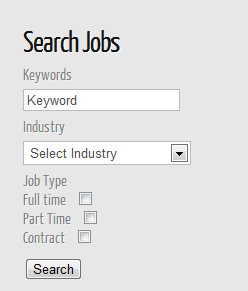
Jobs Search
Although highly recommended, it is not required to offer a search feature for your website visitors. So long as you have a job listings page, the search form is simply a convenience for your users. The search form can be either placed onto it’s own page, or included inline on an existing page. For this example we’ll include a search form on the job description page. This should make it easy for our users to locate another job position if the current job is not what they are looking for. We’ll start off by copying the shortcode from the “Job Search” tab of the Jobs feature of the Apptivo plugin. Once we have this shortcode, we’ll edit the job description page, and paste in the shortcode. Keep in mind you can also include a search form using widgets.

Widgets
The business site plugin comes with two different widgets available by default to display jobs related features on your site.
The first of these widgets is the “[Apptivo] Job List” widget, which is designed to display a listing of jobs somewhere on your site. The most common use for this widget is to display a set of “Featured” job listings, or “latest” job listings. The widget will appear in your “available widgets” section after enabling the feature, so simply drag it to the desired widget area. If you’d like, set a title for the widget, and enter any custom CSS you’d like. Each job listing can be defined as “featured” or not, and there is a checkbox on this widget which controls whether it should display all jobs, or only jobs marked as featured. Finally, select the page which you created for the “job description”, so the widget can link to the proper location.


The second widget available by default is the “[Apptivo] Job Search” widget. This widget can be used to display a customized job search form that allows users to locate a job listing on your site. It is quite common to include a job search widget right next to a job list widget. Drag the widget into your desired area, then we can configure the fields it shows.
Note that there is one special step required to make this widget function properly. This widget requires a stand-alone page which is meant to display search results, very similar to how a job description, listings, and application form pages are required. Start off by creating the new page and saving it.
Now go back to the widgets page, and you’ll select this page from the “Job Result Page” dropdown in the widget’s settings. Once this is completed, the widget will print you the shortcode that will need to be included in the new page you just created. Once you paste in that shortcode and save the widget, everything should be working.

Apptivo Business Site Developer Guide Navigation