Browse by Solutions
Browse by Solutions
How to Define Approval Flow in Expense Reports?
Updated on February 20, 2018 09:59PM by Admin
Our Approval flow is simple and elegant, allowing complete collaboration and follow,through to make sure your expenses are logged correctly and viewed by your manager. Expense Reports App allows you to create as many approval flows as you need.
Lets follow the given example to understand better.
After an employee submits an expense report, it goes through the approval flow. The approval flow can be performed by one or more managers sequentially. The criteria established in Approval flow setting filters which expense report an approver sees in his or her queue.
Employee's Managers Based on Spend Limit
Ruth Beaudry is Sofey's manager. Sofey creates expense reports less than 15000 of total amount for pertained ticket creation.
This example illustrates the criteria and actions as shown below:
{
Set 1
{
Group 1
{
Total Expenses <= 15000
}
}
}
Approval Flow = Employee's managers based on spend limit
Actions: On Submit Update: [Description = Submitted]
On Approval: Send Email: [Email Template = Expense Reports Approved, Recipient = Employee]
On Rejection: Send Email: [Email Template = Expense Reports Rejected, Recipient = Employee]

Employees must create and submit an expense reports with the total amount less than 15000, the employee's manager will approve the expense report submitted by employee. In this example, Inboundplus Inc is a consulting business in which employees will create expense and submit to appropriate managers.
Explanation
- Name: Name of the trigger
- Enabled: Toggling this option will make the trigger active
- Description: About the trigger
- Priority Score: This is to activate the trigger in high priority or in least priority, when one or more workflow is defined.
- Criteria: This is the space where the condition can be defined by selecting attributes and its equivalent values.
- Approval Flow: Employee's manager who has the Approval Limit defined in Employees App.
- Actions: There are two actions, one is sending email and other one is to update an attribute, if you want to perform more than one of the same action create multiple times.
- On Submit: Once the expense report is submitted by an employee, update an attribute "Description" with the value "Submitted"
- On Approval: Once the expense report is approved by the approver, send an email with "Expense Report Approved" email template to an "Employee"
- On Rejection: Once the expense report is rejected by the approver, send an email with "Expense Report Rejected" email template to an "Employee"
Steps To Define the Criteria for Approval Flow:
- Log in and access Expense Reports App from universal navigation menu bar
- Click on “More” icon and select “Settings” option

- Click on “Work Flow” -> “Approval Flow” from left navigational panel.

- Click on “Create” button to create new approval flow
- Define the above approval flow criteria
- Click on “Create” blue button
Follow this link to create expense report: https://answers.apptivo.com/questions/12768/how-do-i-create-new-expense-report
Sofey creates and submits expense report using steps given in the above link. Now, the approver will login to his account and check for “Pending My Approval Expense reports”. According to the criteria defined, the field "Description" is updated with "Submitted" value. 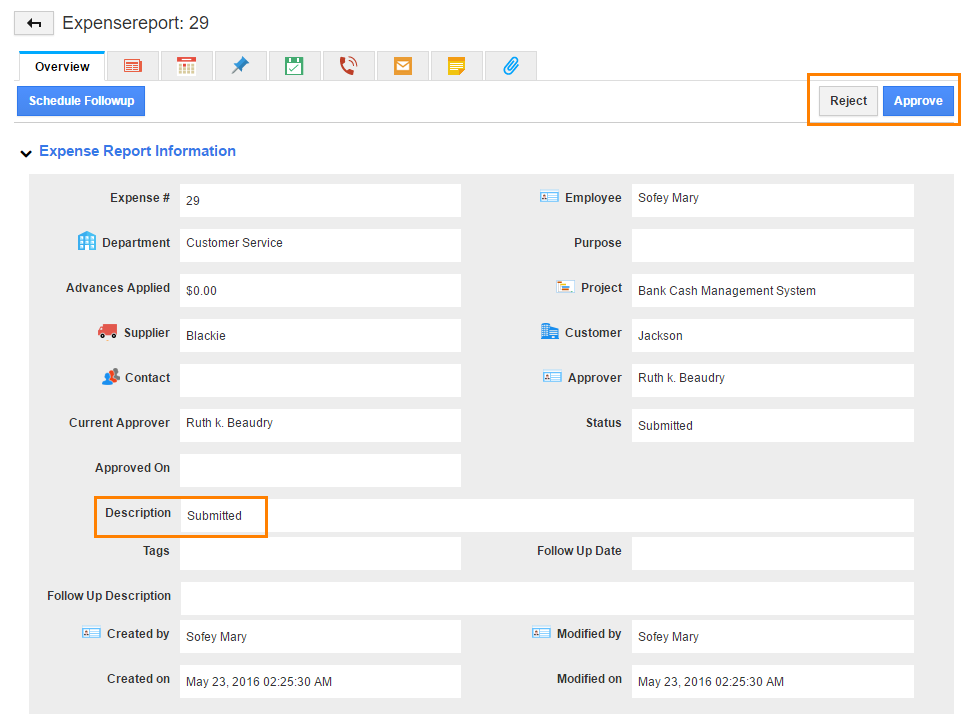
Ruth Beaudry logs in his account and check for the pending his approval expense reports, he will find Sofey’s expense report and approves it.
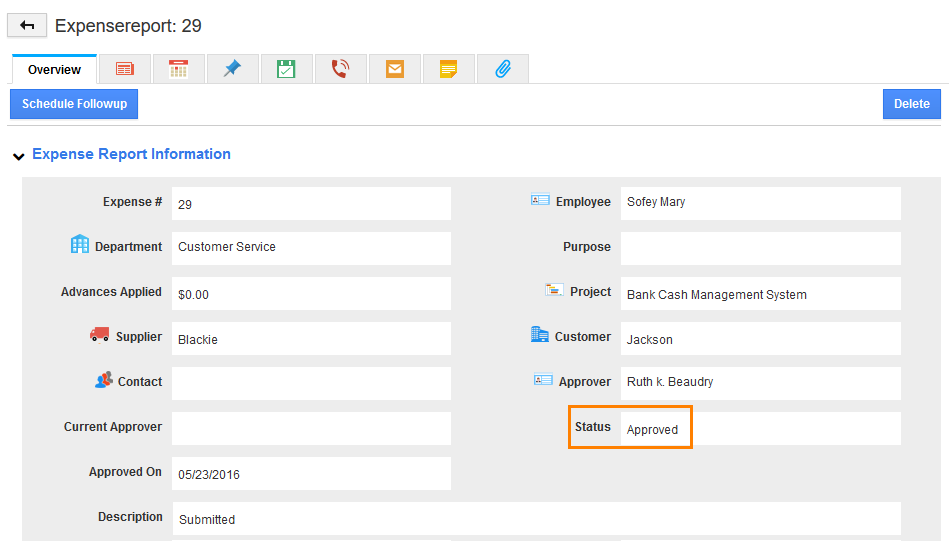
Sofey can view her approved expense report in “Approved” status of her log in.