In order to quickly access CRM objects like contacts, customers, leads, opportunities and cases, there is a “Side Panel View of a particular object” feature. For instance, in Contacts App; when you click on “Show All” or any other menu from the left navigation panel. You can view contacts found in table format with your preferred column set.
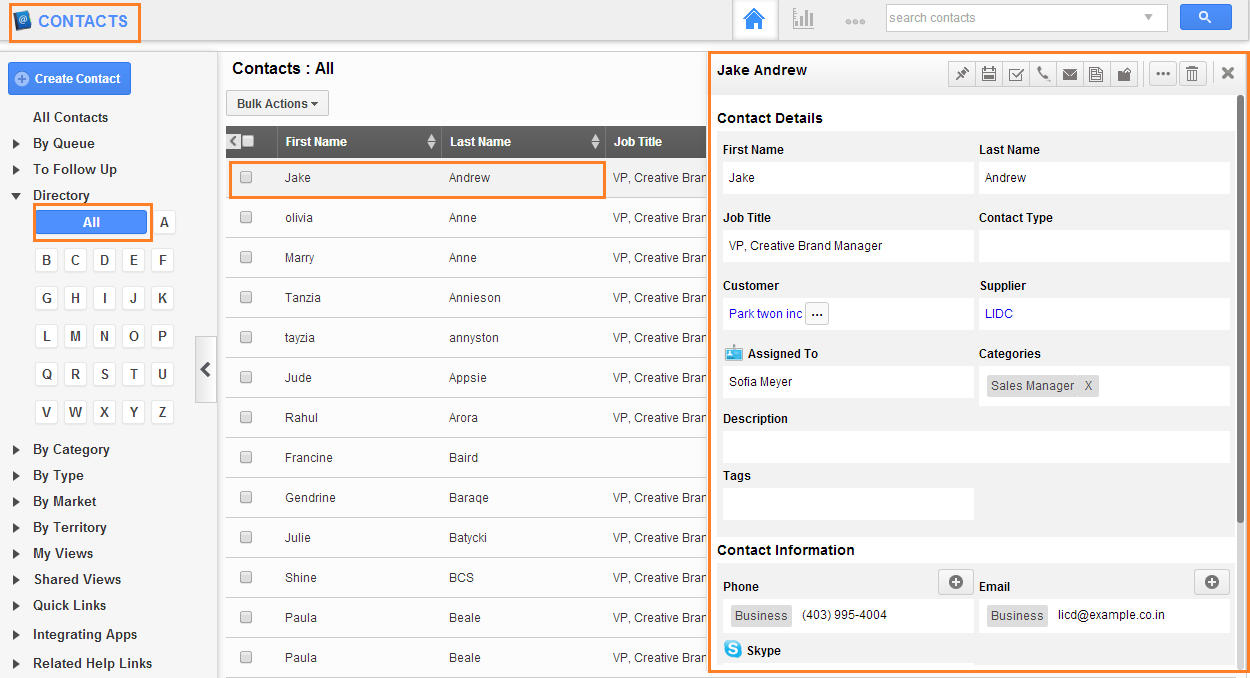
Just click on a particular contact name, you will be displayed with “Side Panel” where you can find contact information, also you can edit and update quickly.
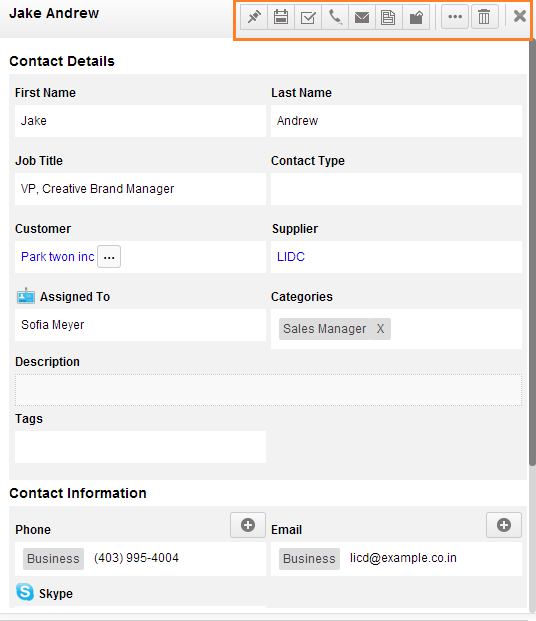
Below are the characteristics of SIDE PANEL:
- Update contact information
- Schedule follow up
- Create an appointment for a contact
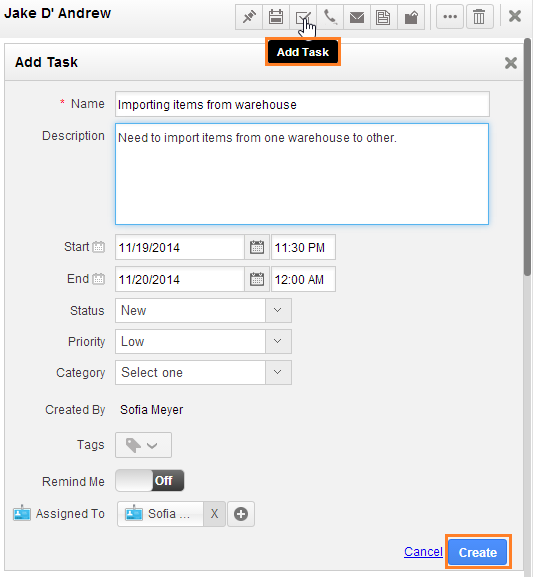
- Create a task
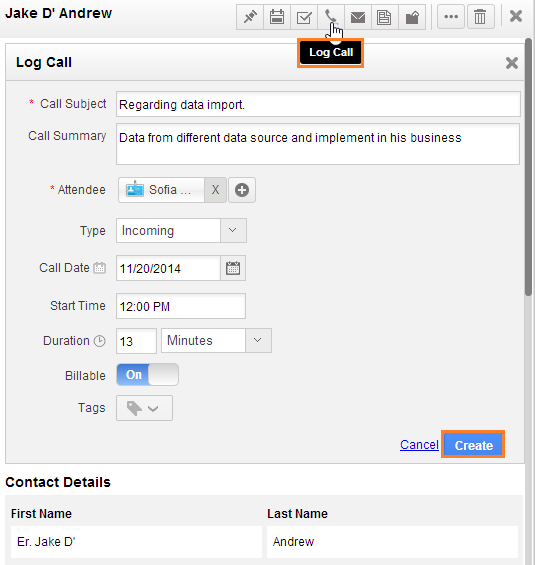
- Log a call information
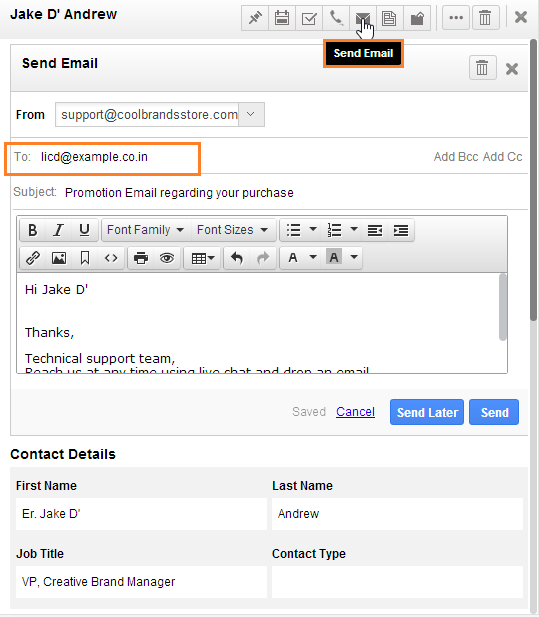
- Send an email to a contact
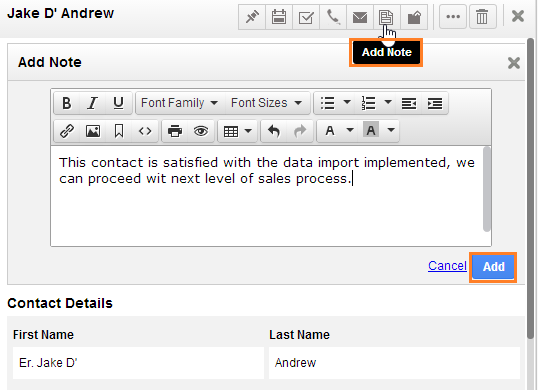
- Adding note related to a contact
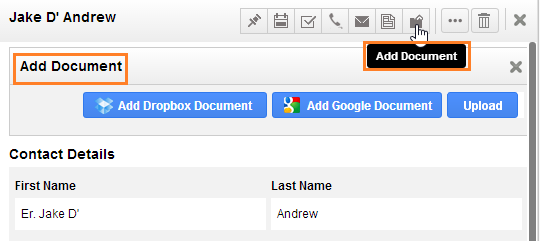
- Uploading documents
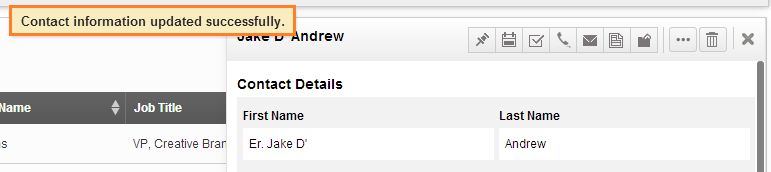
You can edit and update contact information including custom fields, just click on the respective field to input the values. It will be updated automatically.
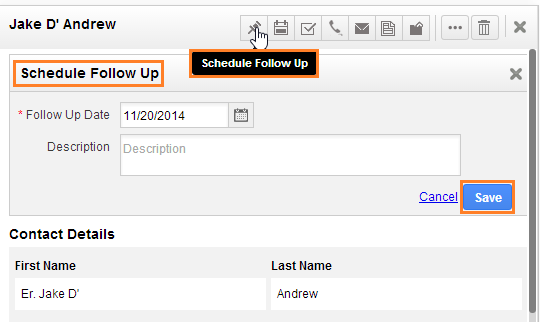
You can schedule a follow up with contact to analyse his attention for your business and track his requirement. The created follow up can be viewed in “My Follow up” in Calendar format. Just set the follow up date (by default it will be set to current date), type the follow up description and click on “Save” button.
Create an appointment with contact either you can schedule a meeting or a live call for better business relation. Enter the event information and you can also turn this event into all day event and click on “Create” button.

You can create task against this contact and assign it to employee/team and relate. All the created tasks will be listed; you can opt to view all tasks or your tasks. Enter the estimated duration of the task and click on “Create” button.
Log a call information for a contact, if suppose you or your employees reached the contact either through call, you can use “Call Log” icon located at the icon bar. Enter the type of the call and click on “Create” button.
You can send an email to a contact using “Email” icon found at the icon bar. When you click on that icon, the email address of the contact will be pre populated in “Send Email” pop up. Note: If the contact has more than one email address of any type, only one email address will be pre populated in “Send Email” pop up.
Enter a note description related to contact. This will be the communication category for internal employees/users. Each note will be updated with the employee name and updated time stamp.
Click on “Document” icon to upload document from three different sources like Google, Dropbox and from your computer.
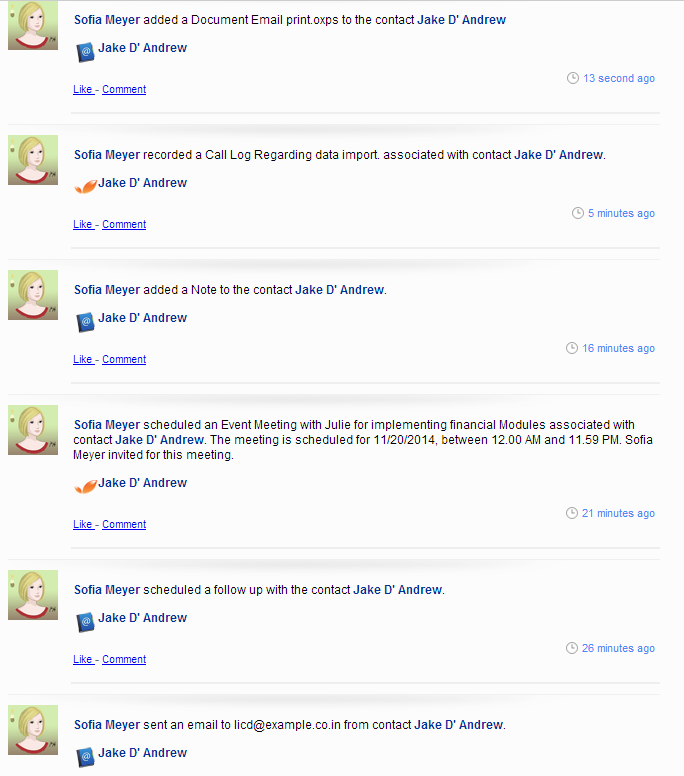
You can check a contact news feed which will display the actions performed on contact. And also moving to respective tabs you can find the created activity over a contact.
Latest Blogs

Role Of CRM In Travel And Tourism Industry
Travel and tourism have been a significant part of everyone’s life since the ancient period. When we skim through the pages of history, It should be noted that humans were initially nomads before they became settled in one place. They...
Read more →
WHAT IS CRM TECHNOLOGY?
Introduction CRM is a technology that helps manage the entire customer information and interactions in order to build and maintain superior customer relationships. The CRM solution replaces spreadsheets and other different applications, which makes it easy for the businesses to...
Read more →
Everything you need to know about the Annual Maintenance Contract!
1. What is an Annual Maintenance Contract? 2. Benefits of Maintenance Contracts 3. How can Apptivo CRM help you manage maintenance agreements and vendors? 4. Summary Think about getting the confidence that the machinery is well-maintained and performing optimally, without...
Read more →
